 TITANIUM
Motorsports
TITANIUM
Motorsports | TITANIUM Motorsports Home "POS Cobra" Restoration Journal Titanium Motorsports Racing Journal Parts & Stuff For Sale PRI Show The Lounge | TITANIUM
Motorsports "POS" Mustang Cobra Restoration Journal |
| #60: October 21st, 2011 - Bodywork and Painting on the Hood and Rear Bumper... | ||
| In my earlier journal entry,
I detailed that while stripping the paint from the Rear Bumper, I had
inadvertently gouged the urethane material in the lettering. To fix the
gouges, I purchased some 3M Urethane Bumper repair epoxy.
Unfortunately, the areas to fix were so small, I could not get the
detail and crispness back into the lettering after sanding. So I
decided to just fill in the letters. (New aftermarket bumpers come without the 'Mustang' letters on them) 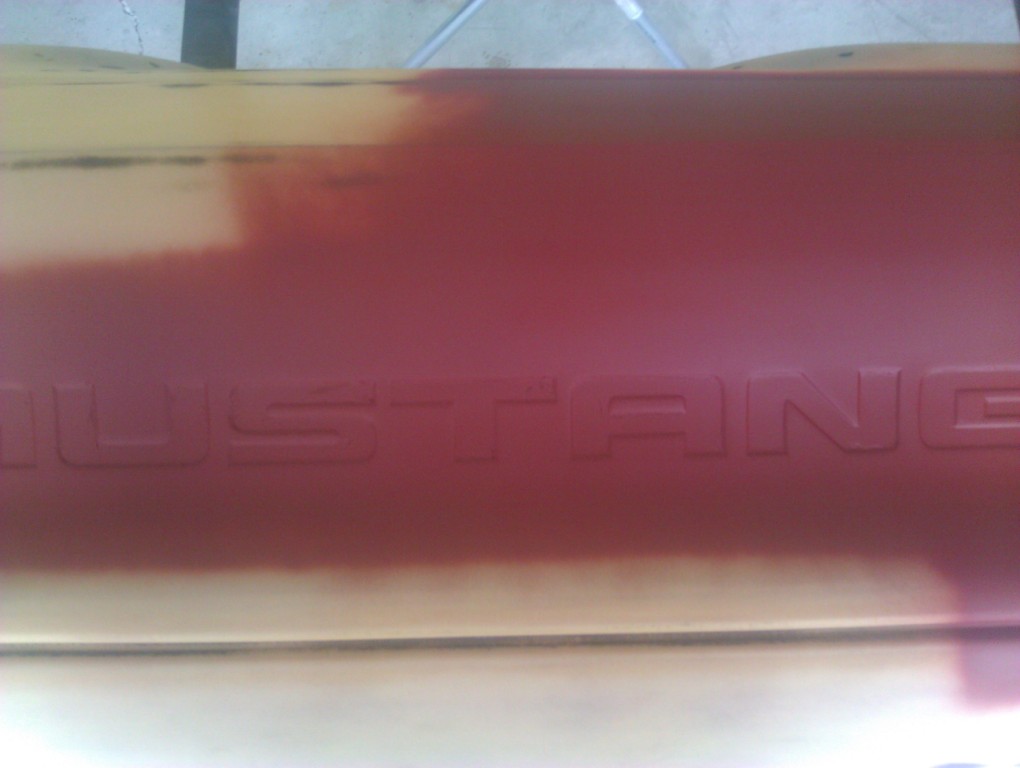 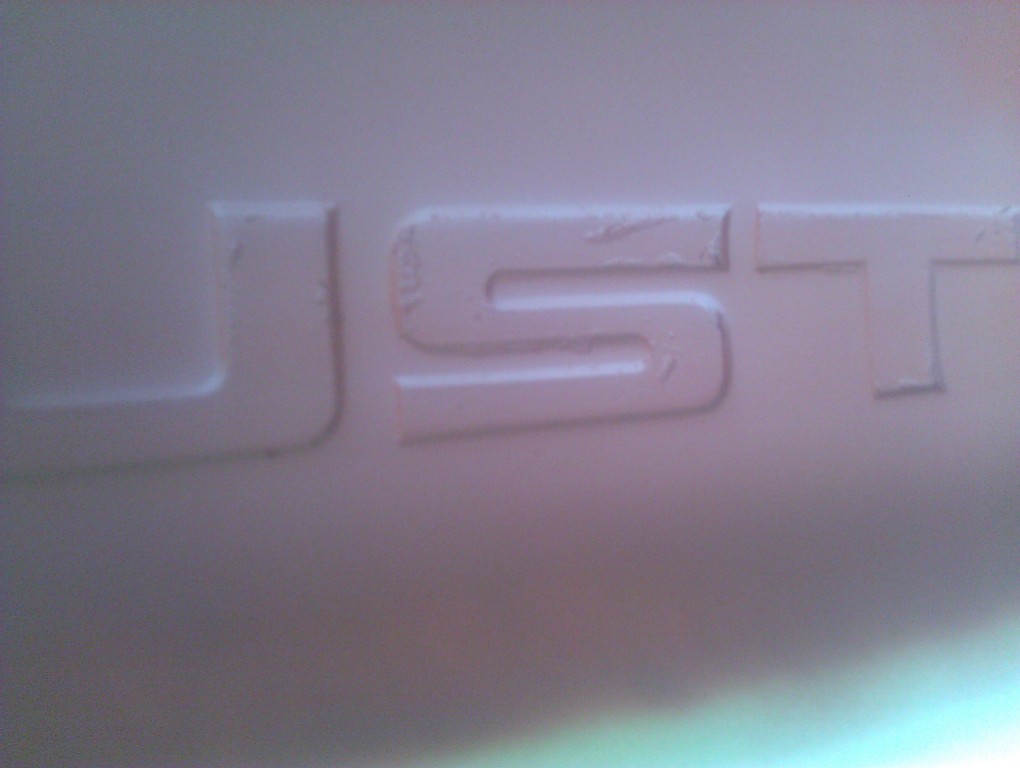 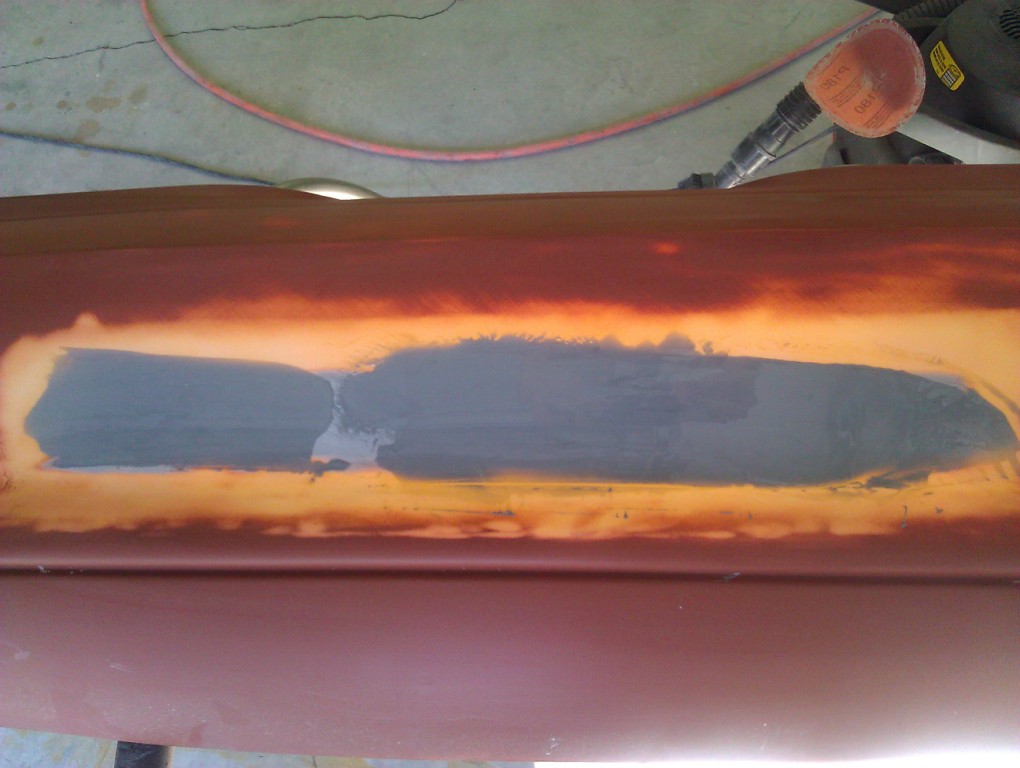 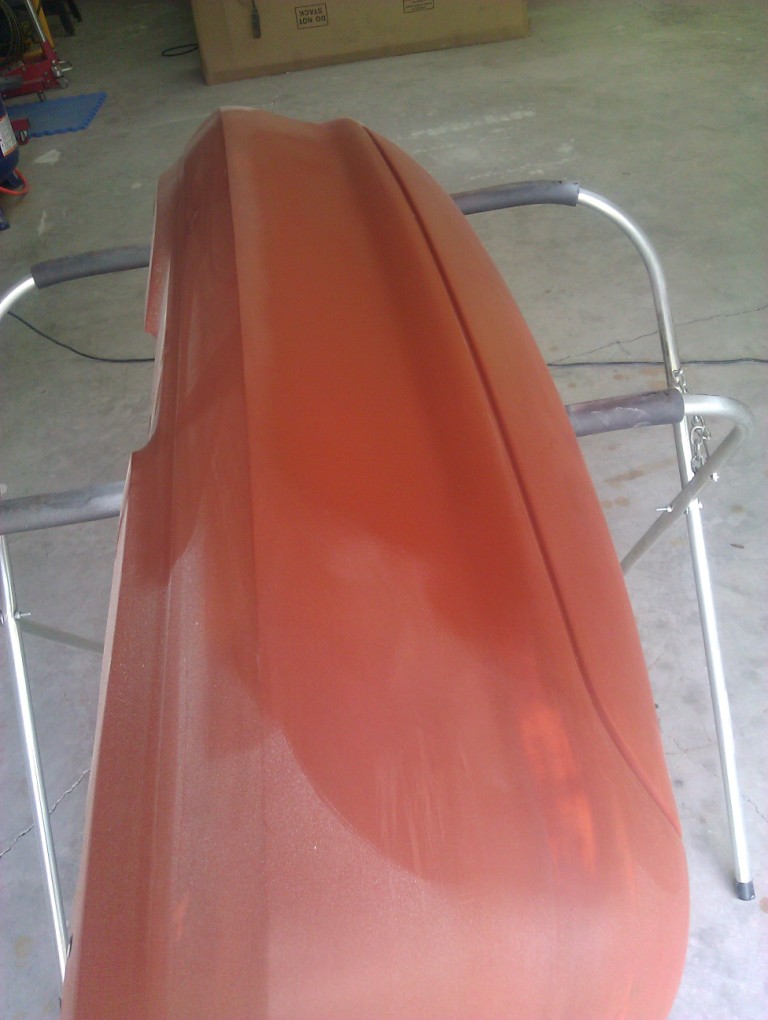 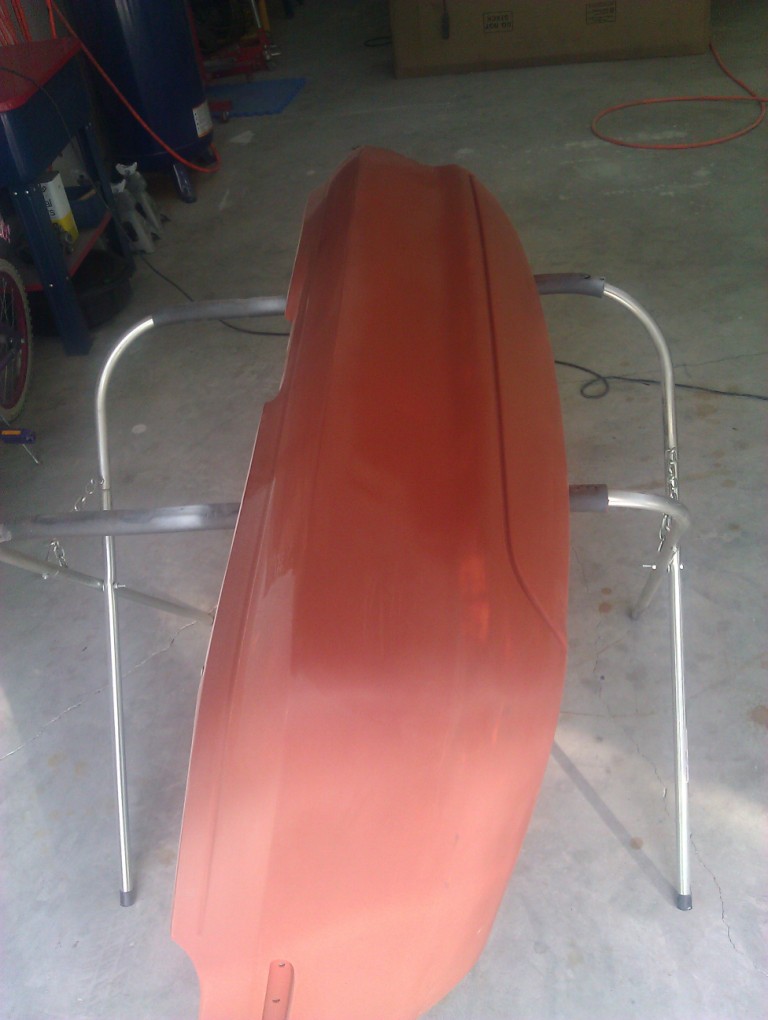 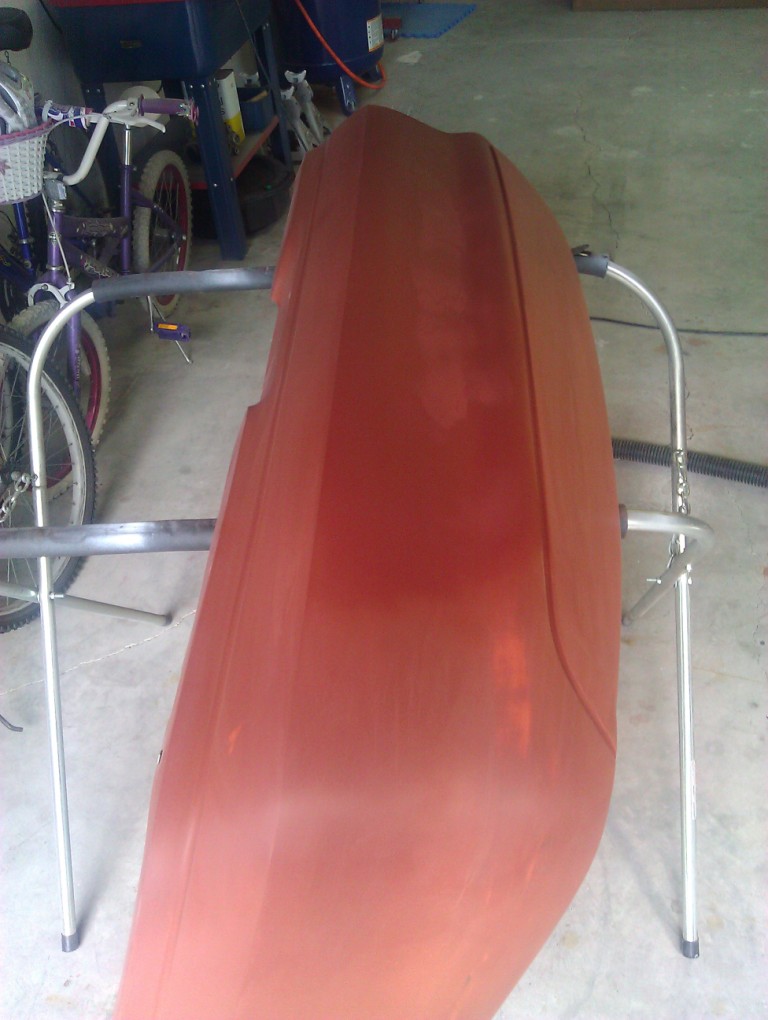 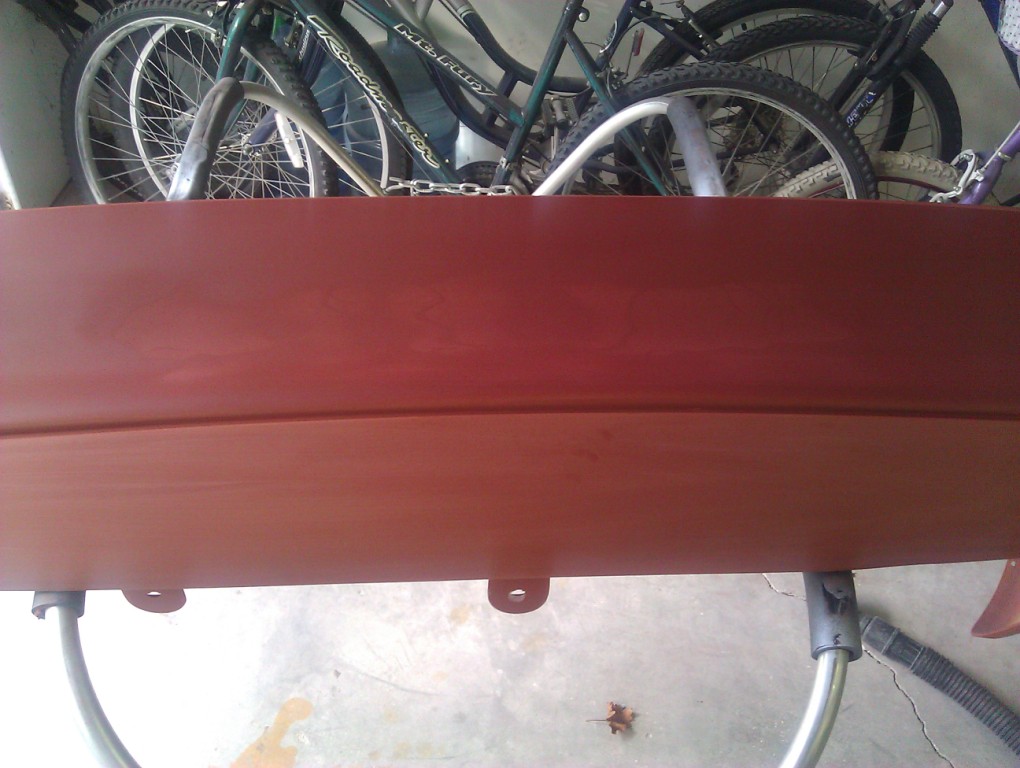 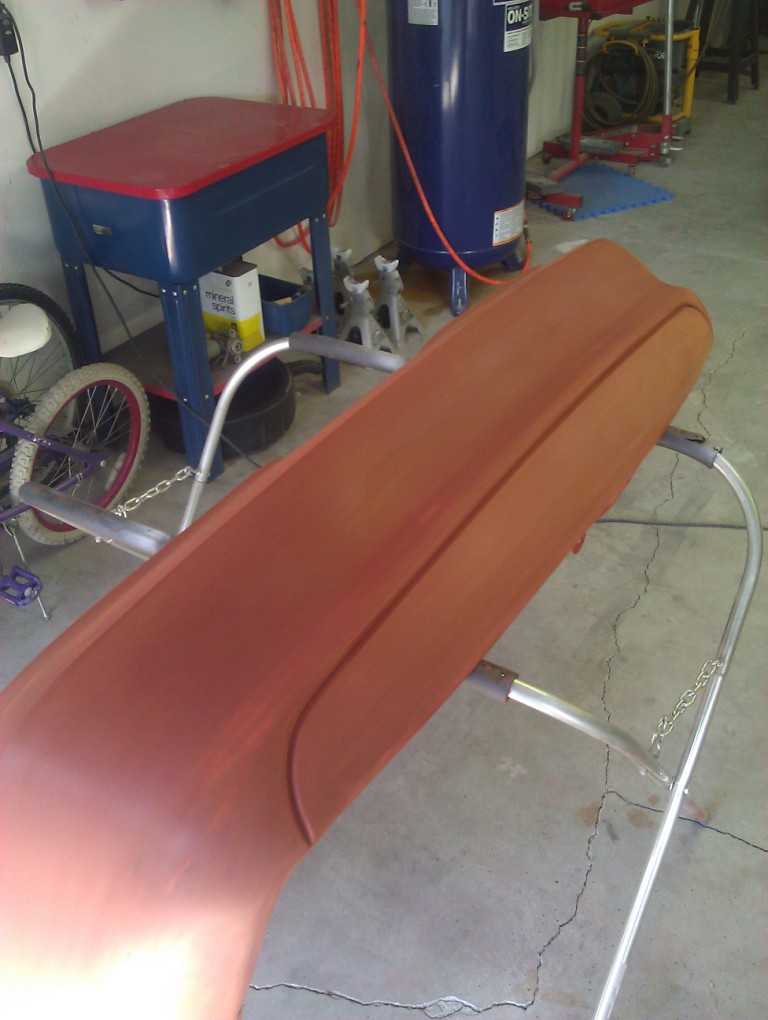 | ||
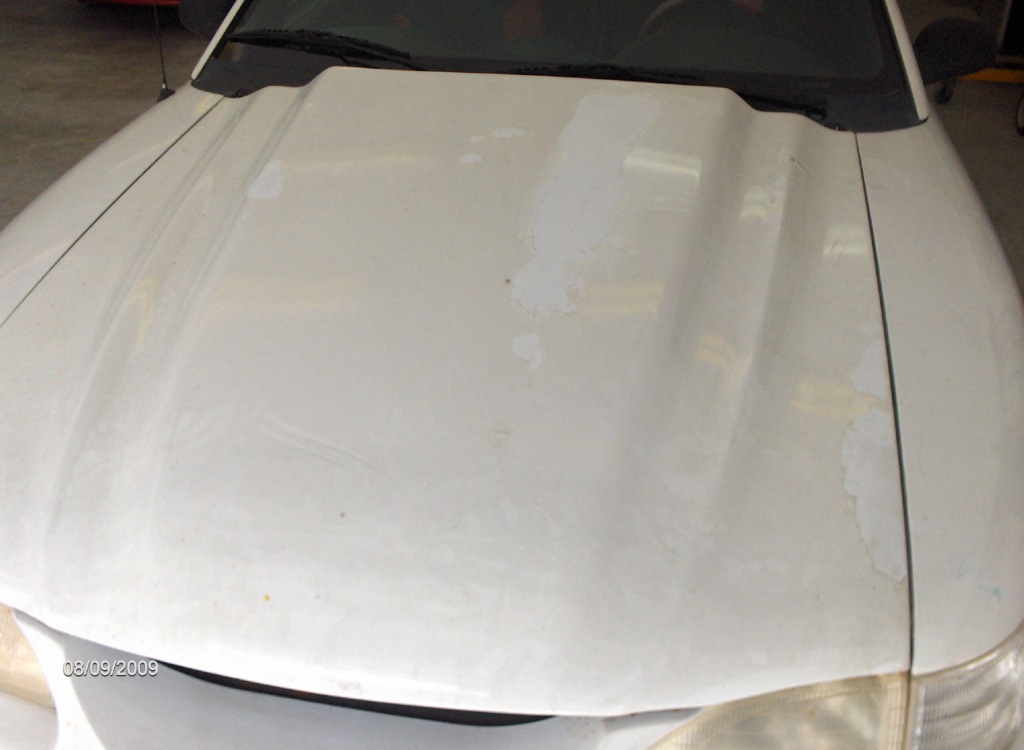
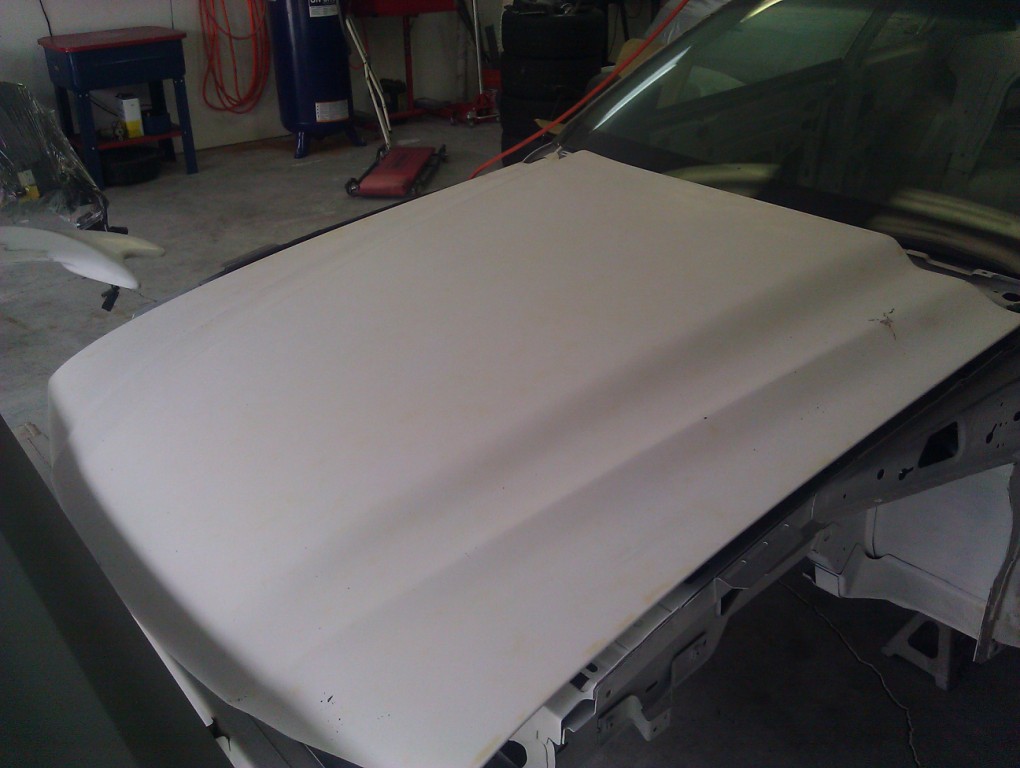
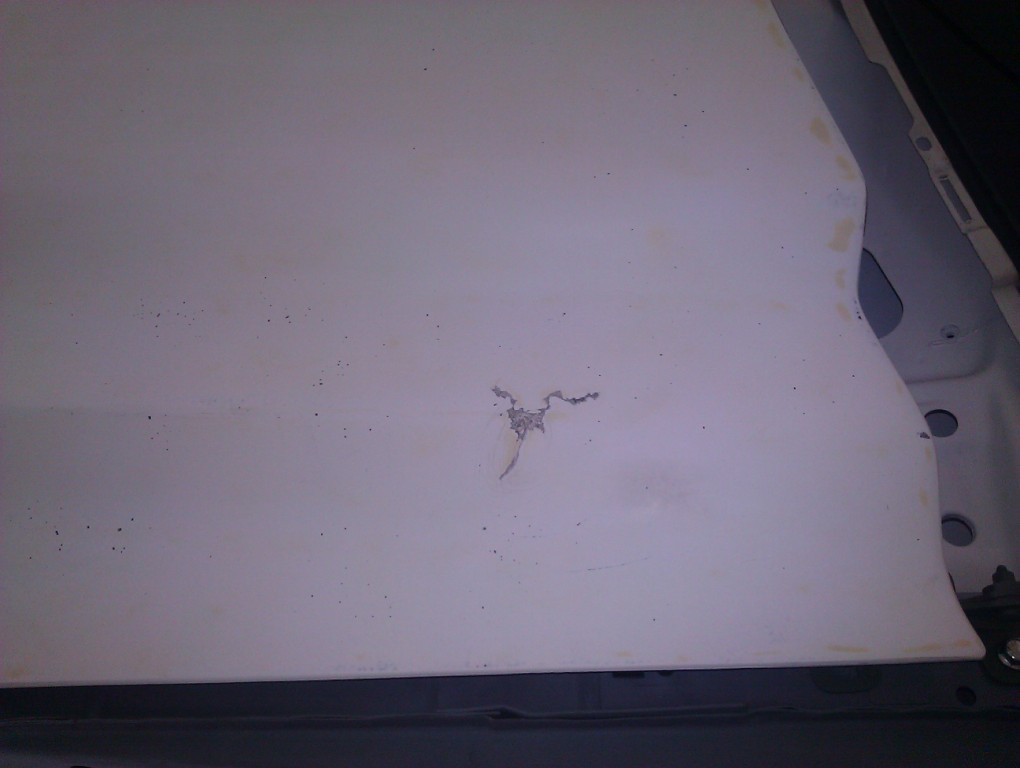
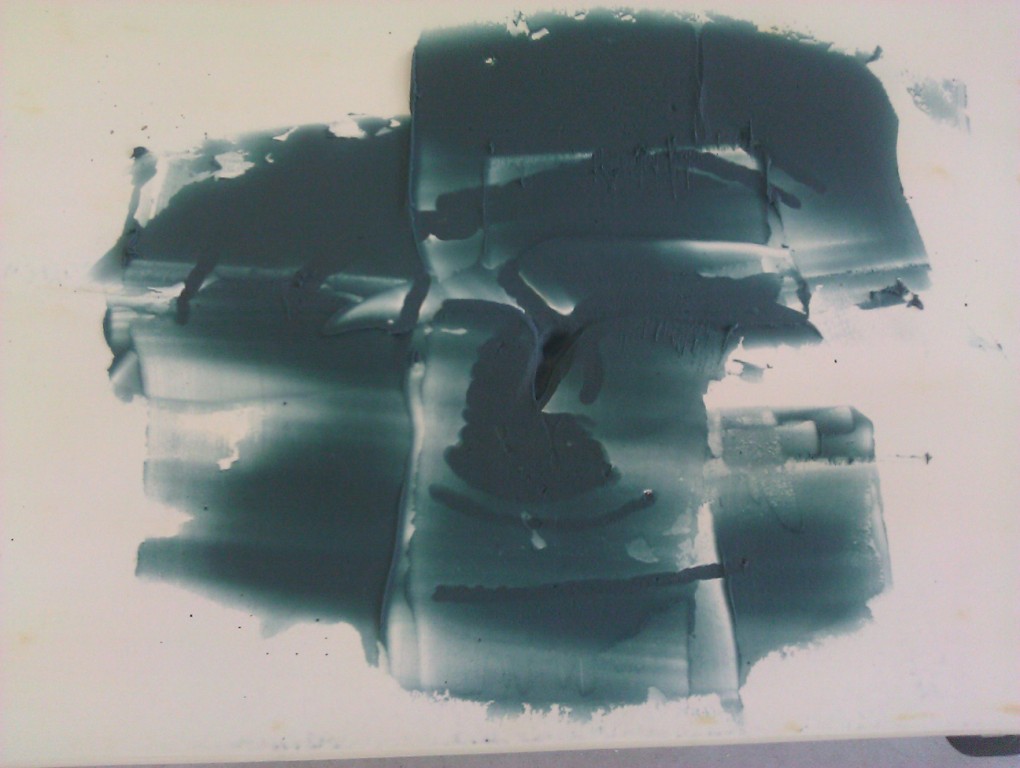
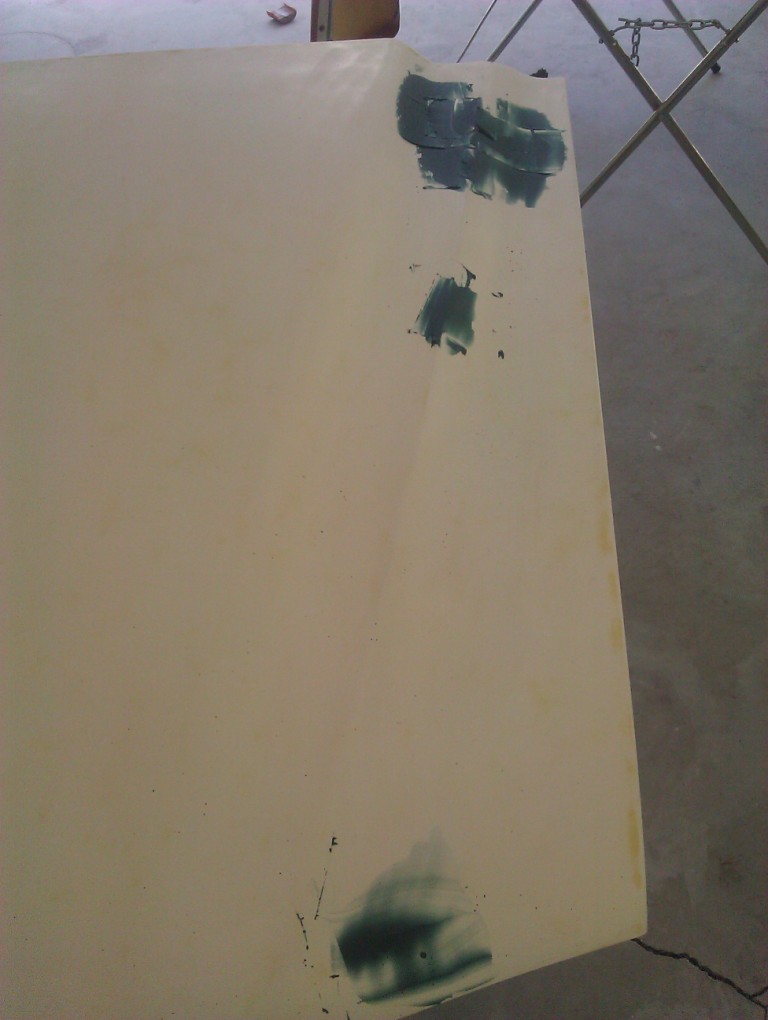
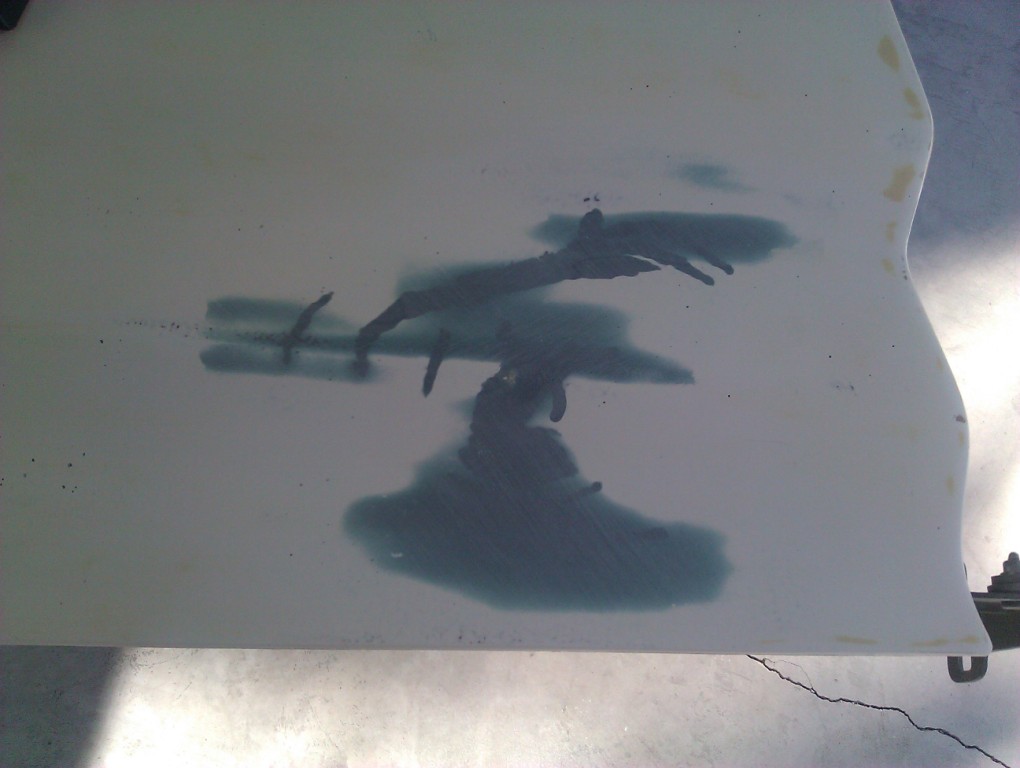
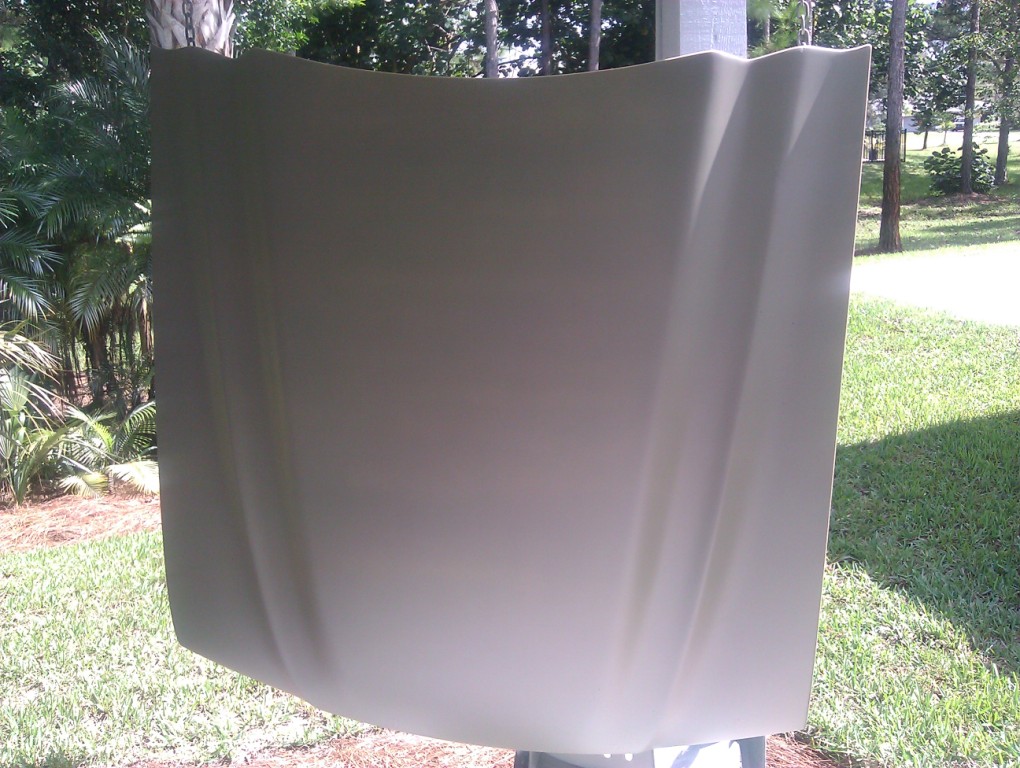
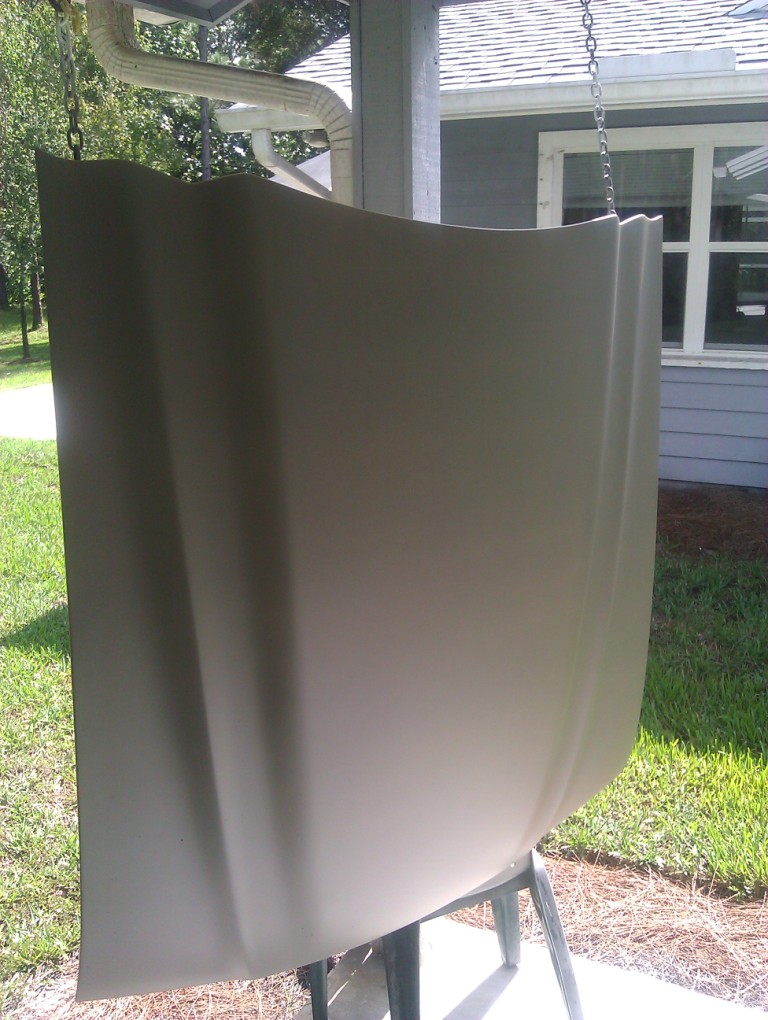
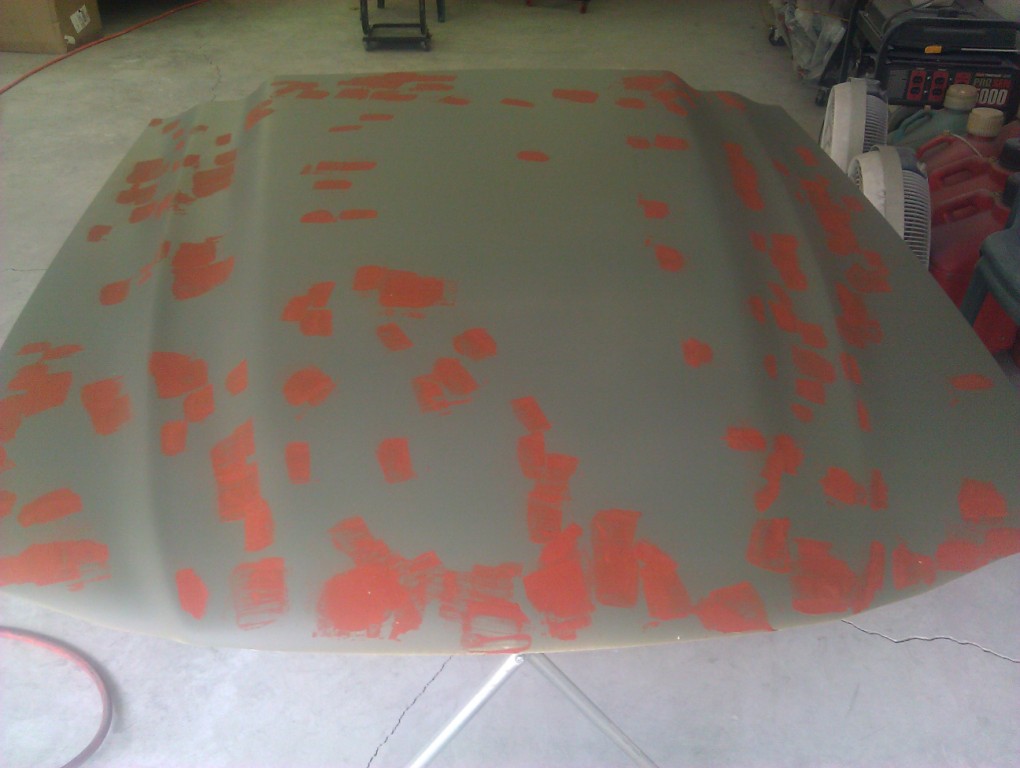
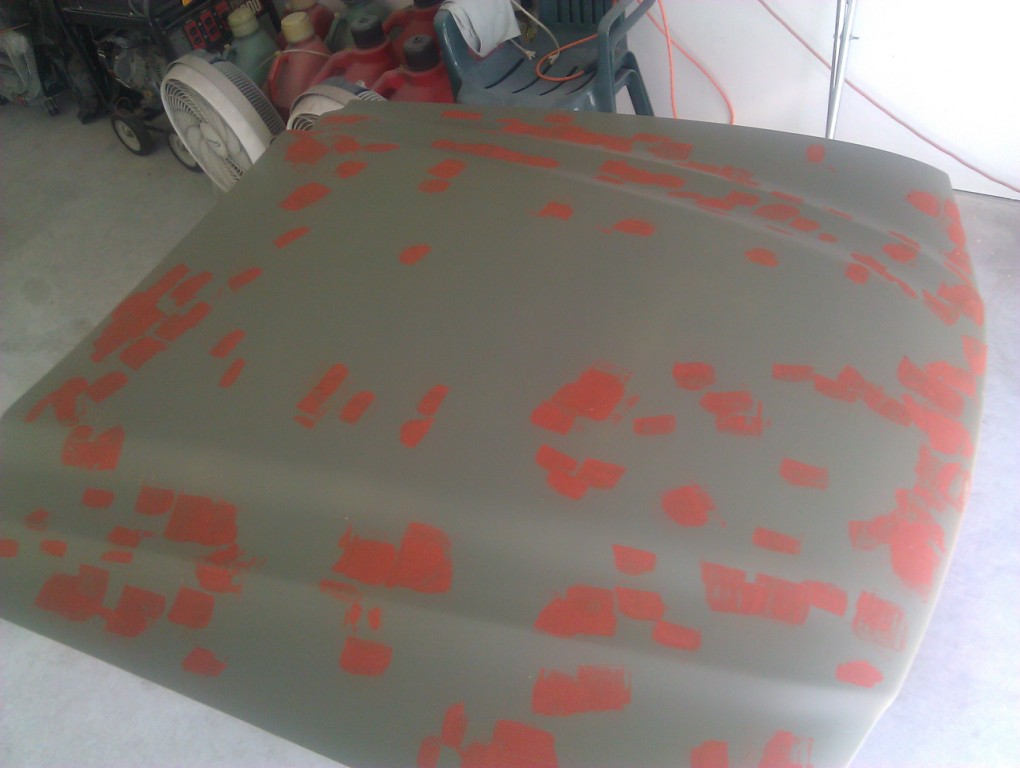
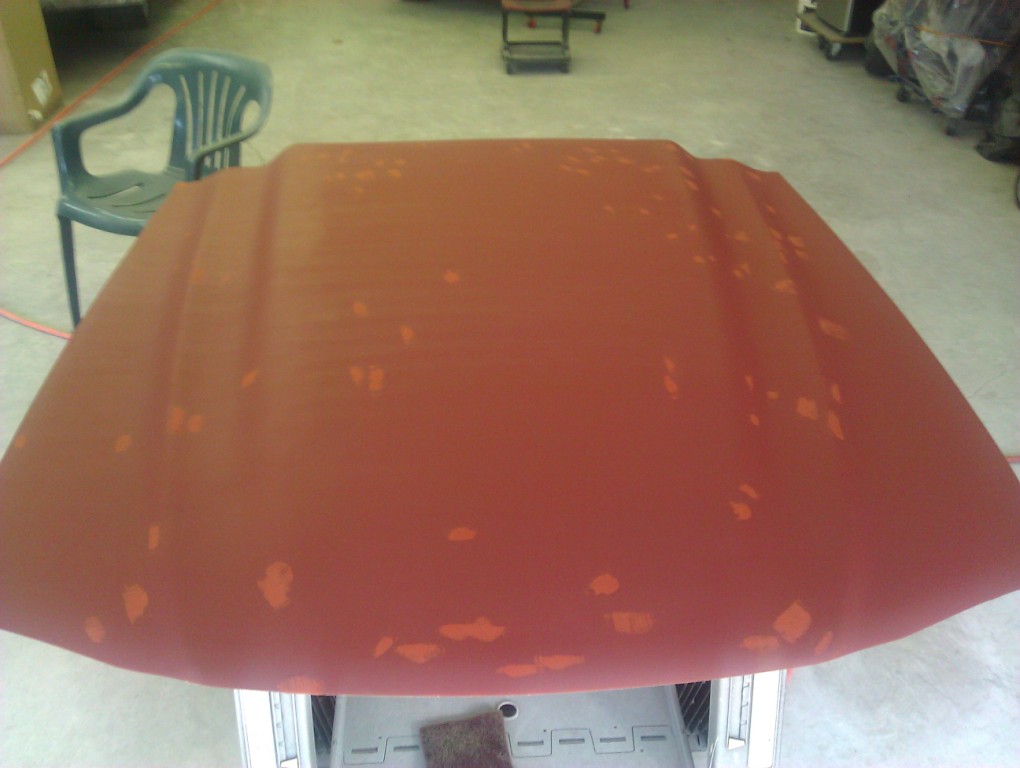
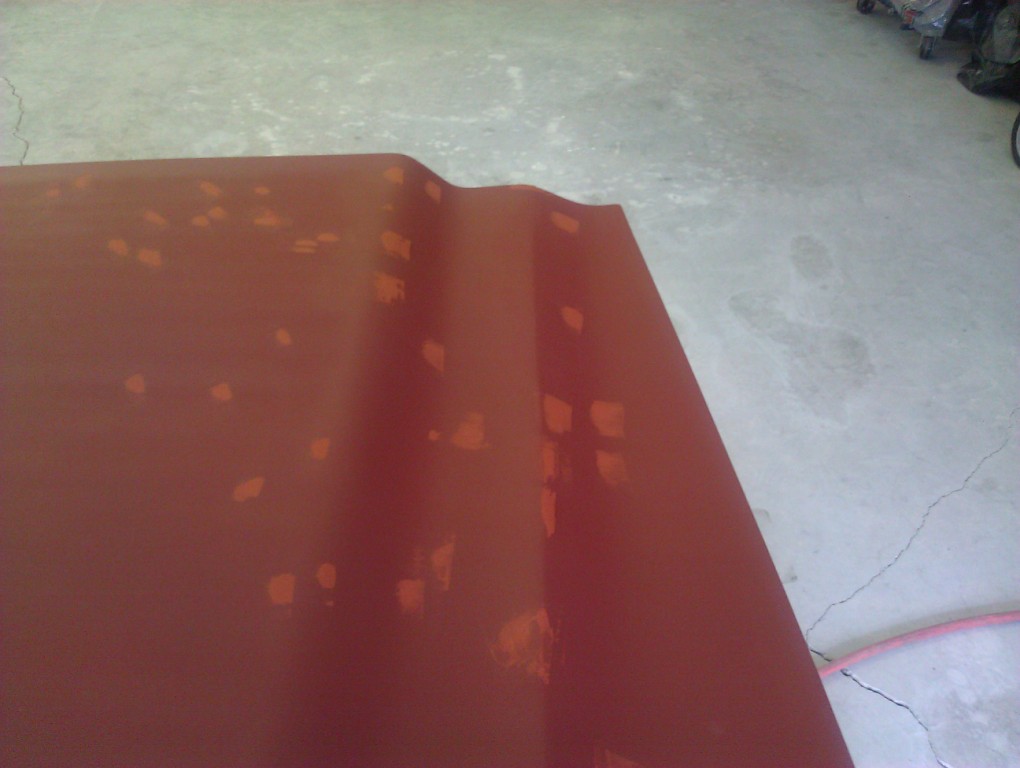
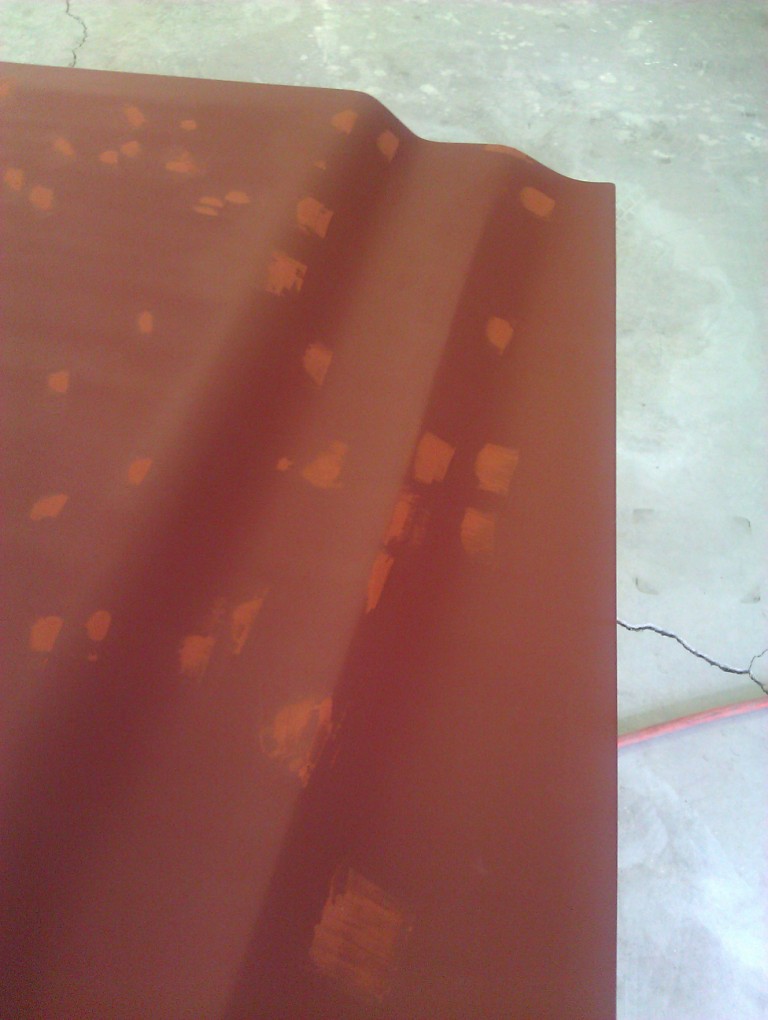
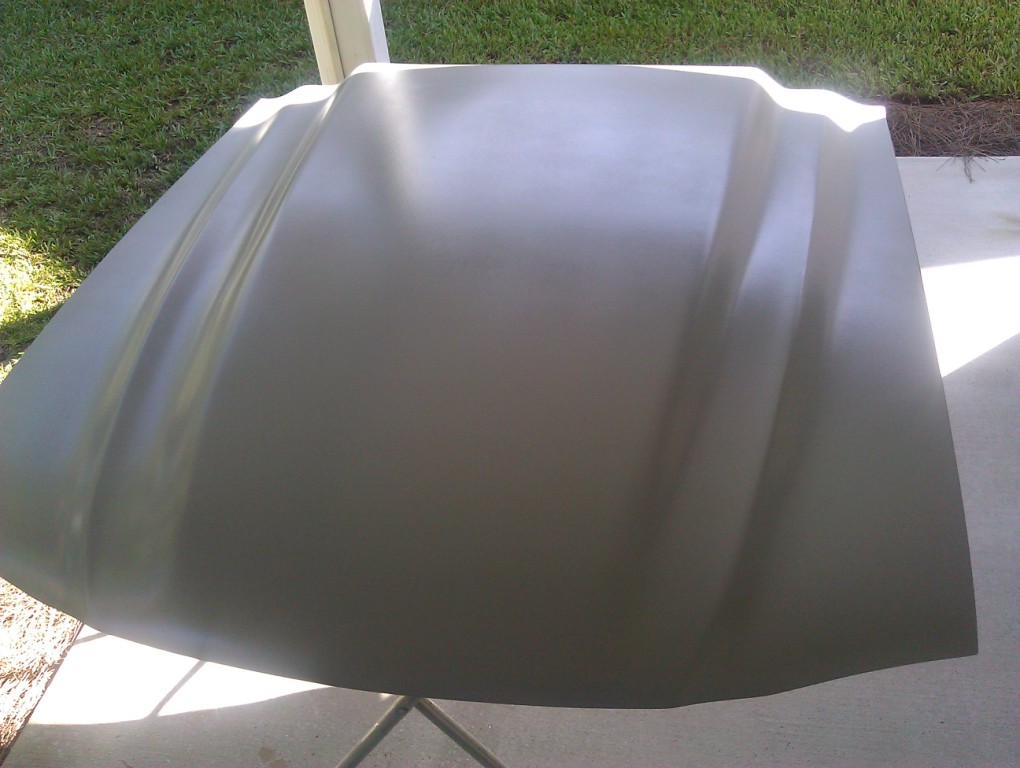
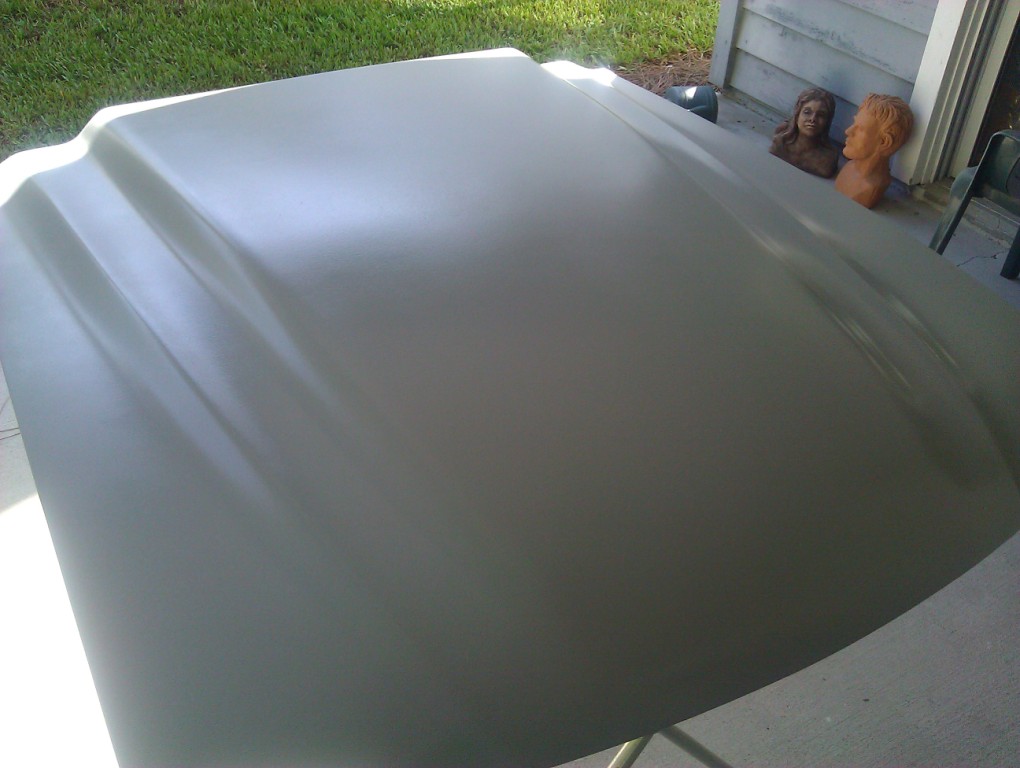
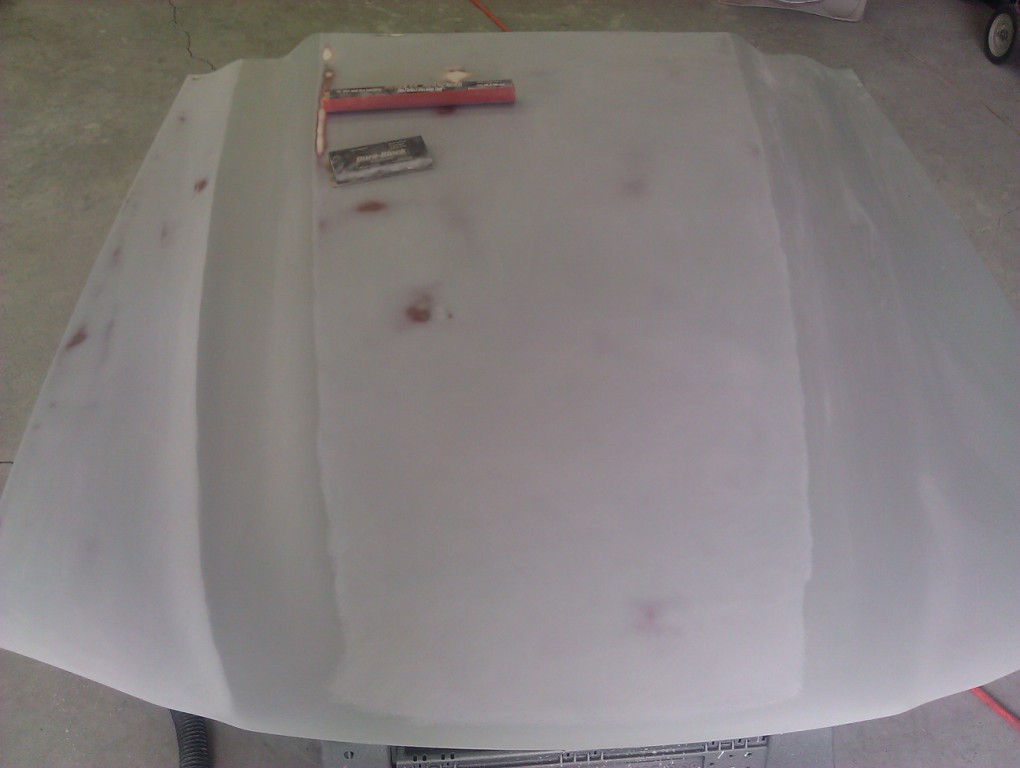
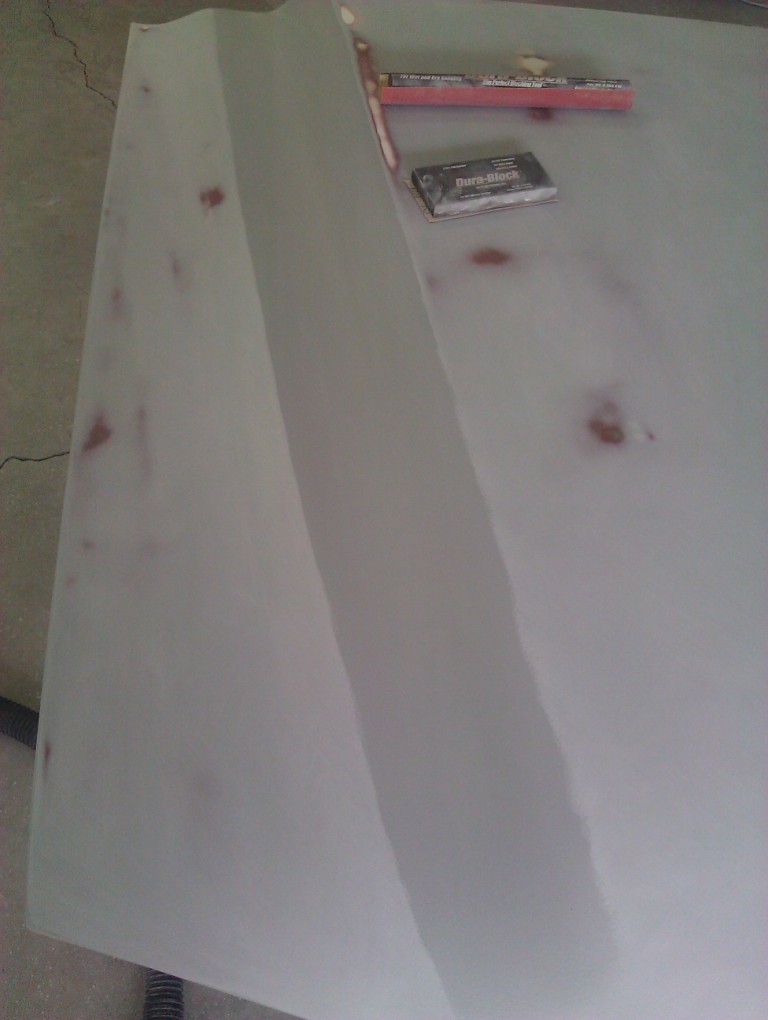
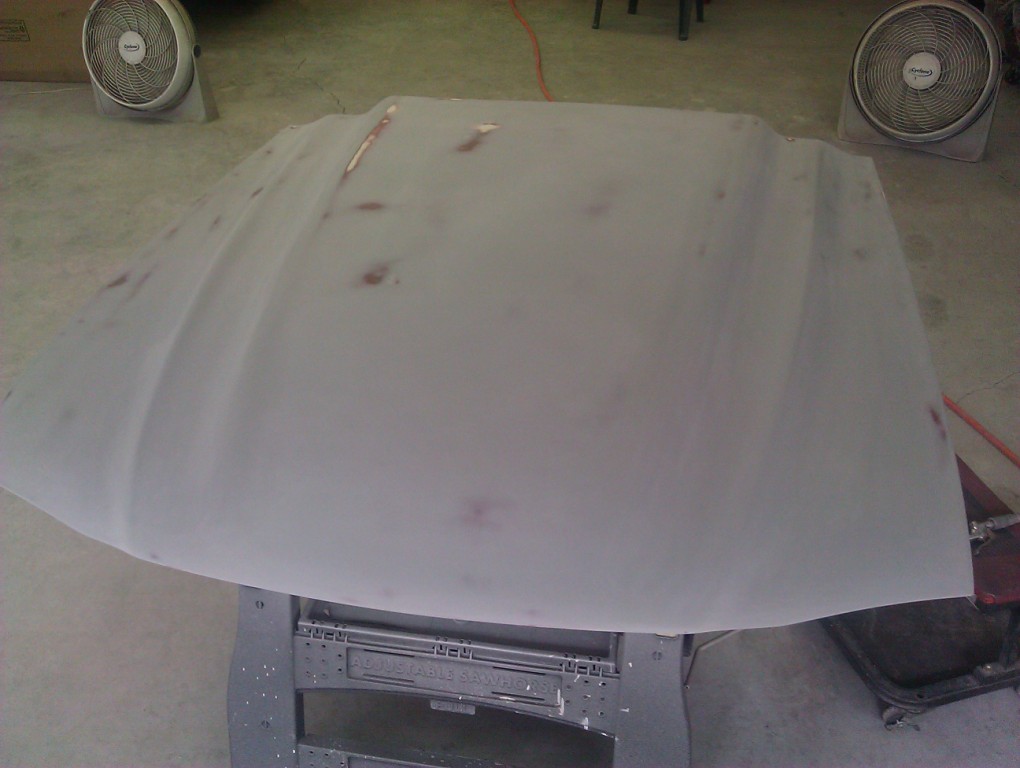
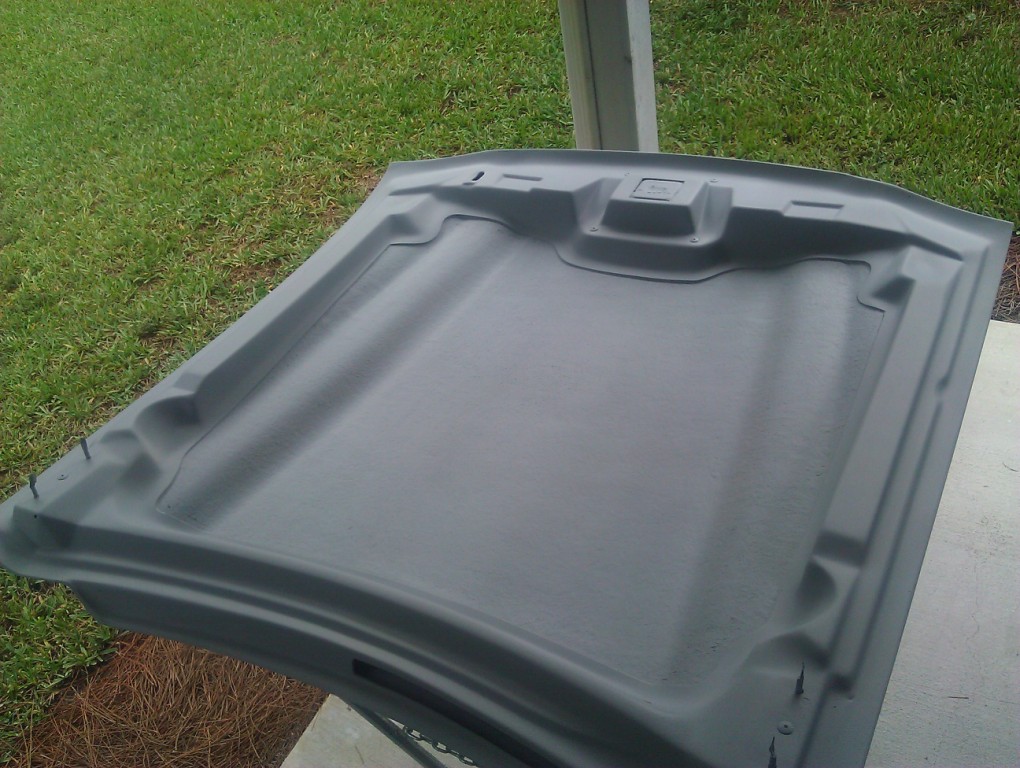
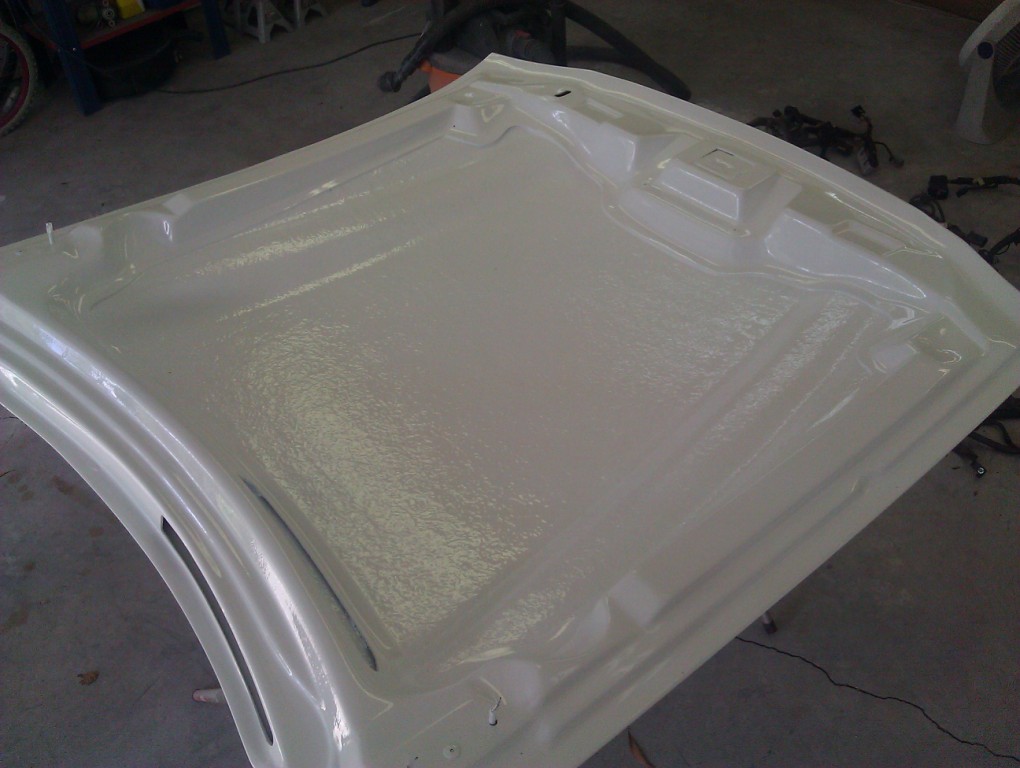
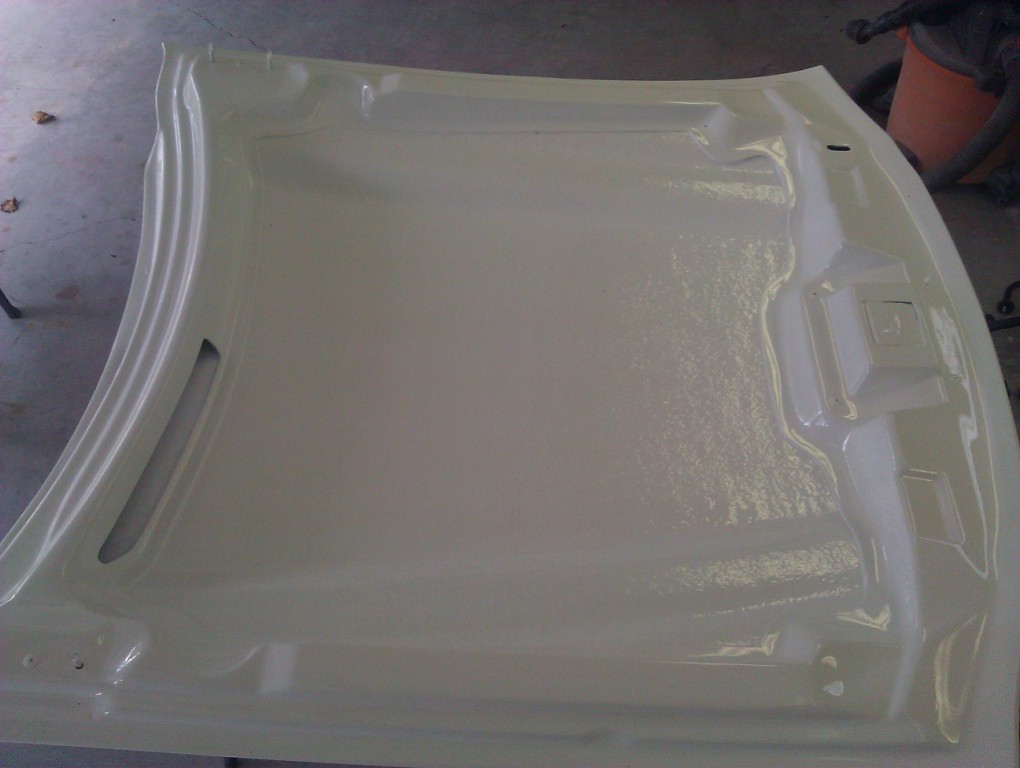
| The
hood is a Ford Racing 'Cobra R' hood that is sold by Ford
over-the-counter to people who want to update their Mustangs and Cobras
to the 'R' models appearance. The Ford hood fits better than many of
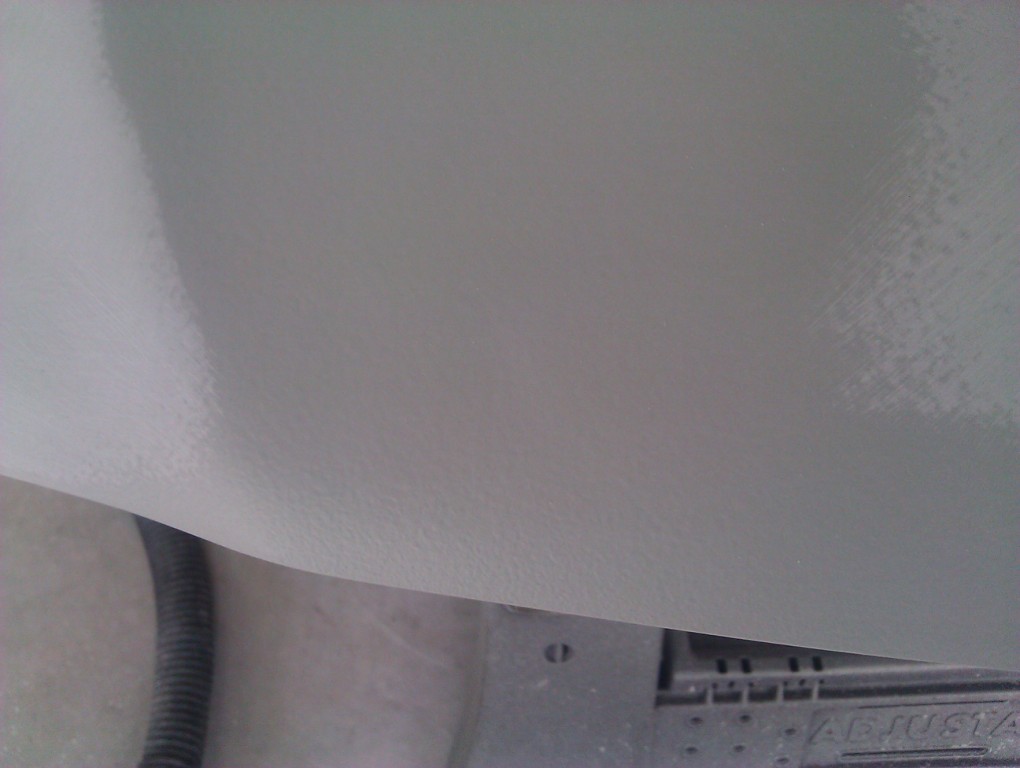
it's aftermarket counterparts and is better constructed. However, the one on this car has some problems. I knew when I purchased the car that there was an damaged area on the fiberglass on the outside of the hood. Media blasting the hood removed the multiple layers of paint and exposed many hundreds of pin-holes in the gelcoat. Luckily, the major damage was limited to the outer layer of fiberglass and the inner layer and under side of the hood were in good shape. I began the repairs by using a die-grinder and a cutting stone to open-up all the damage fiberglass, cutting it out until I got to solid material. Once that was completed and the surface cleaned, I filled those areas with multiple coats of a fiberglass repair material commonly called 'Kitty Hair'. With the structural repairs sanded and level, I topped it off with a thin layer of regular polyester filler. Next the spray gun was filled with Epoxy primer that once applied, would seal the surface of the fiberglass. After that, the process of filling in all the pin-holes with 'Spot Putty' and sanding started. It took a couple of rounds of priming and spot putty to fill in all the holes. Once that was done, the hood was sprayed with three coats of 'Filler Primer', which is an extra-thick primer that you then block-sand off to level and smooth a large area. After the hood was 'blocked', a final coat of primer was applied both inside and out. After the primer cured, the outside of the hood was blocked with 400 grit, and the underside was blocked and confined areas got flattened with a 'fine' 3M sanding sponge. Next came the cleaning and taping-off the topside in preparation for painting the underside. Three coats of 2K Urethane were layed-down on the underside of the hood. A few days later, the hood and bumper were taken to Palm Beach Coachworks, where they joined the car for the exterior paint work. | ||
                        | ||
All images are property of Titanium Motorsports and may not be used without permission.Last Modified: November 17th, 2011. | ||