 TITANIUM
Motorsports
TITANIUM
Motorsports | TITANIUM Motorsports Home "POS Cobra" Restoration Journal Titanium Motorsports Racing Journal Parts & Stuff For Sale PRI Show The Lounge | Journal Update, 03/25/2011 Motor status update: After getting the short-block up to Buddy and the heads to AirFlow Research in California, we had some good news and bad news. Good news - AFR would take care of me on the heads. They would replace the head that dropped the valve and refurbish the other one so that it would be 'good-as-new'. Bad news - The bore in the block was too badly damaged to reuse. However, I was able to source a used bare-block in Orlando for 75 bucks. It still would need to be fully machined for racing use, of course. Mahle Motorsports sold me the one new piston that I needed along with a full, file-fit ring set. The special coated, rod and main bearings looked great and were re-used. I also had to purchase the parts necessary to put together any motor; gaskets, oil pump, pushrods, pilot bearing, freeze plugs and dowels. While the motor was out, I took the opportunity to upgrade some other components. The Ford Racing King Cobra clutch that had been in the car since 2006 was replaced with an Exedy unit from Steeda. The Crane 1.6 roller rockers were replaced with Lunati 1.7 roller rockers. The Comp Cam that I am using is spec'd for 1.7. The only reason the 1.6's were in there is the cam was a last minute change when the motor was first built and the Comp cam I had originally planned to use called for the 1.6's. Other changes included the installation of on-board, waterproof battery chargers for the race car and trailer. I removed the Stewart-Warner digital shift-light tachometer and replaced it with a 3 3/4 inch Autometer Ford Racing shift-light tachometer with a UPR mounting bracket. The shift-light is more in my line-of-sight and should work much better. I also had to replace the SIX batteries in my Golf Cart. Thanks to Matt at Advanced Auto Parts in Jupiter for the deal on the chargers and batteries! |
Here are the waterproof battery chargers that I installed in the car and trailer.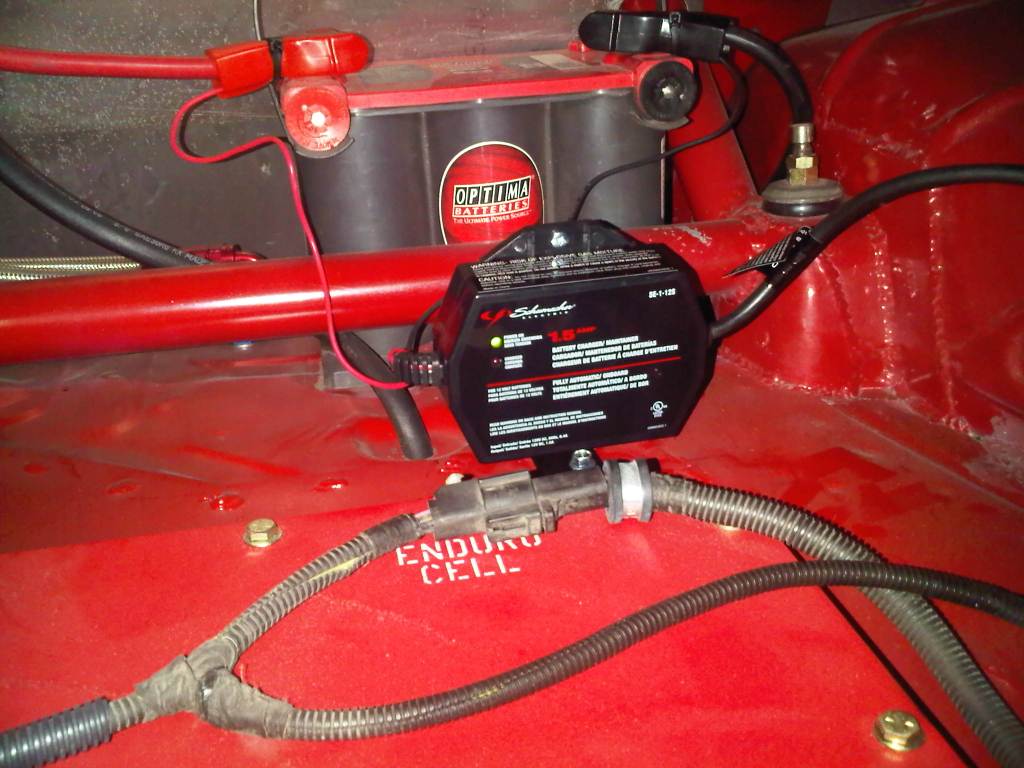 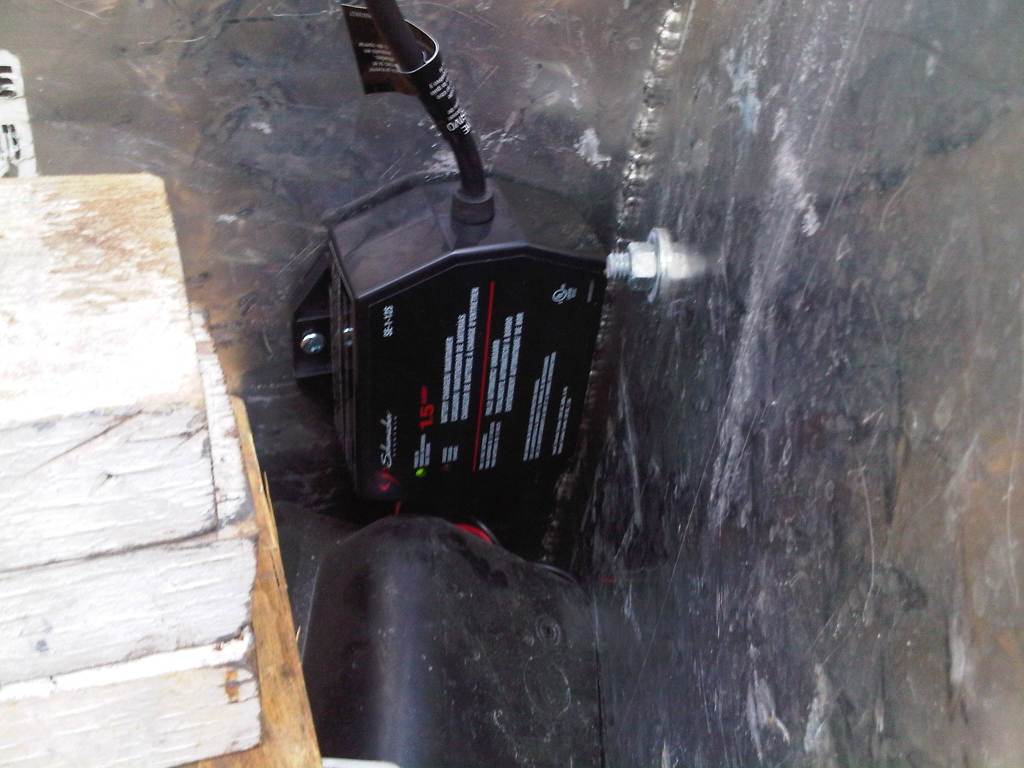 | ||
Golf
Cart before......
.....And after!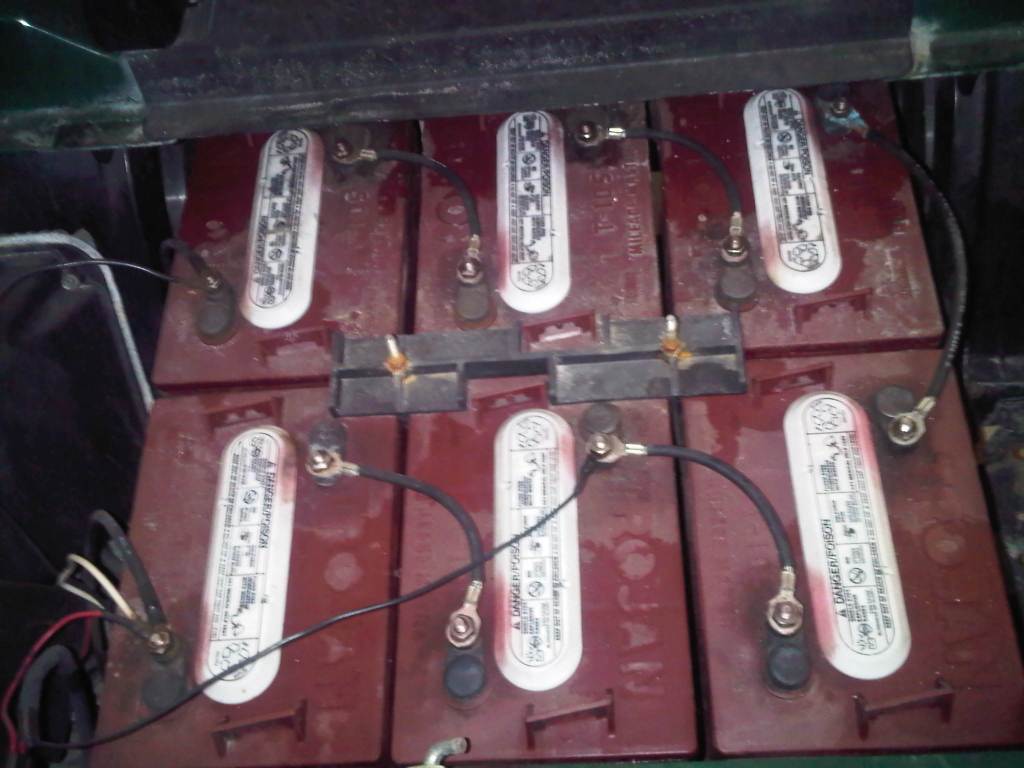 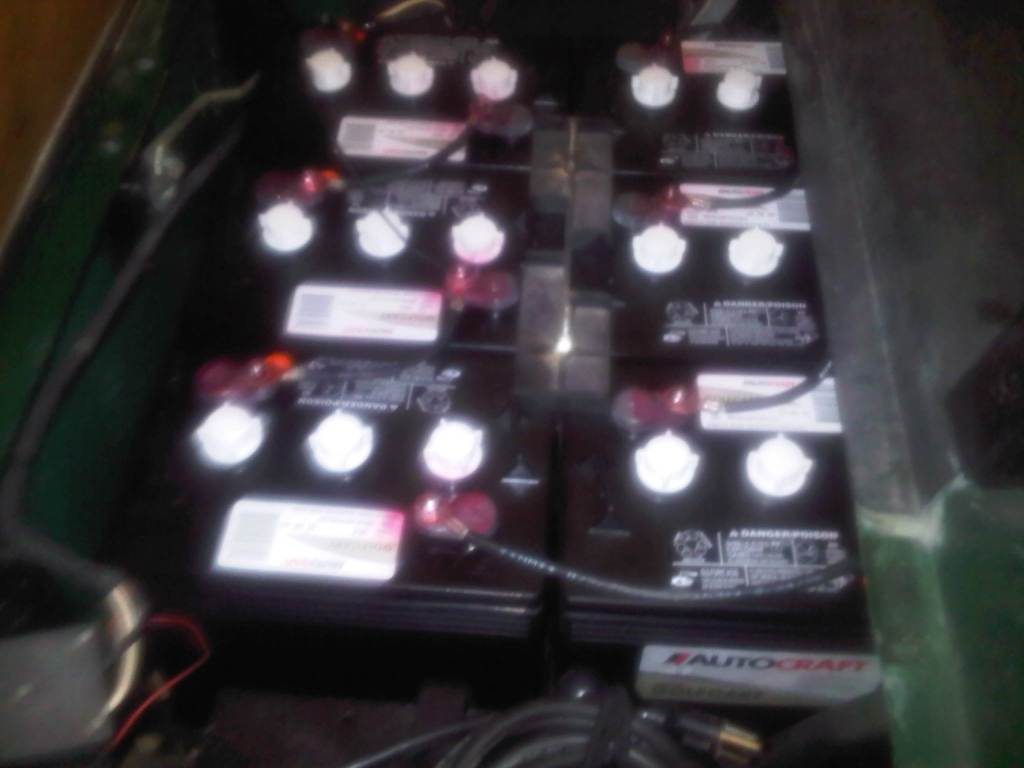 | ||
| While the motor was up at Buddys, I sent my Ford Racing Stainless Steel shorty headers to EnduraCool Coatings
in Odessa Florida for ceramic coating. This will keep the flanges of
the headers from rusting, as well as lower under hood temperatures and
increase horsepower. Bob at EnduraCool recommended going with the dull finish Titanium Ceramic Coating, rather than the more common, chrome-look shiny coating. The headers are coated inside and out. Cost was $200 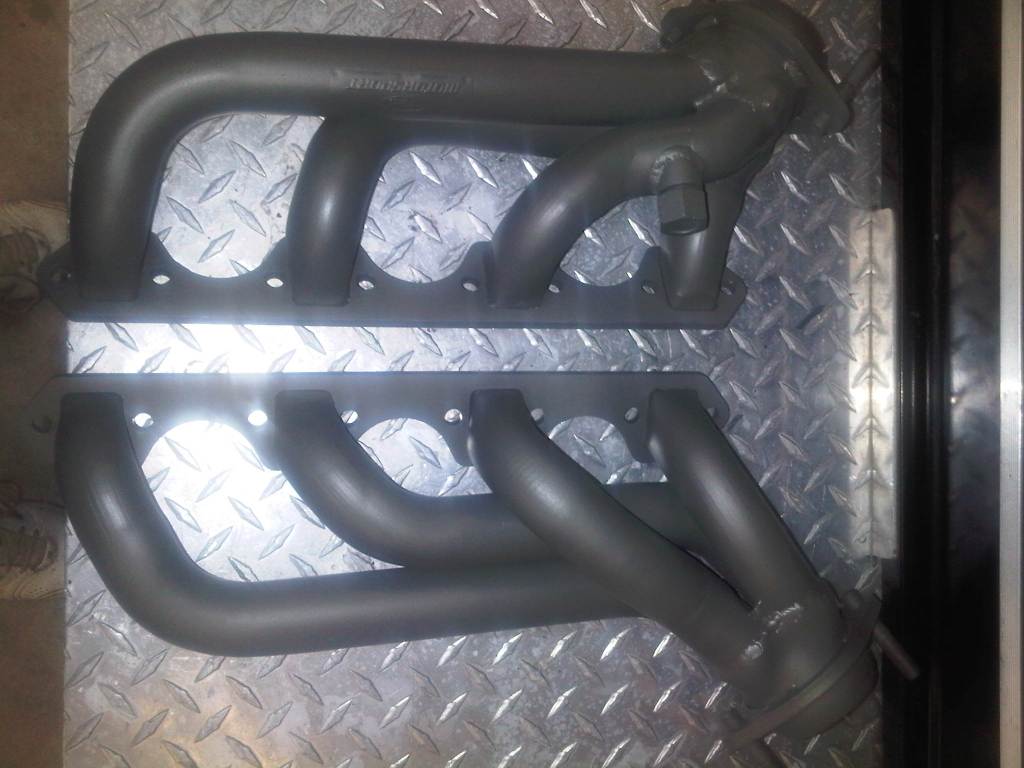 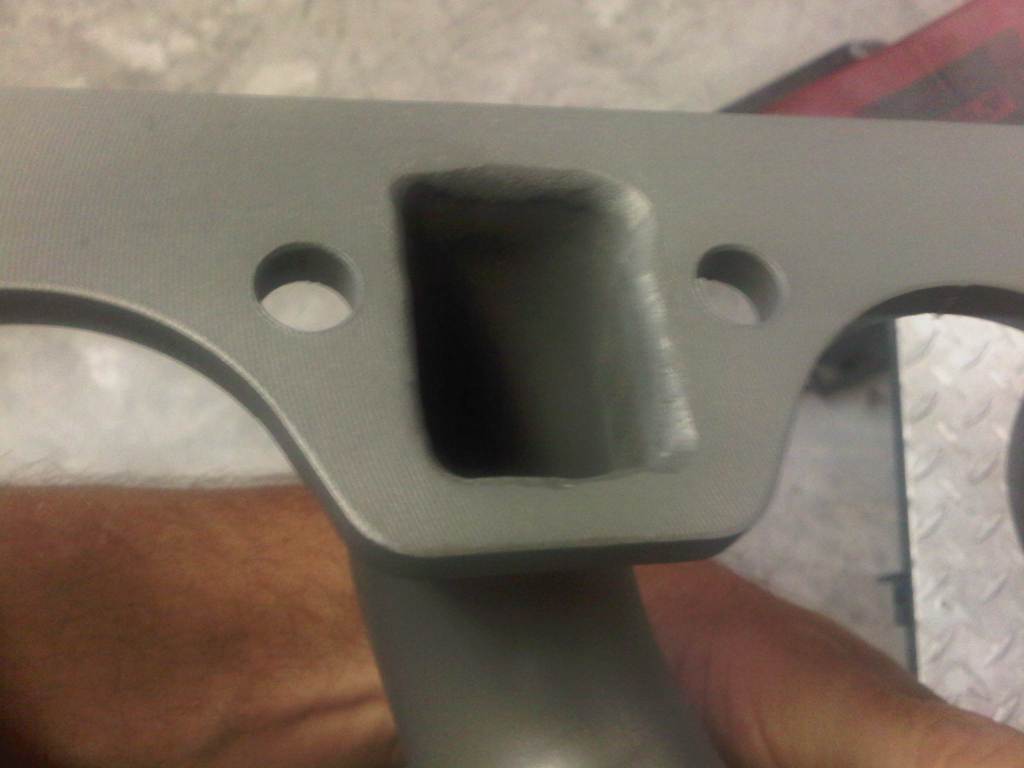 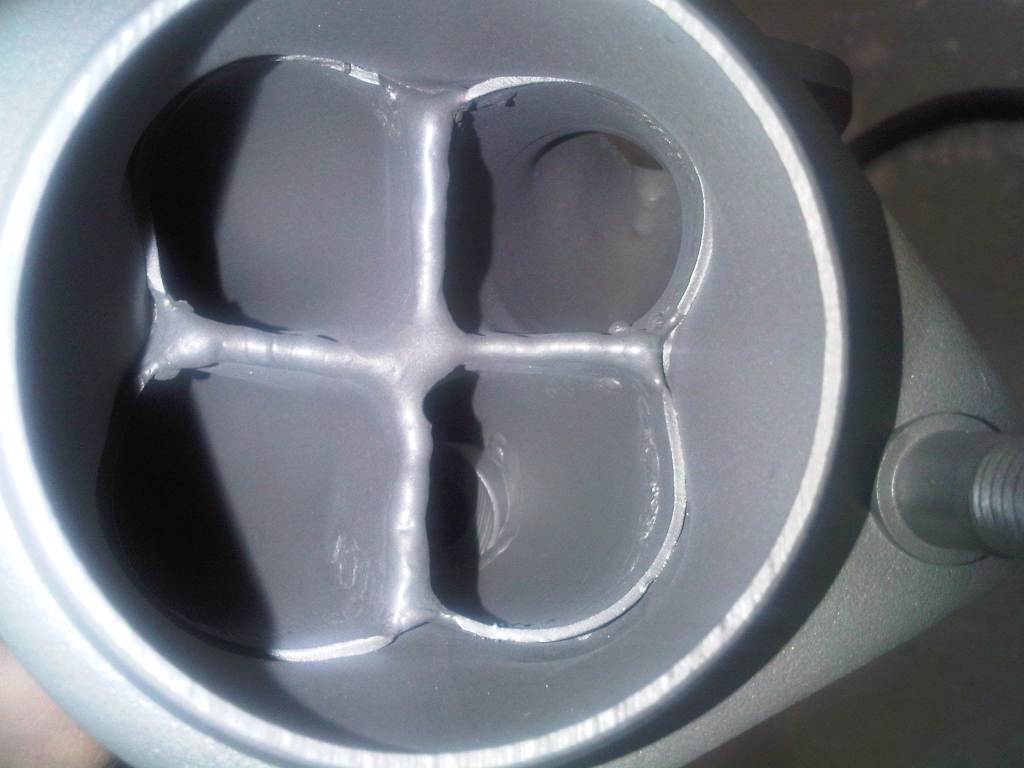 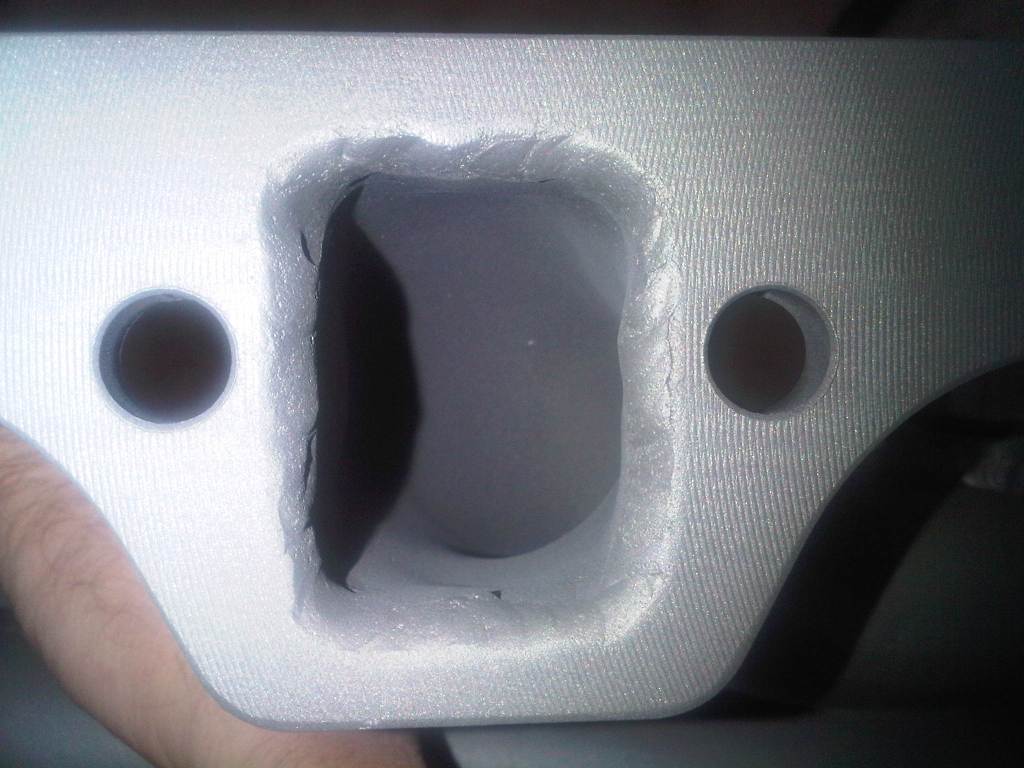 | ||
I
sent the wrong pushrods up to Buddy, so when I got the motor back, the
first job was installing the correct Comp Cams pushrods, Lunati Voodoo
1.7 ratio roller rockers and adjusting the valves. 1/2 to 3/4 turns
past zero lash. Next I glued the Fel-Pro 1262 gaskets into position so
they line up with the ports on the heads.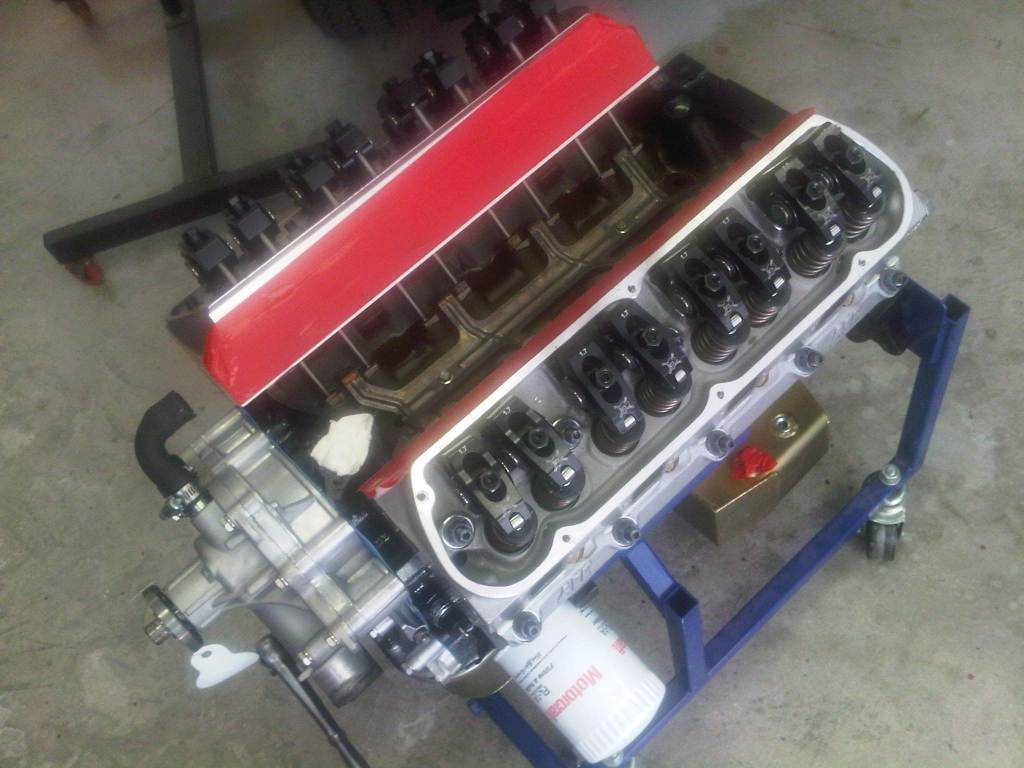 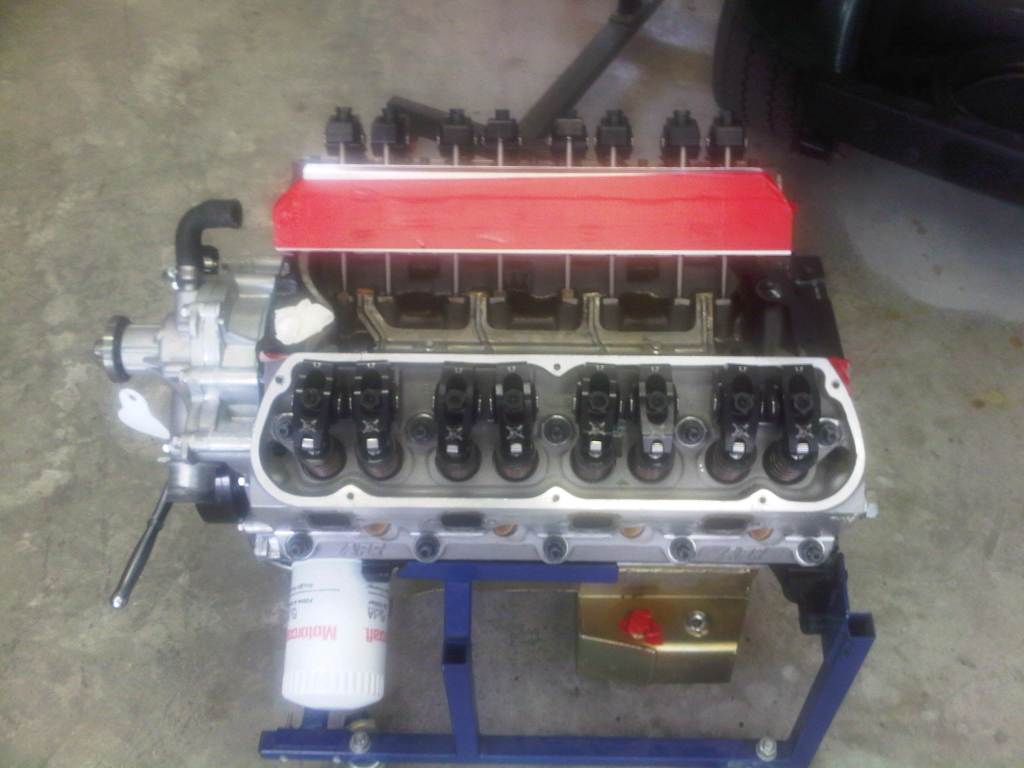 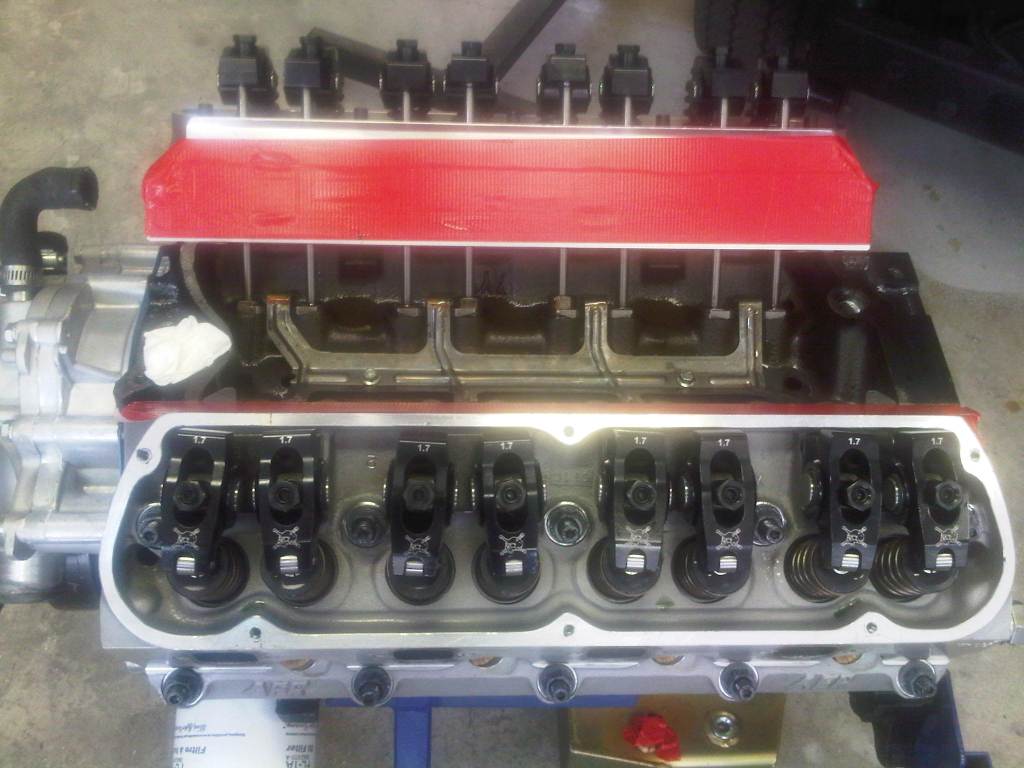 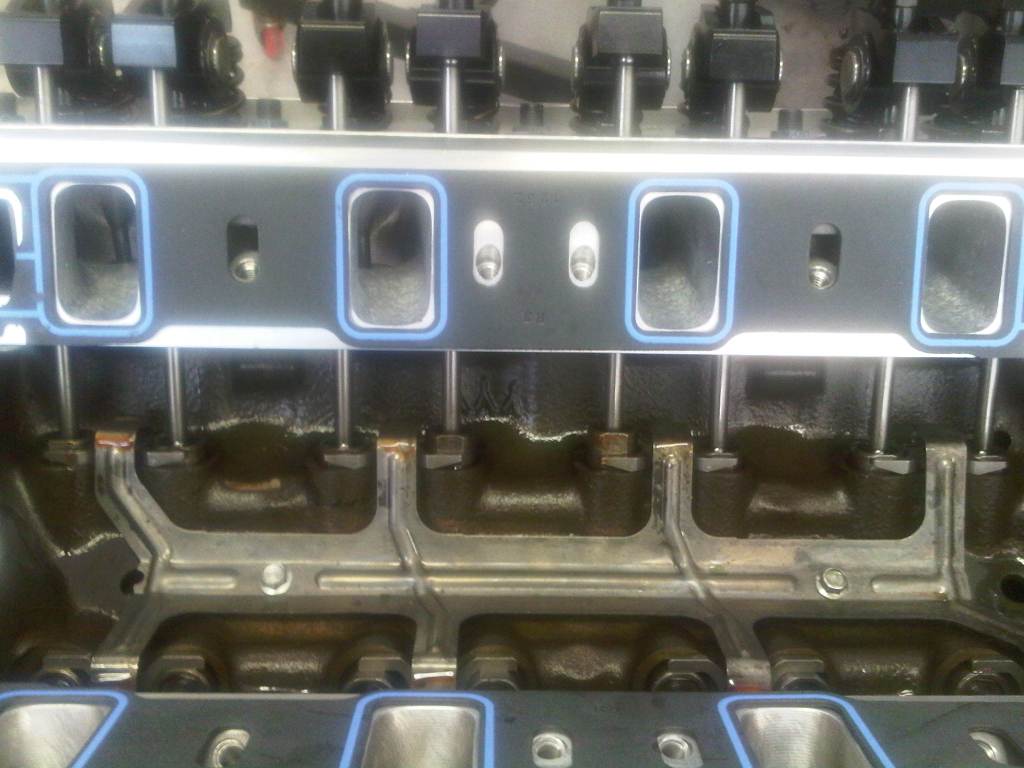 Some people may wonder how you get 400HP out of an intake that Ford Racing says cant support more than 350HP? Answer: It's ports are just slightly larger than stock! 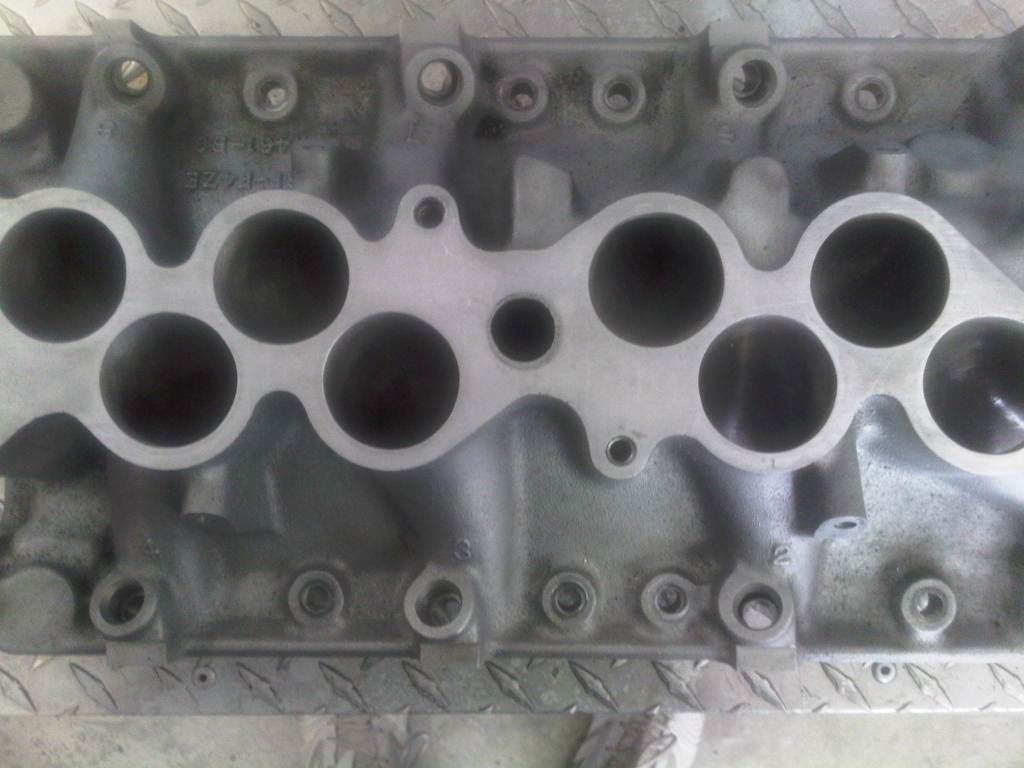 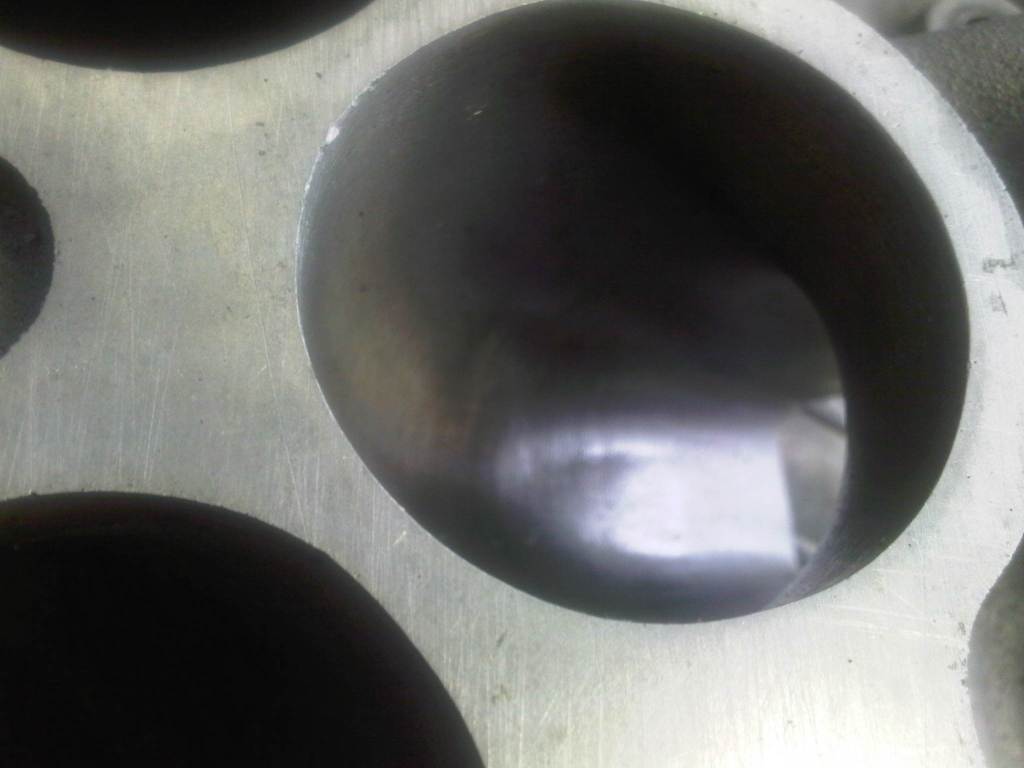 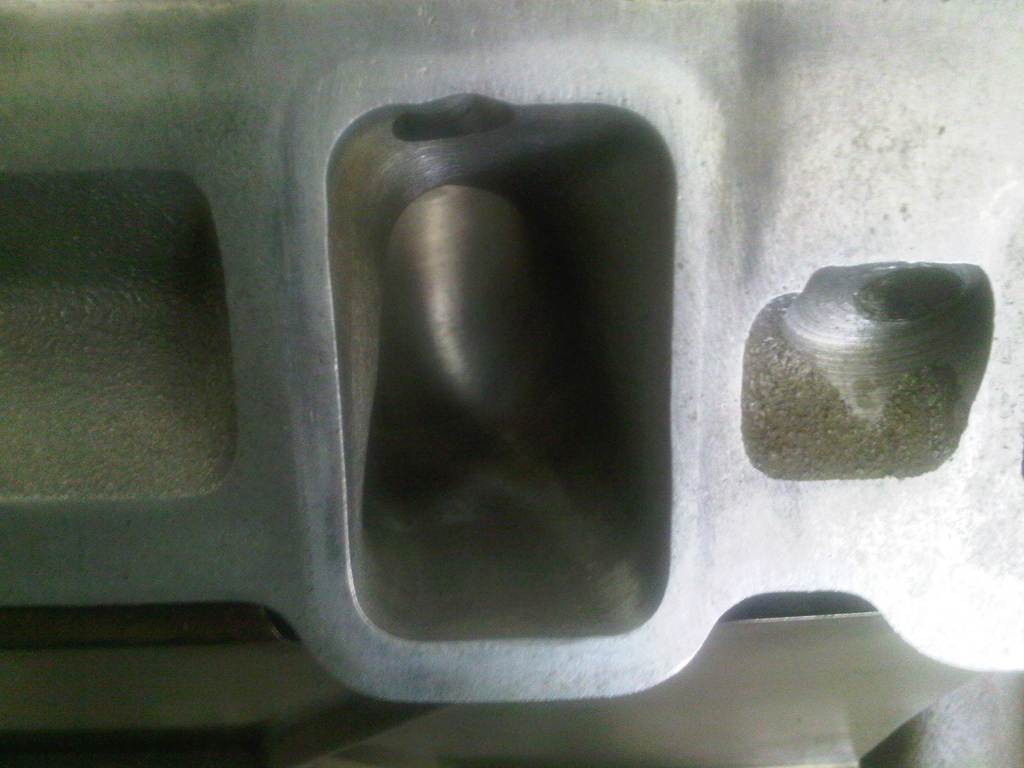 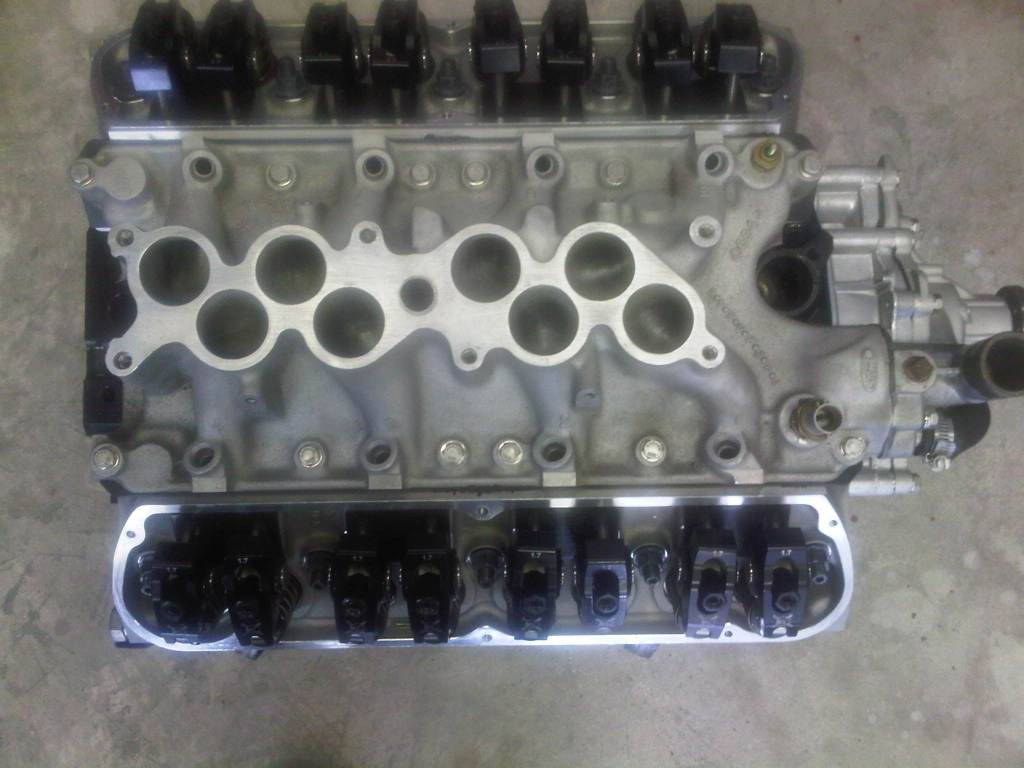 | ||
Intake
manifold, fuel rail, valve covers and water pump are on. At this point
the motor is filled with 8 quarts of 20W50 Valvoline VR1 and primed
before the distributor goes in.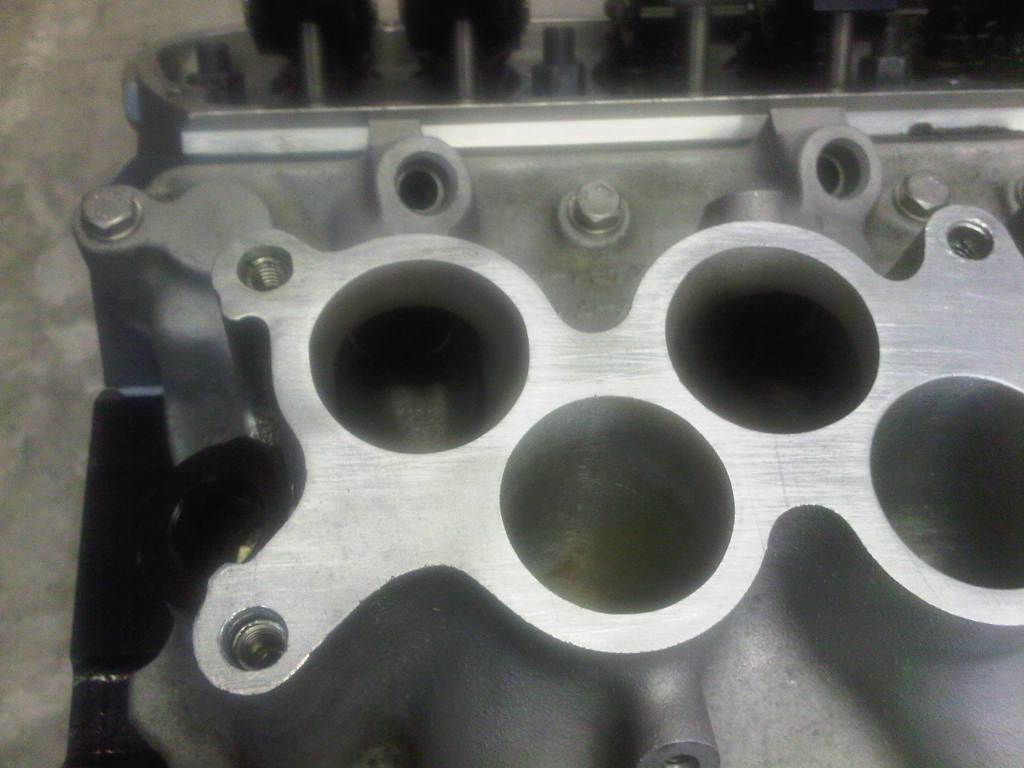 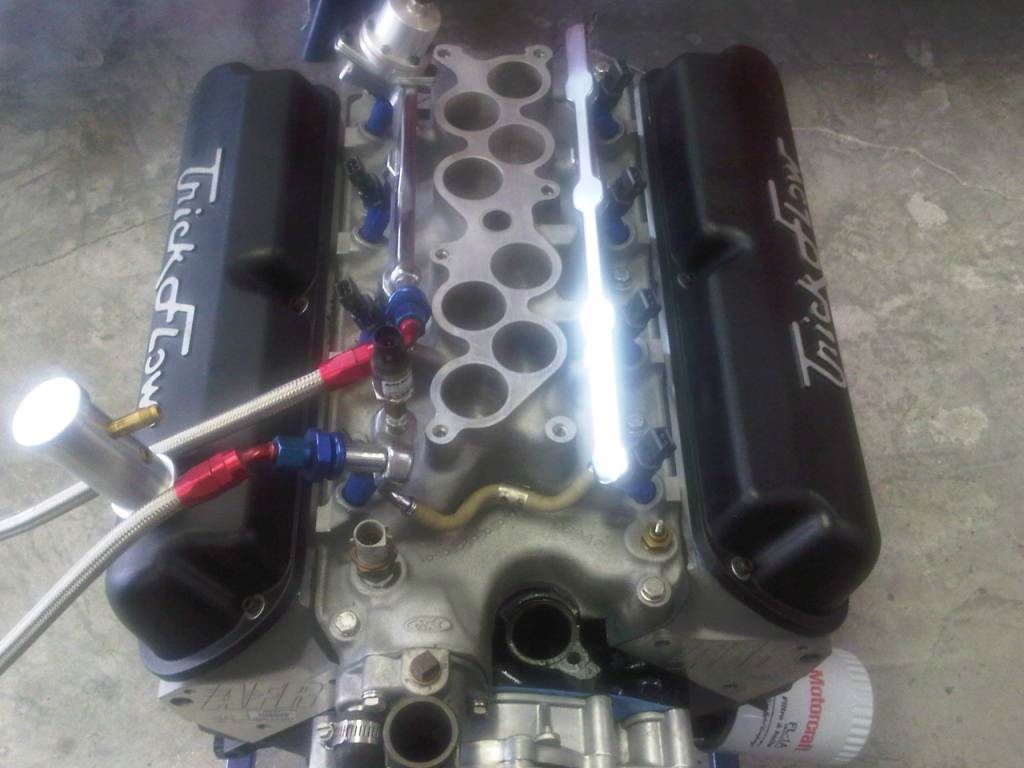 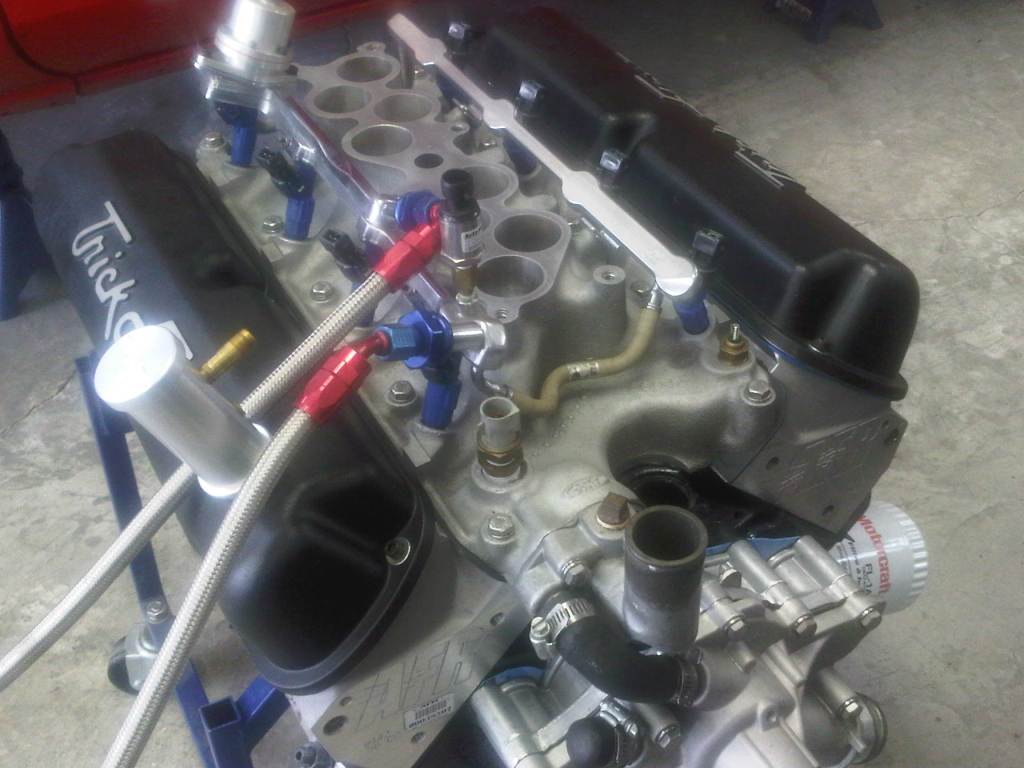 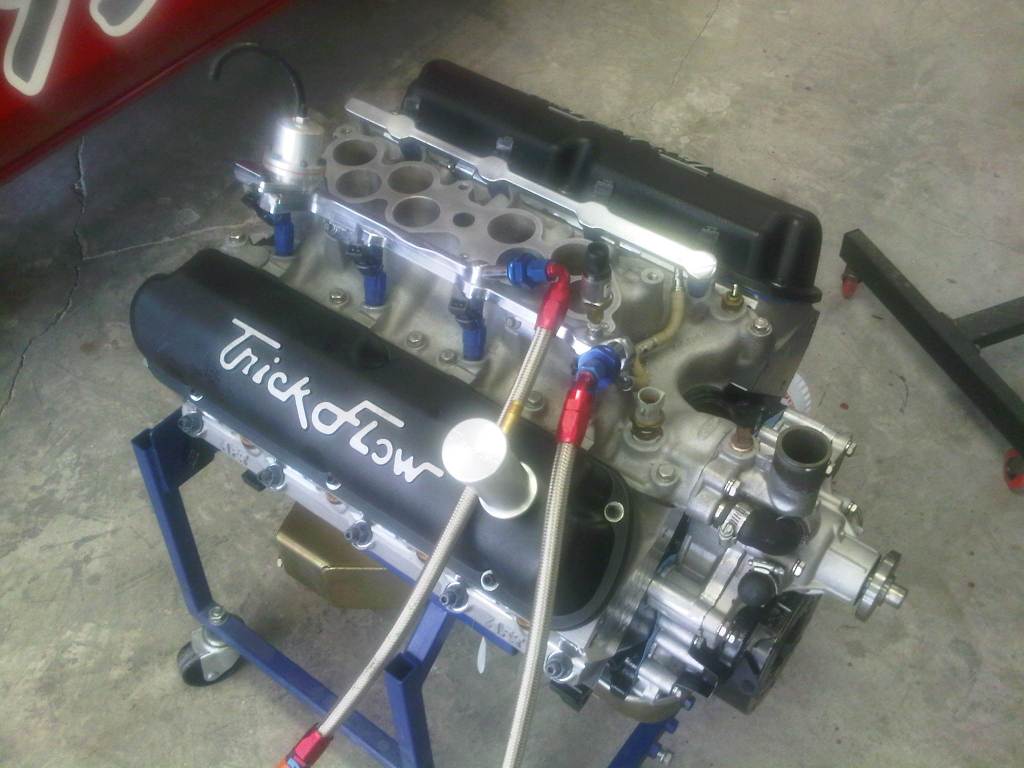 The last parts to go on the motor are the accessory brackets, pulleys, headers, distributor, wiring, block plate, flywheel, and the new Exedy clutch disc and pressure plate. 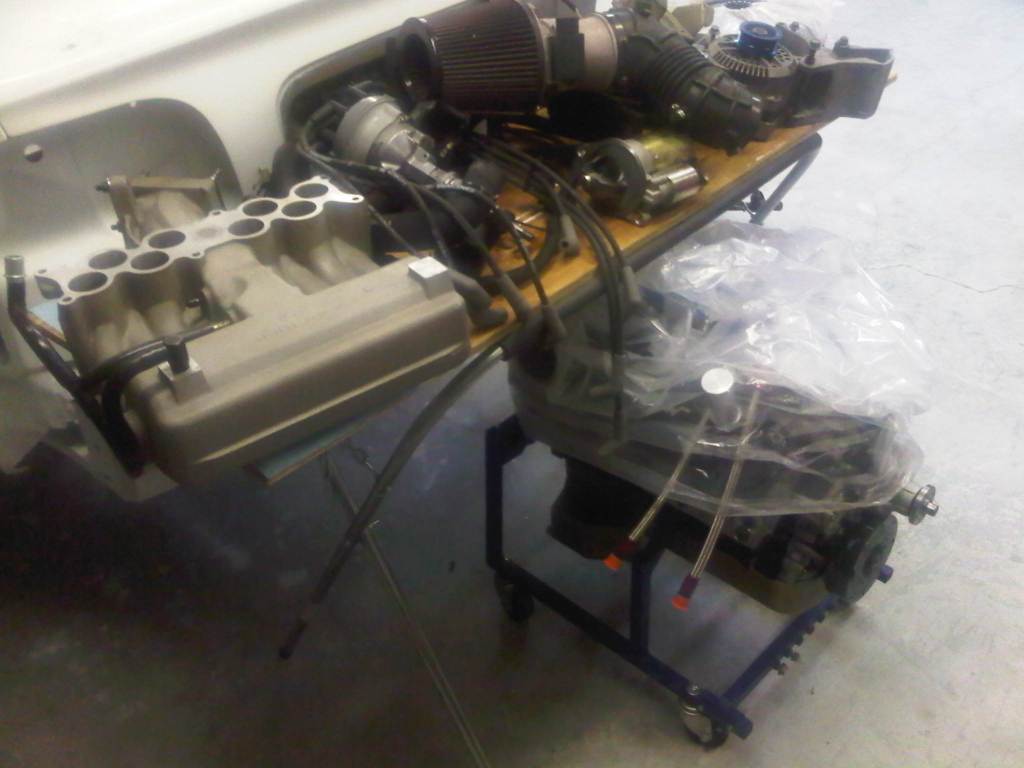 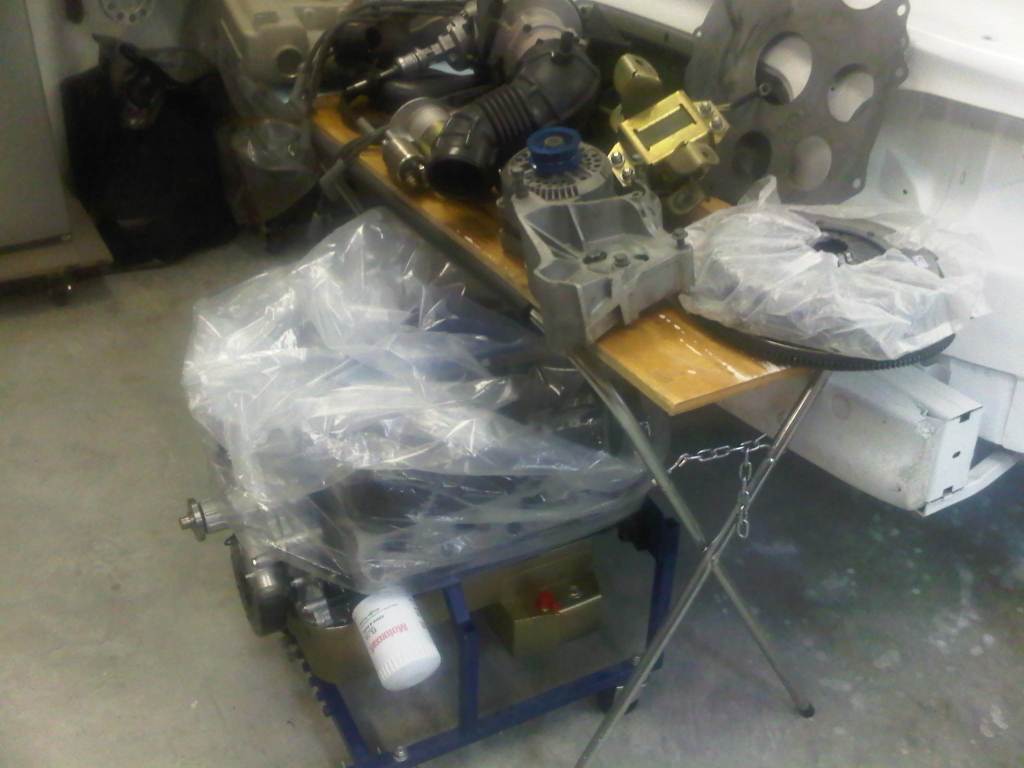 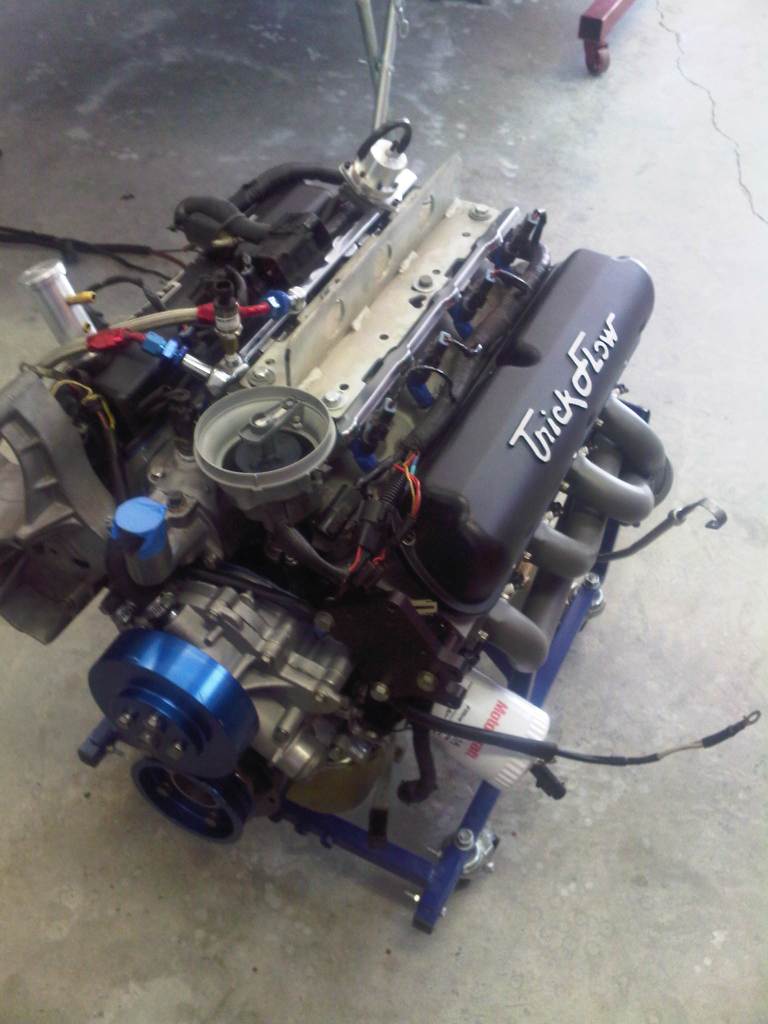 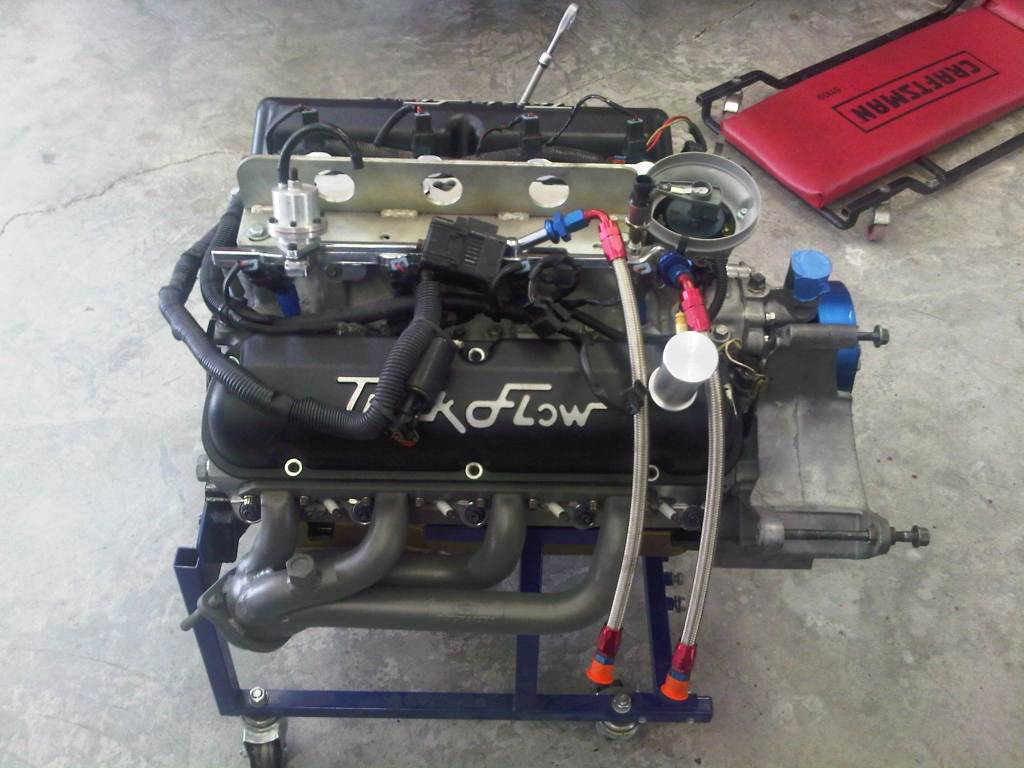 | ||
Time to put her on the hoist and drop it in. The motor mounts go in after the motor is bolted up to the transmission.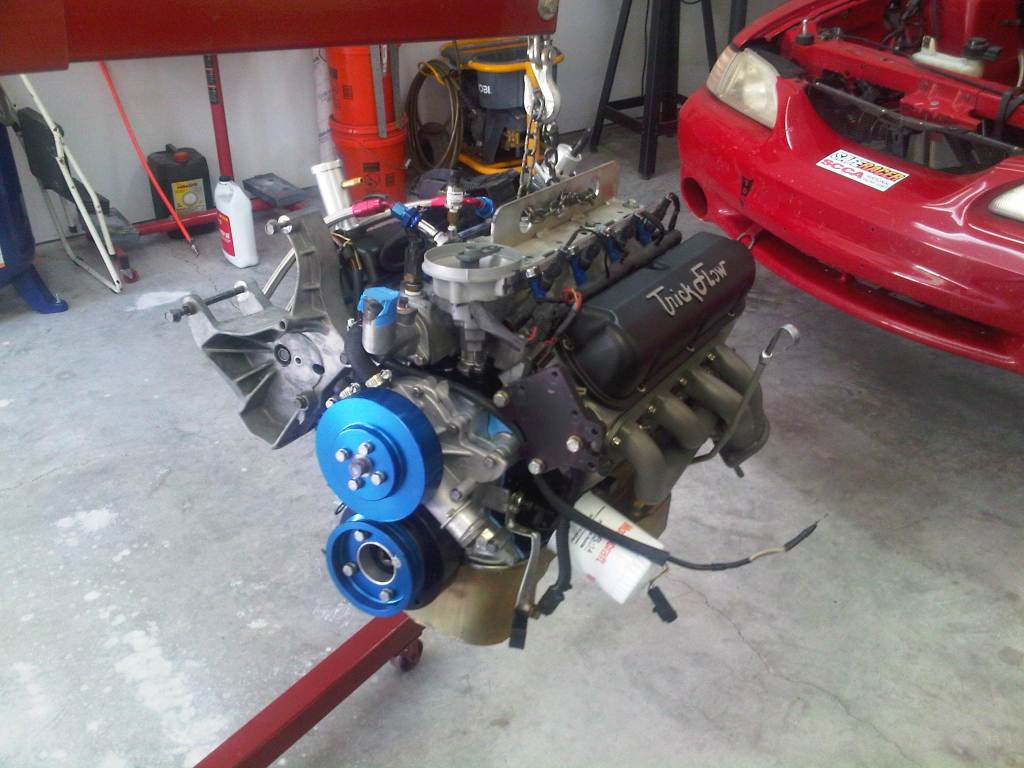 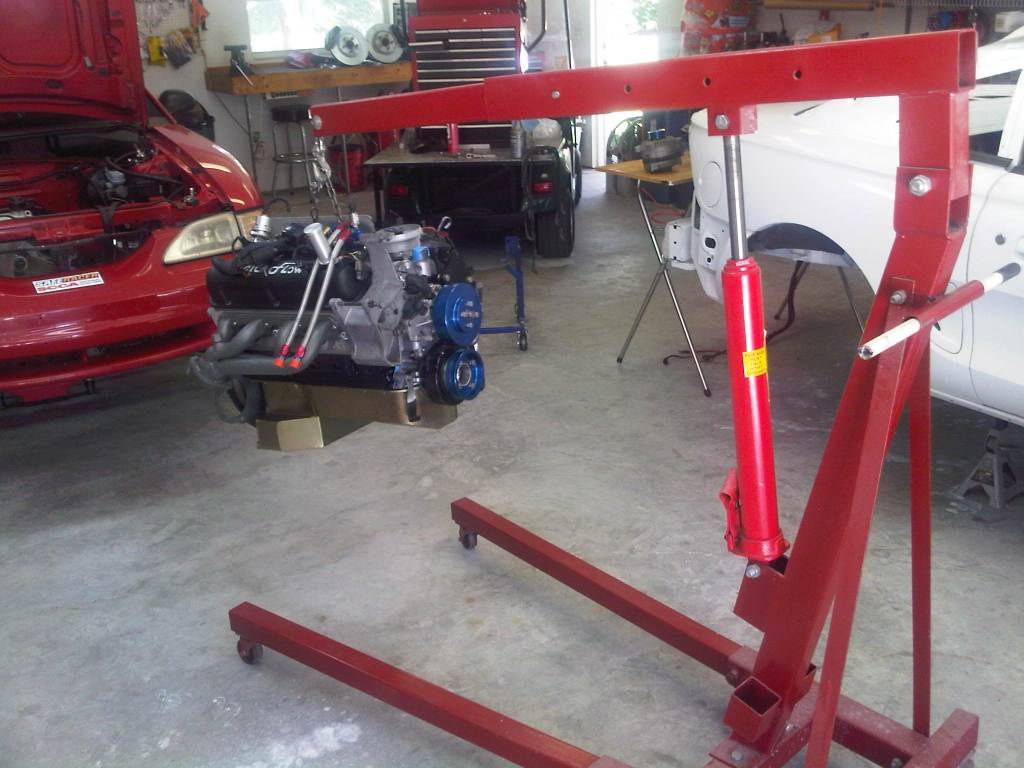 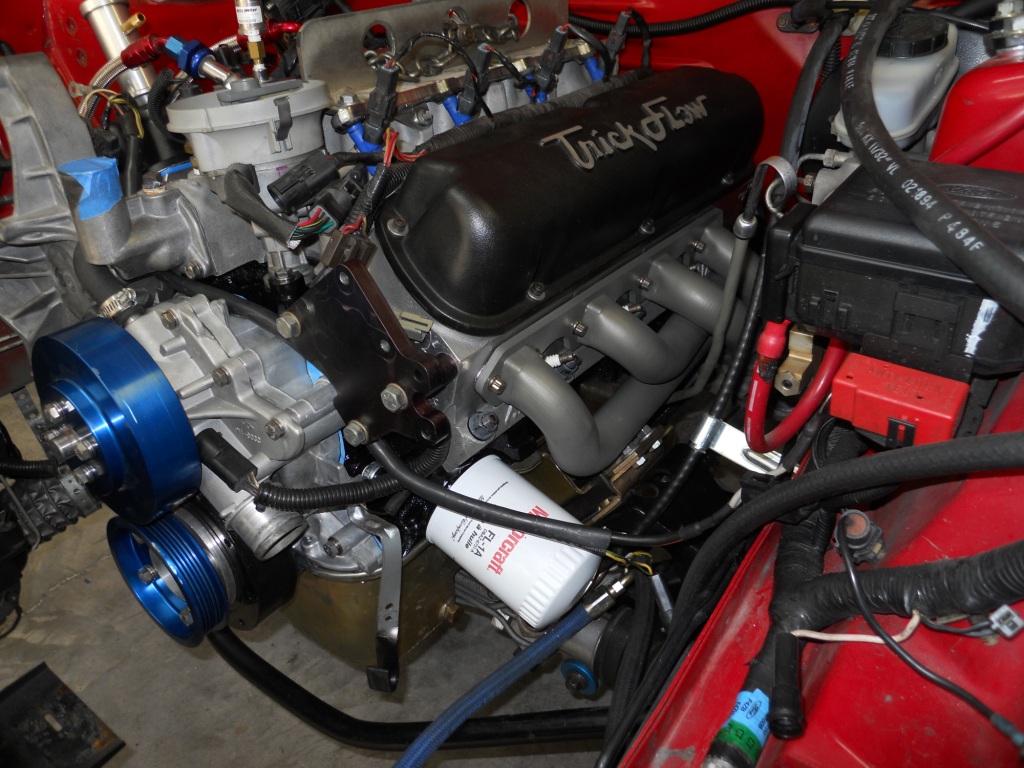 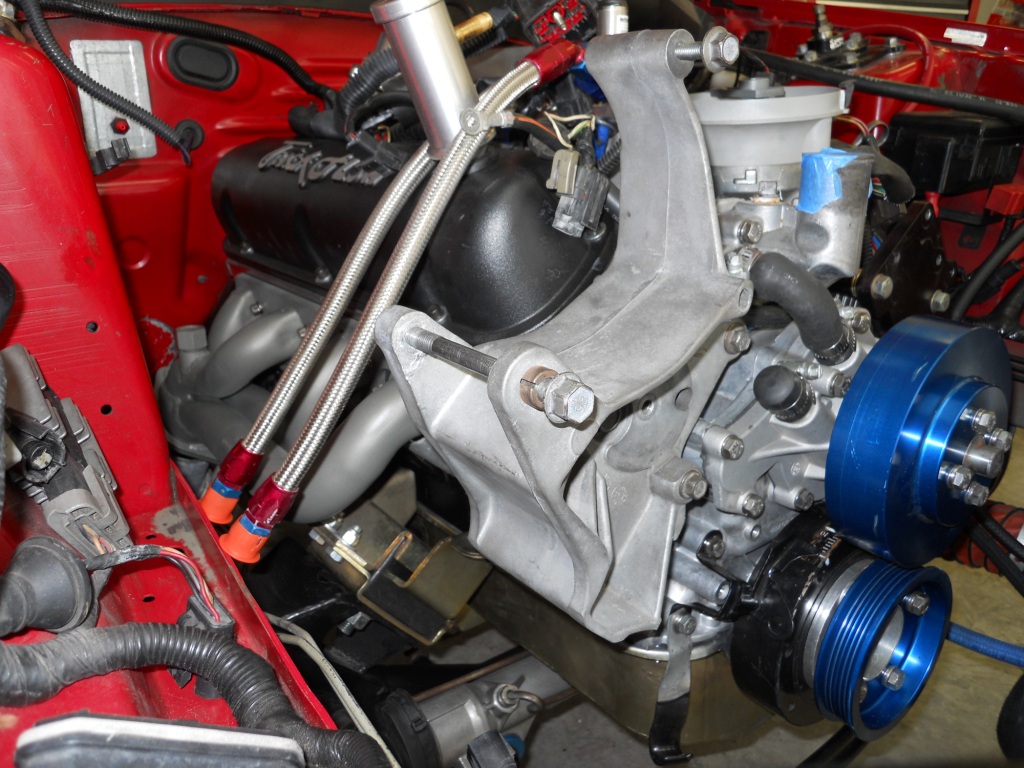 However, I had to take it back out the next day. While under the car, bolting the motor to the bell housing, I noticed the clutch fork was very far forward in the bell housing opening. There was no way that depressing the clutch pedal in the car would depress the fork far enough to disengage the clutch. I took a lot of pictures of the setup and emailed them to several experts looking for a solution. We looked at the pressure plate, clutch fork, clutch disc and bell housing for a solution. 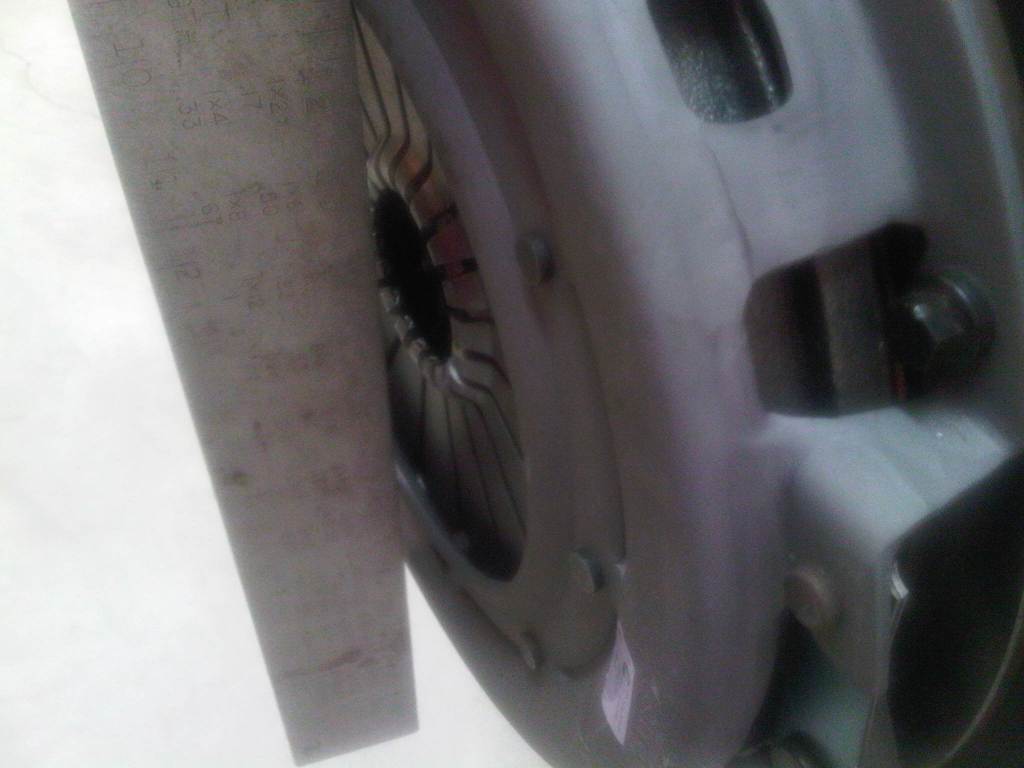 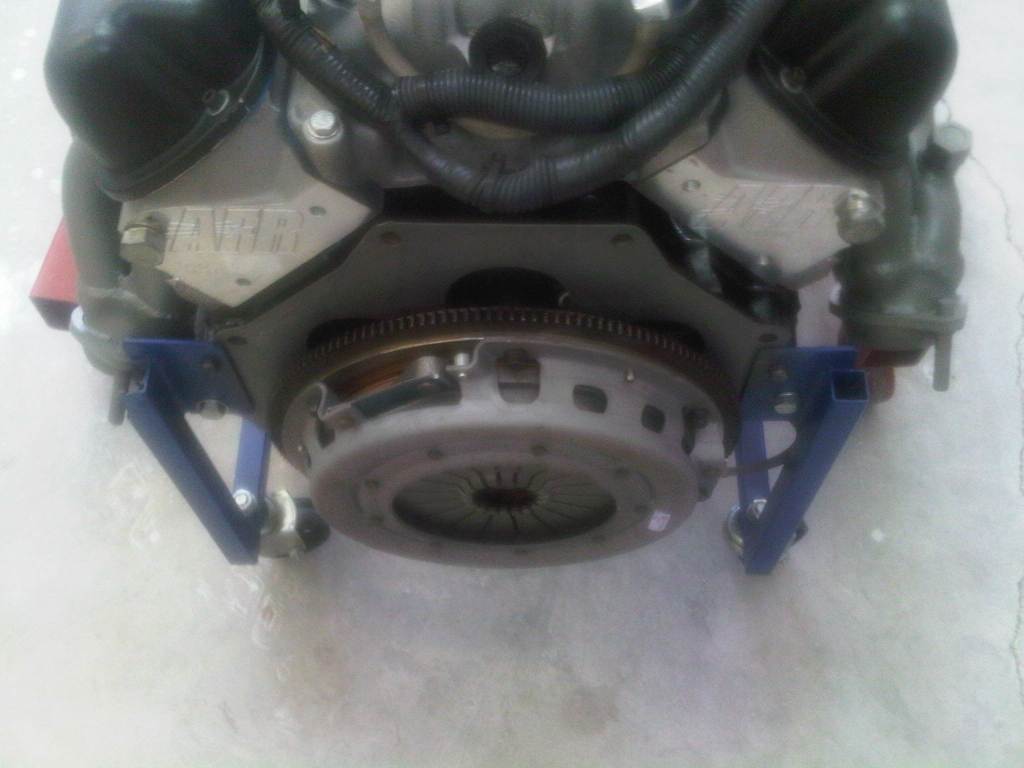 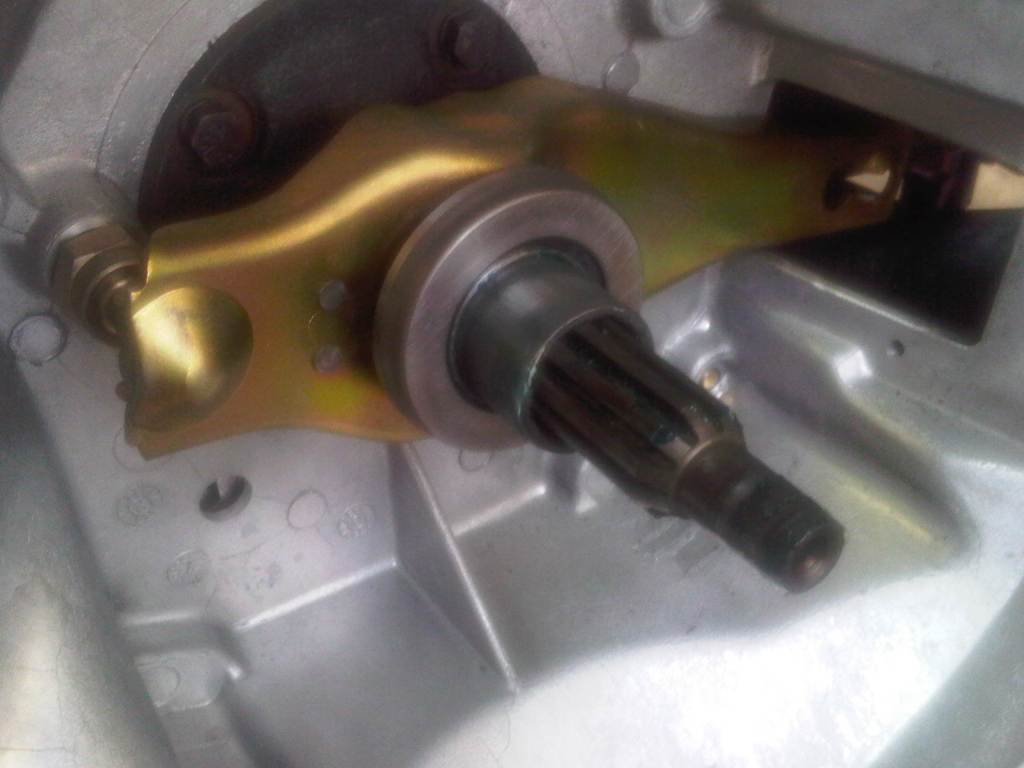 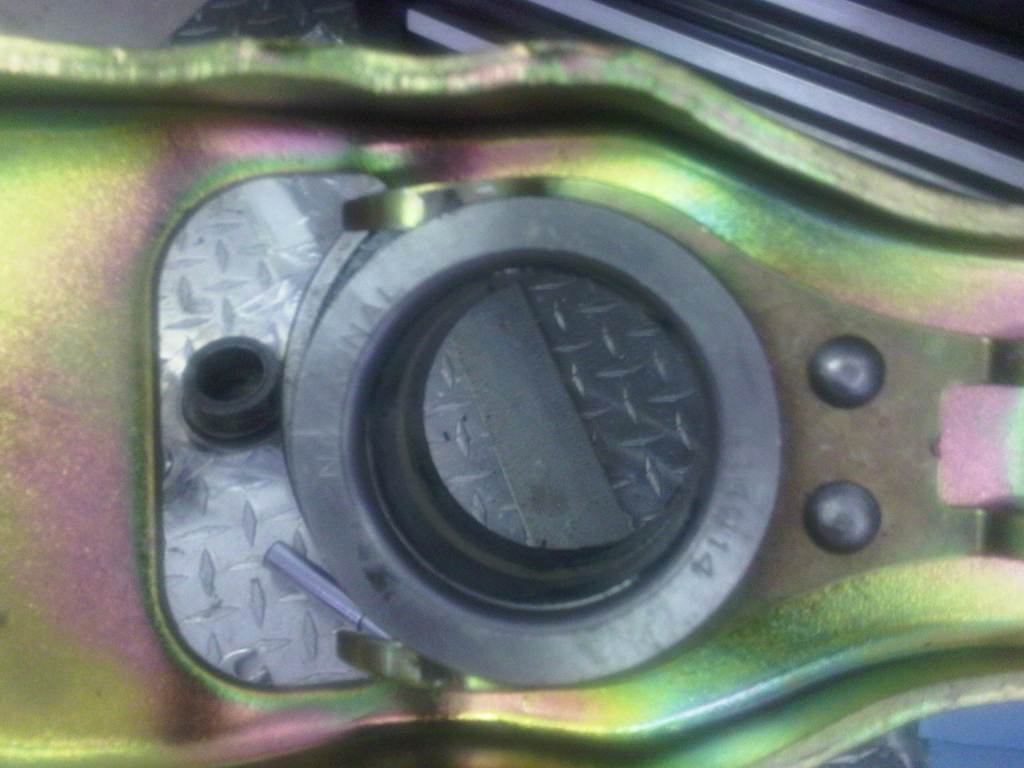 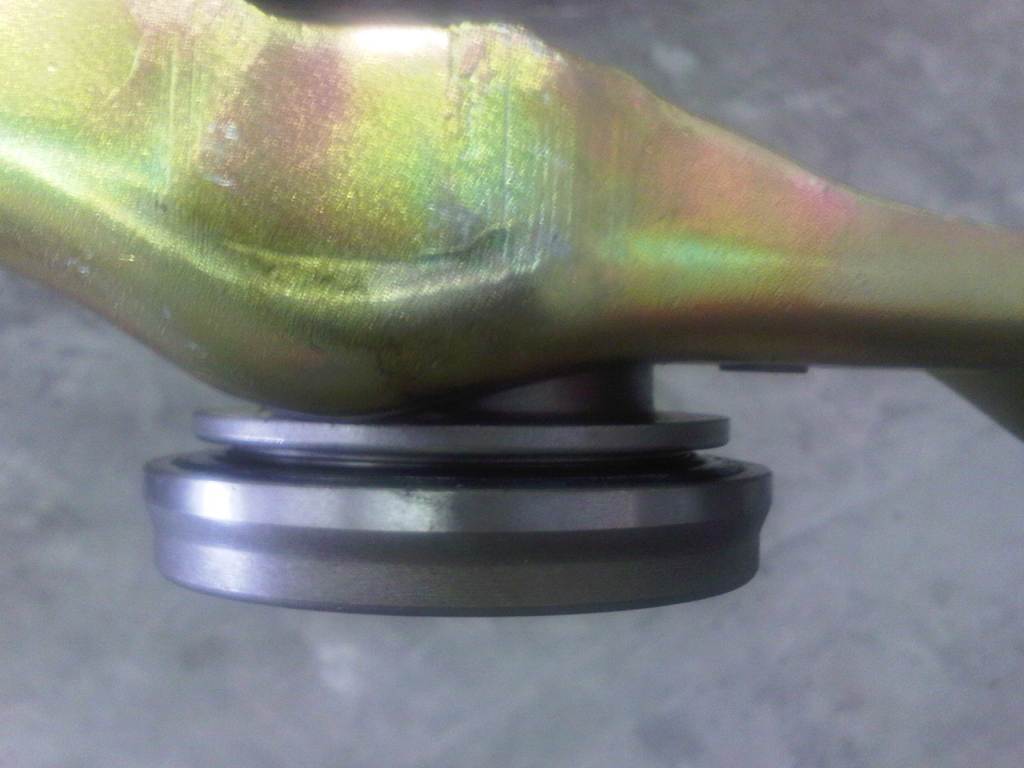 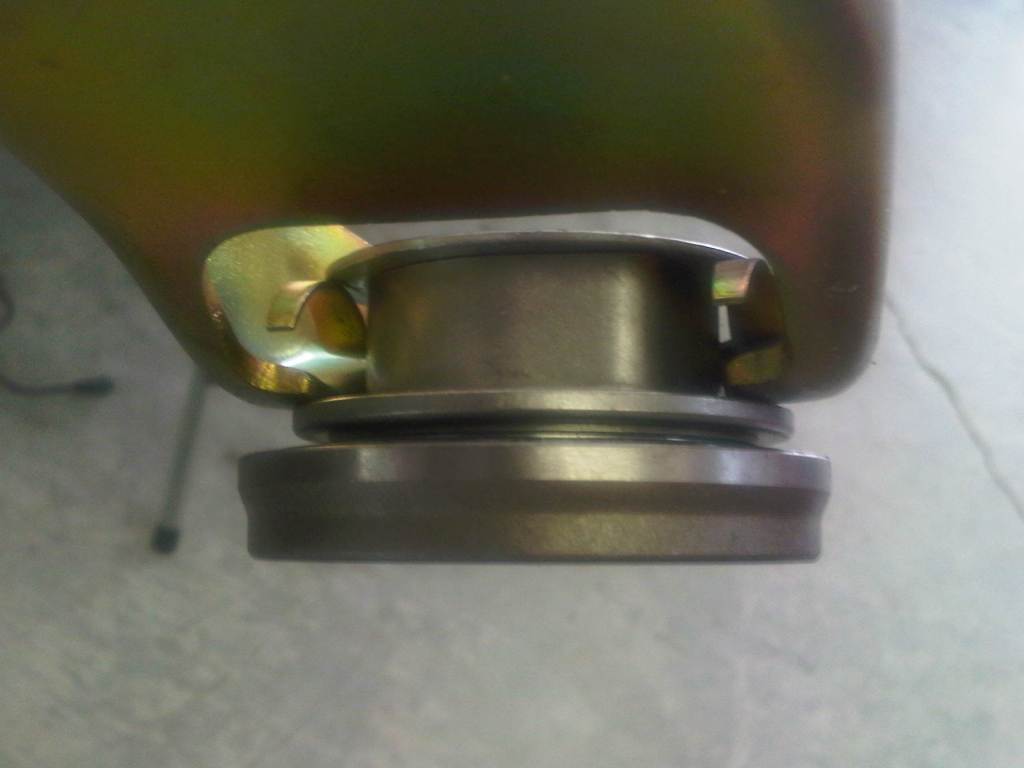 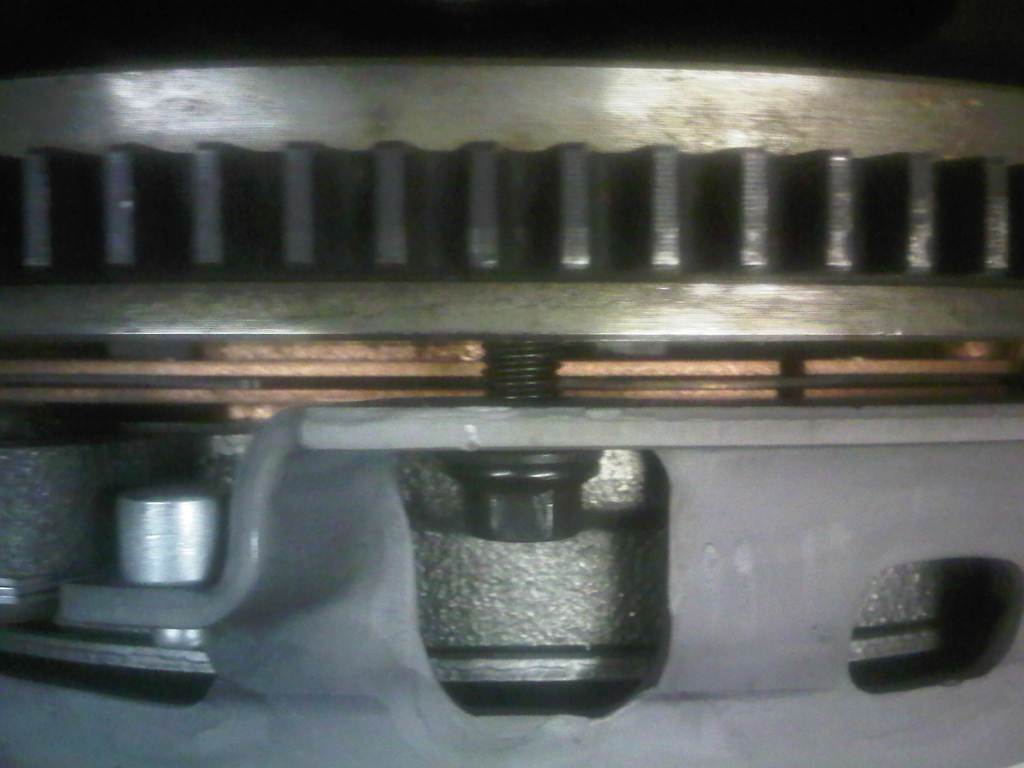 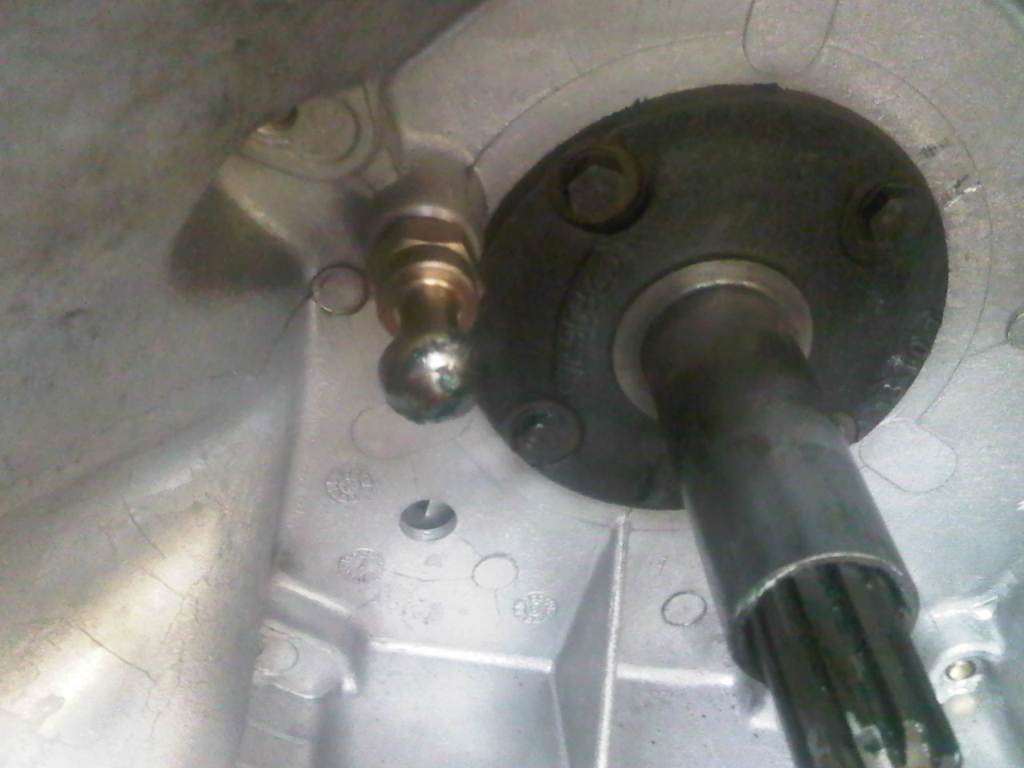 In the end, a longer, adjustable clutch fork pivot ball was the solution. My friend Dan at Murrays Speed & Custom set me up with the Lakewood part I needed. I removed the bell housing from the transmission and bolted it up to the back of the motor so I could make the necessary adjustment to the pivot ball. The bell housing was then removed from the motor and put back on the transmission so the motor could be installed again. 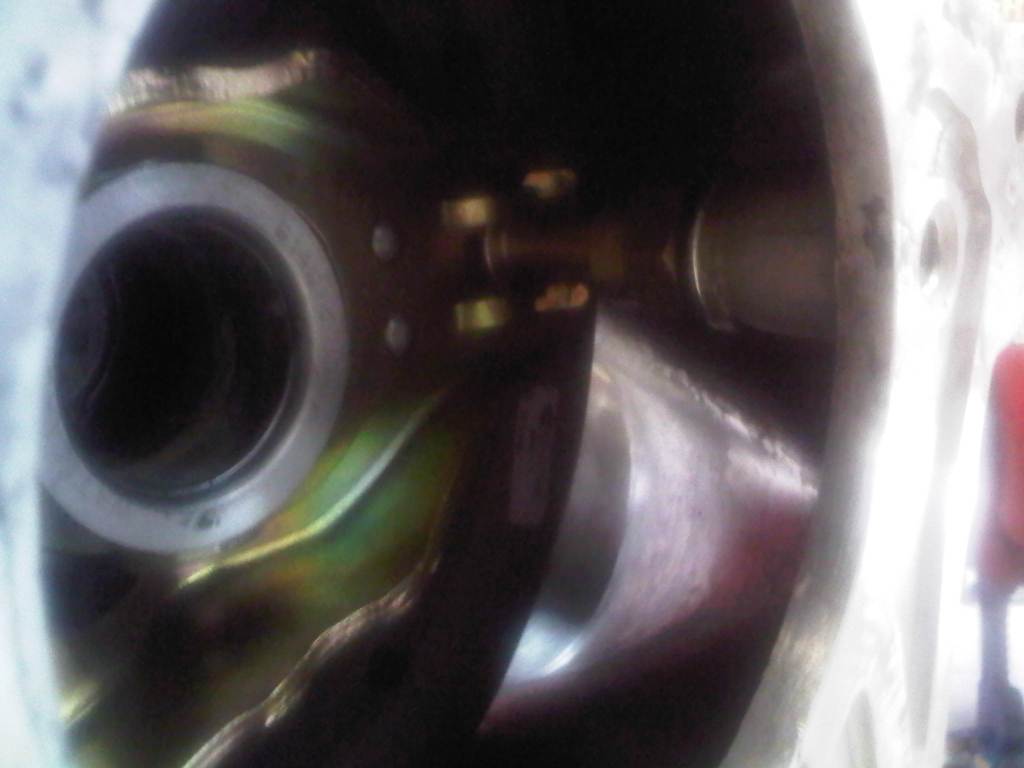 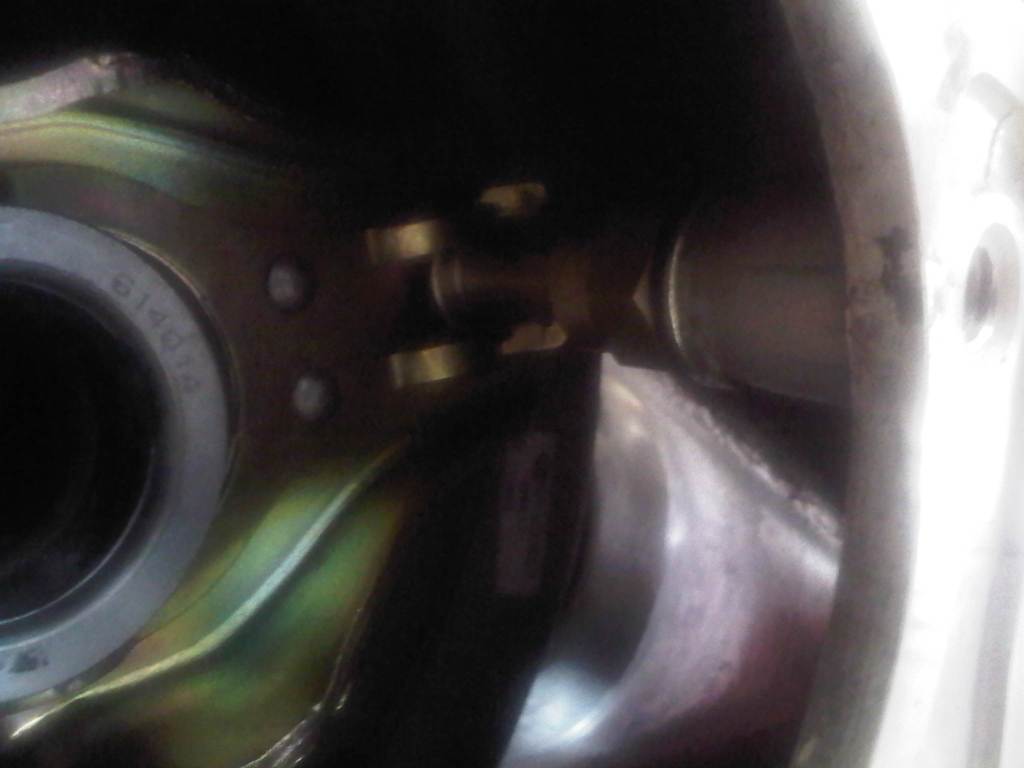 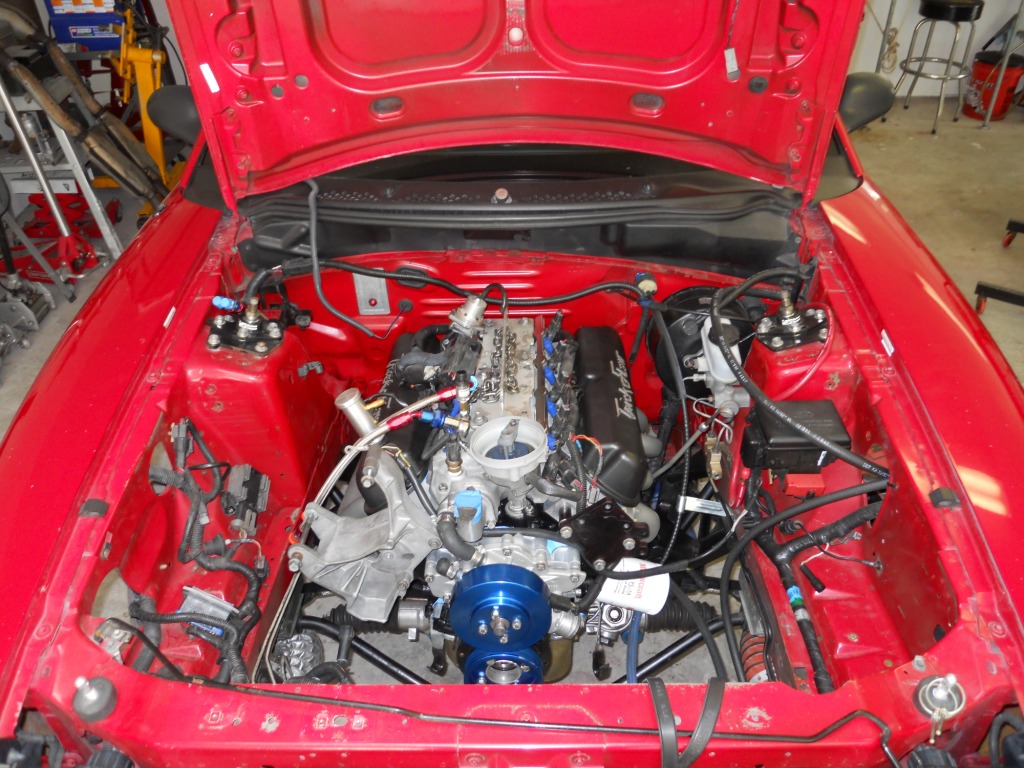 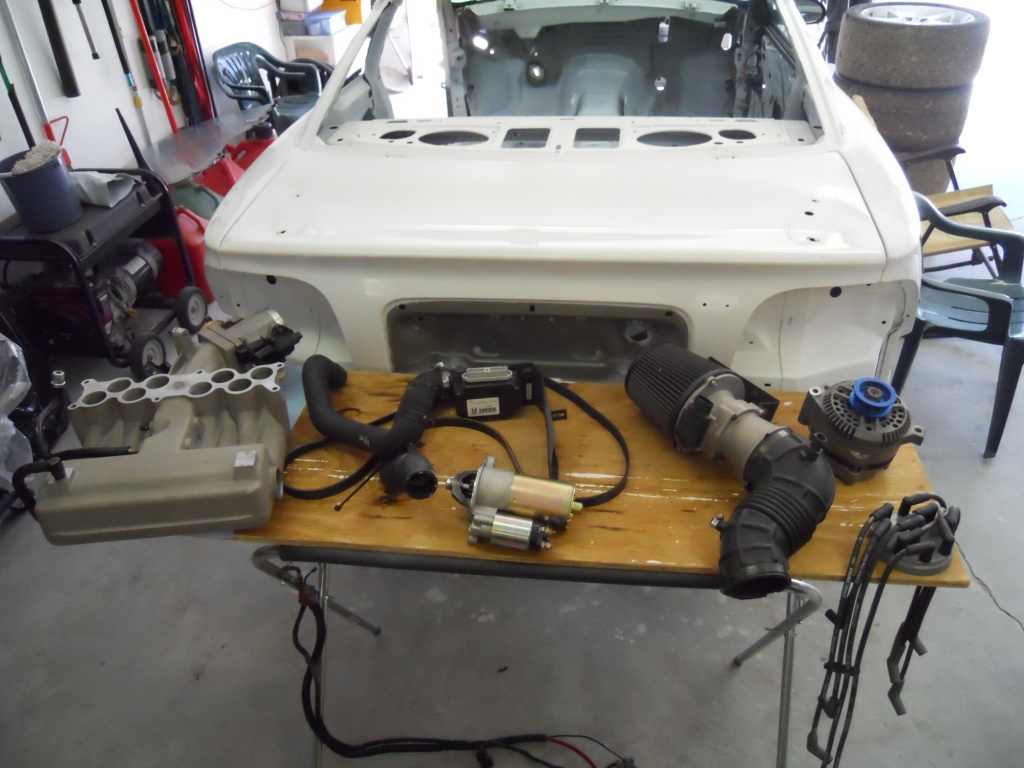 | ||
Now
the remaining parts can go on. Power steering, cooling system, spark
plug wires, distributor cap, alternator, starter, exhaust, upper
intake and mass air meter assembly. After firing up the motor and
setting the timing, the final part to go on is the strut tower brace.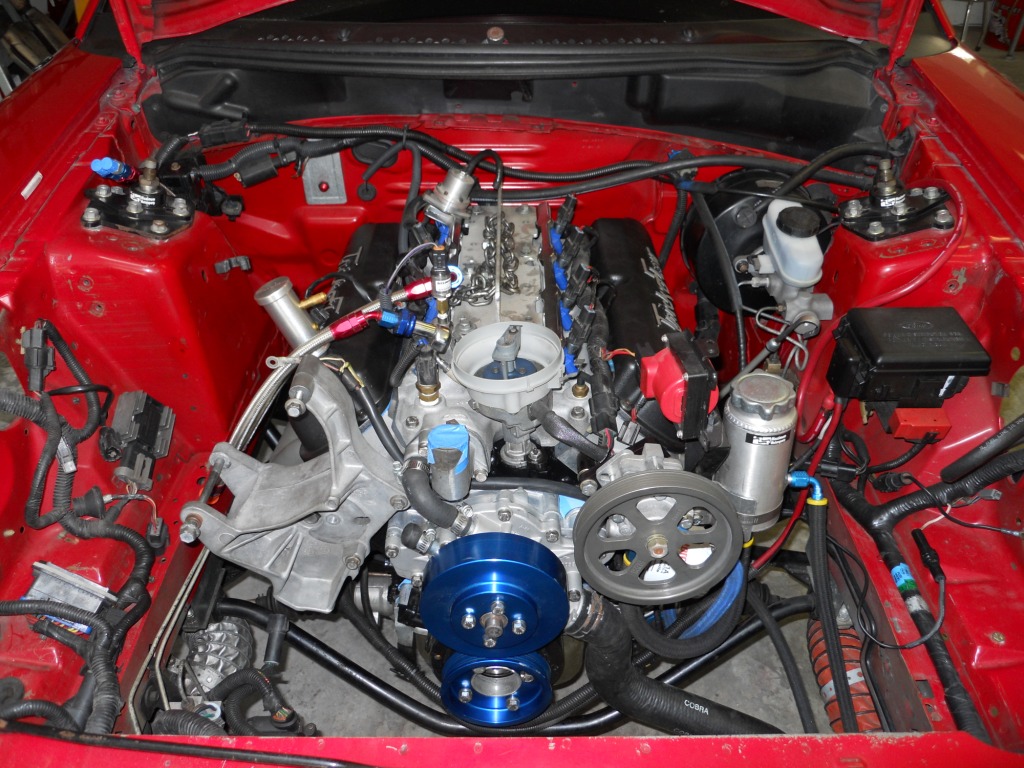 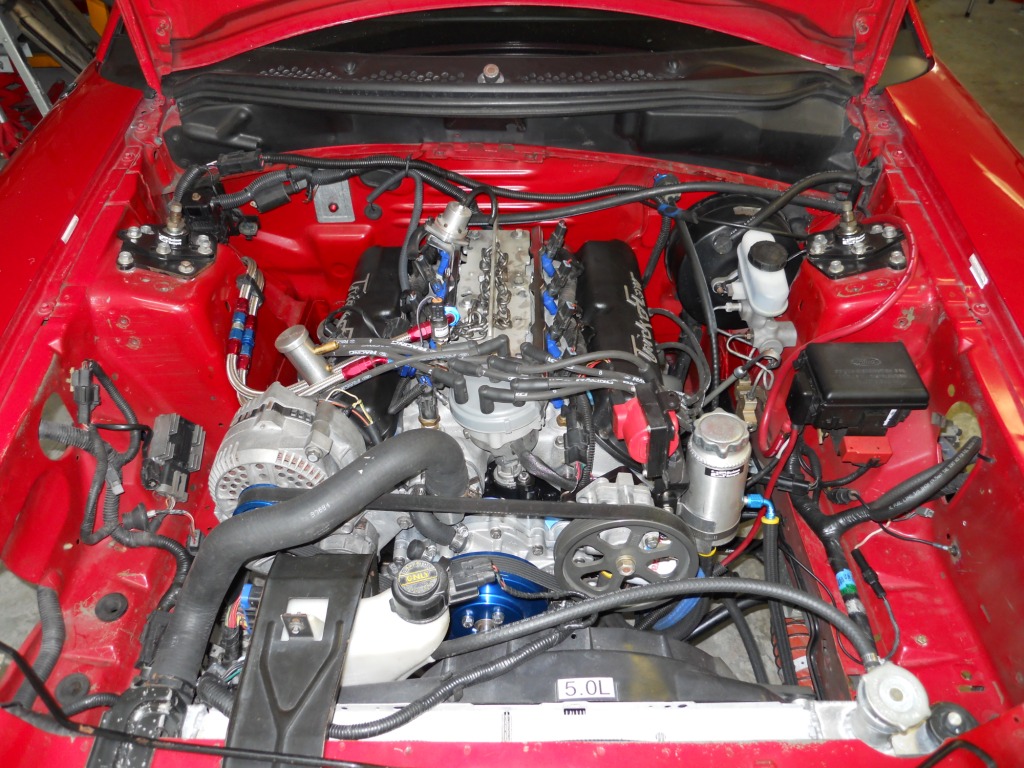 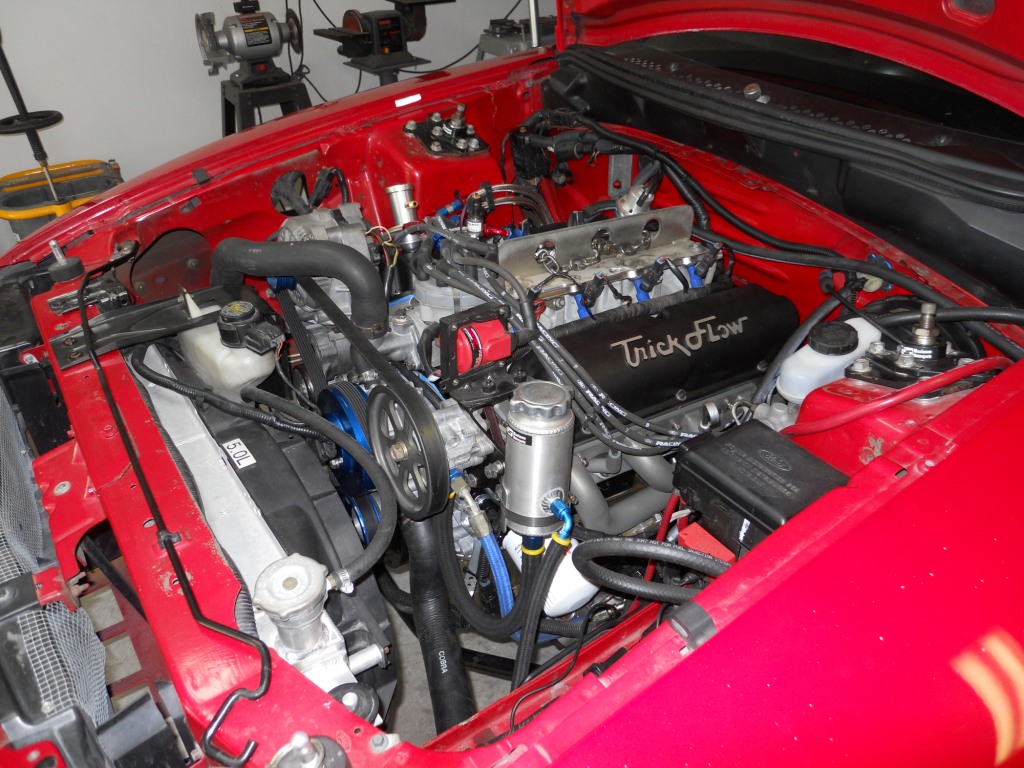 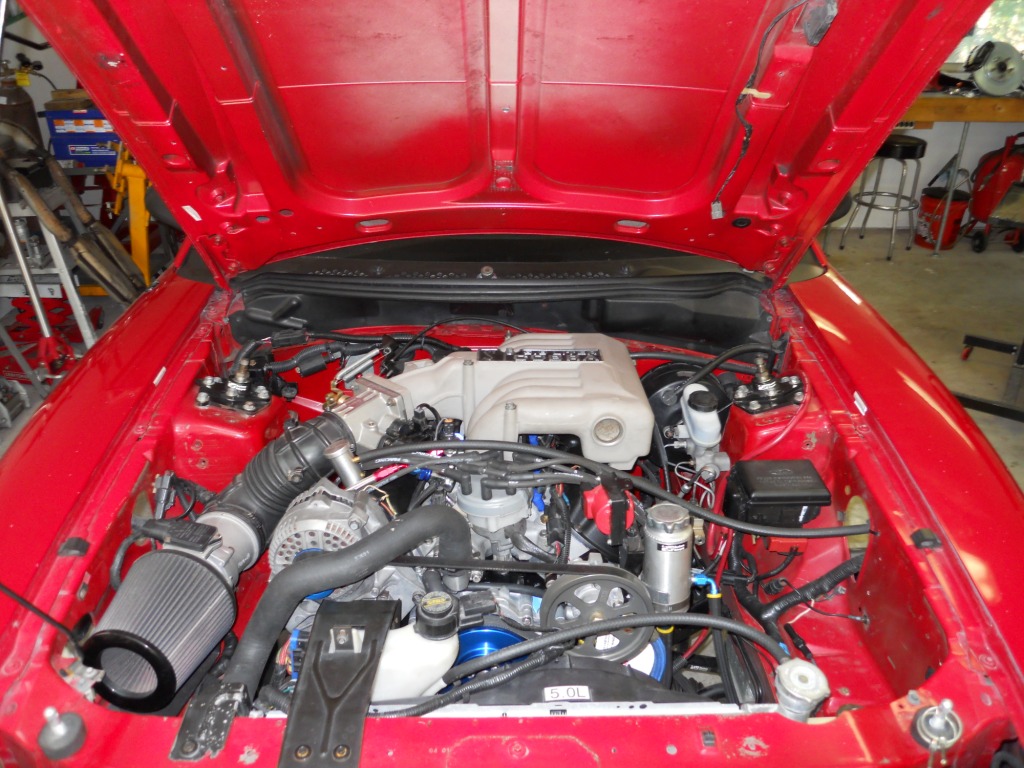 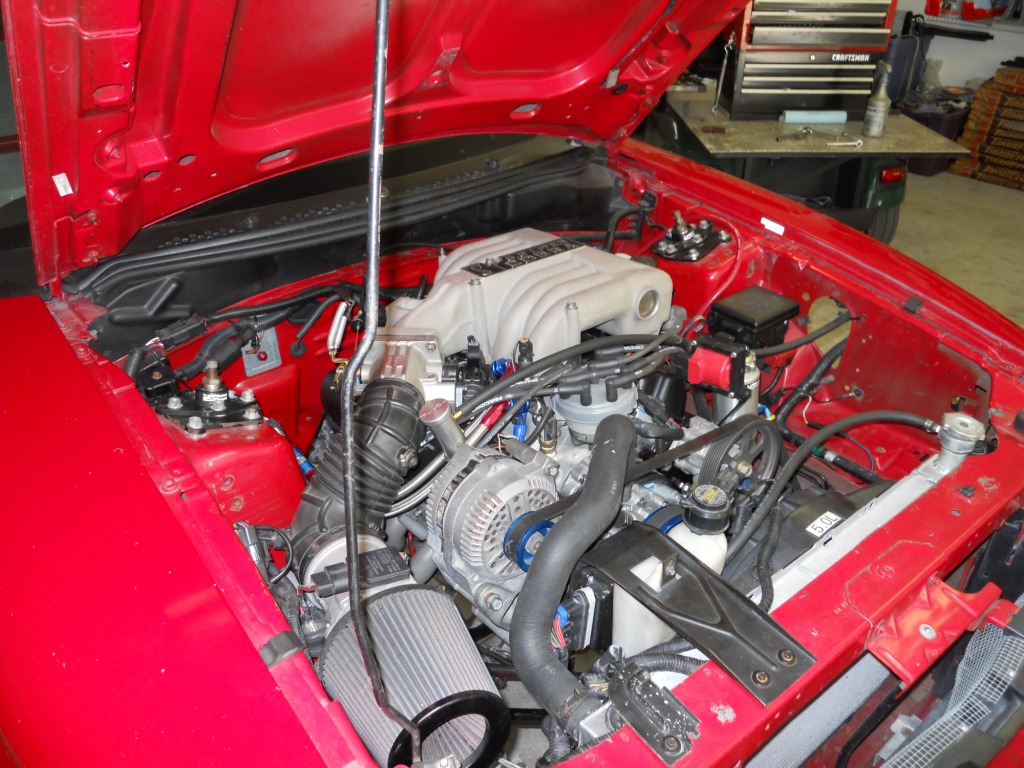 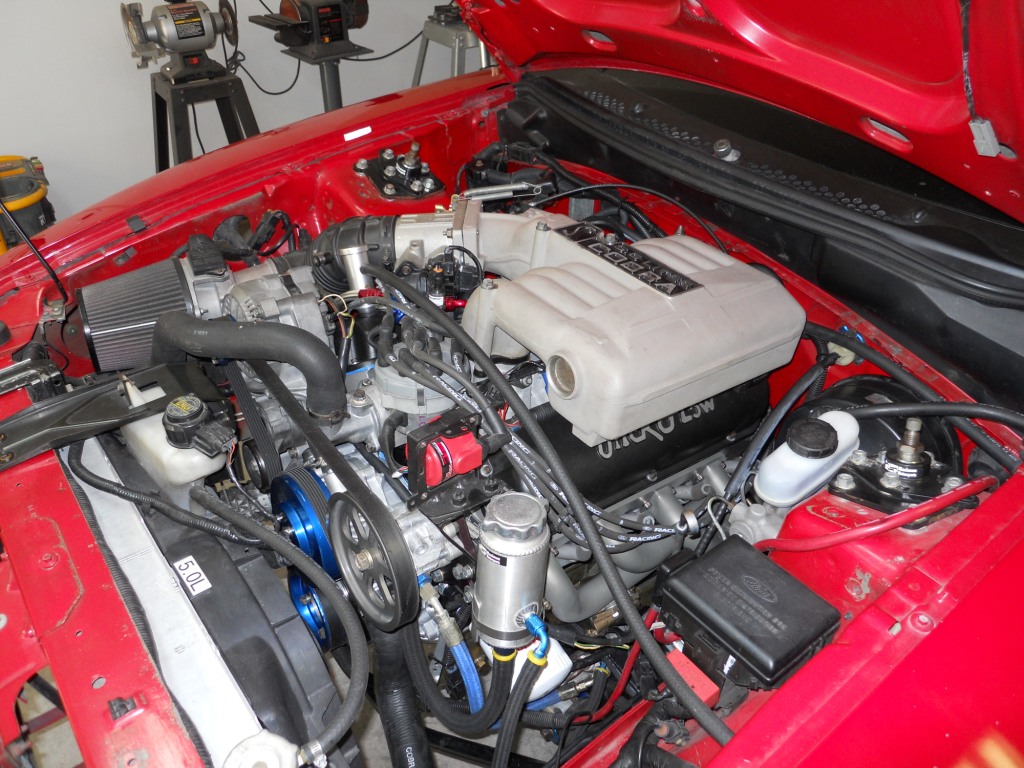 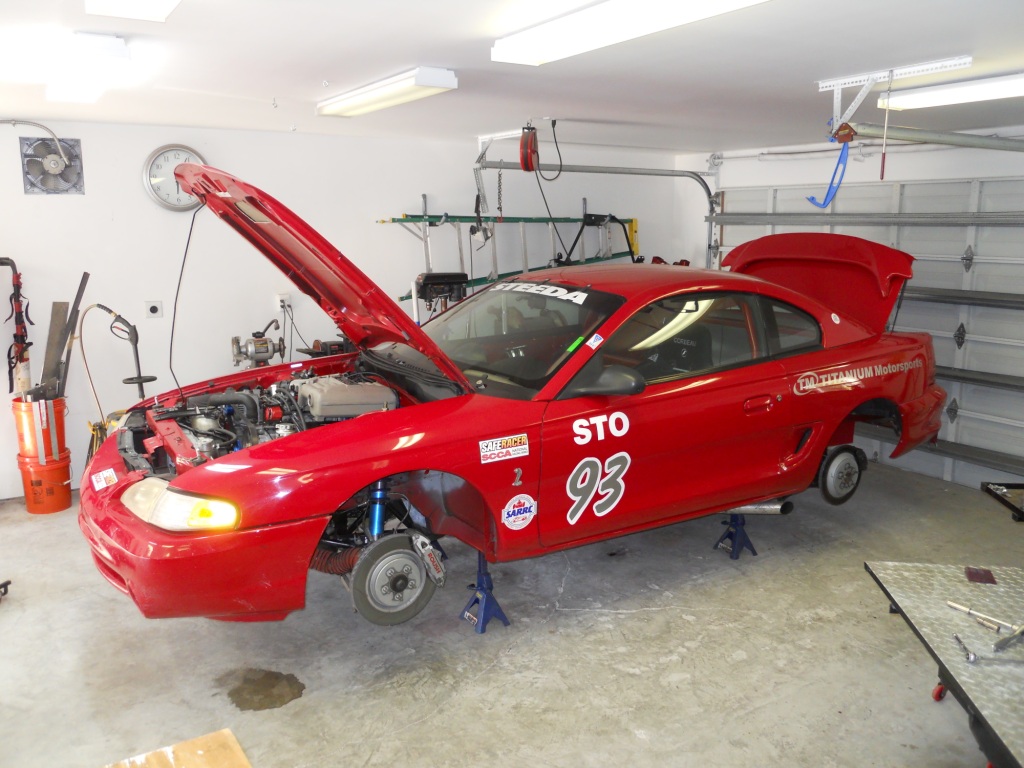 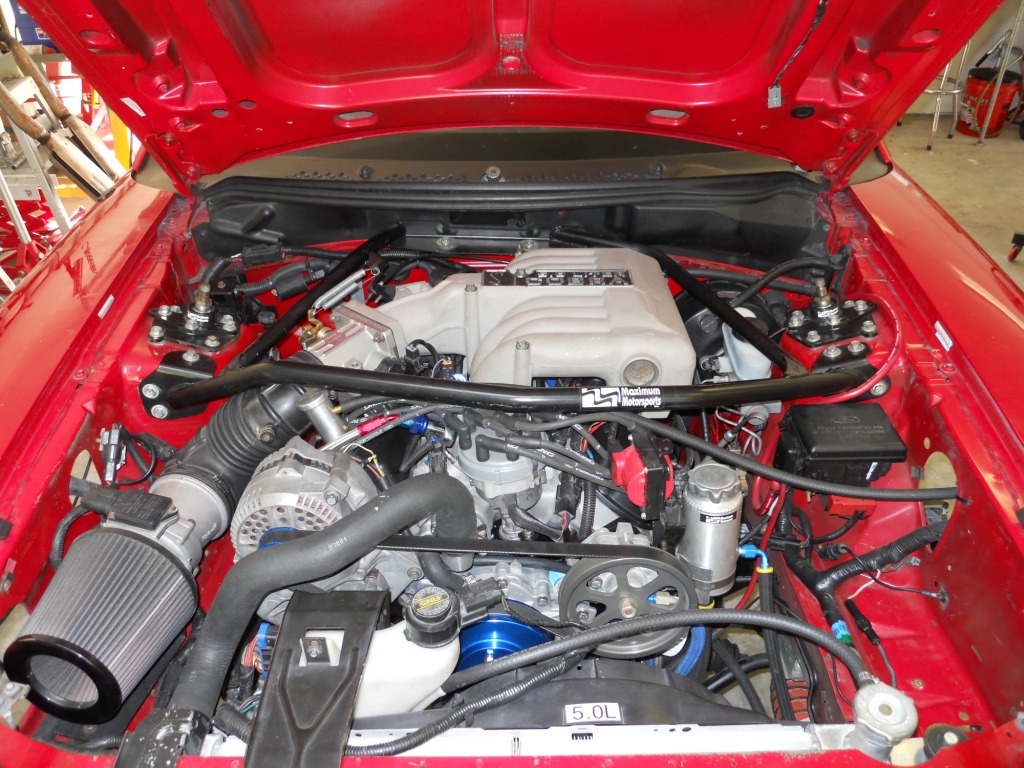 | ||
| The car now goes down on the ground and I take it for a 5 minute test drive around the neighborhood The bearings were re-used so they do not require any break-in. The rings should seat just fine at my next race on April 2nd and 3rd at PBIR  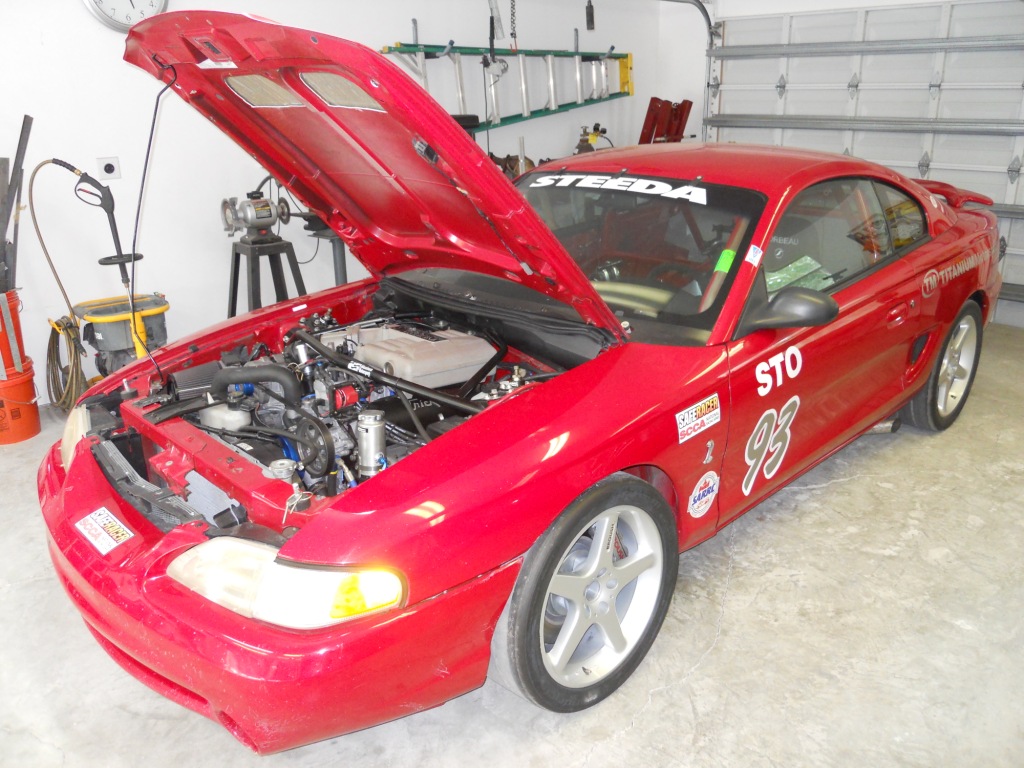 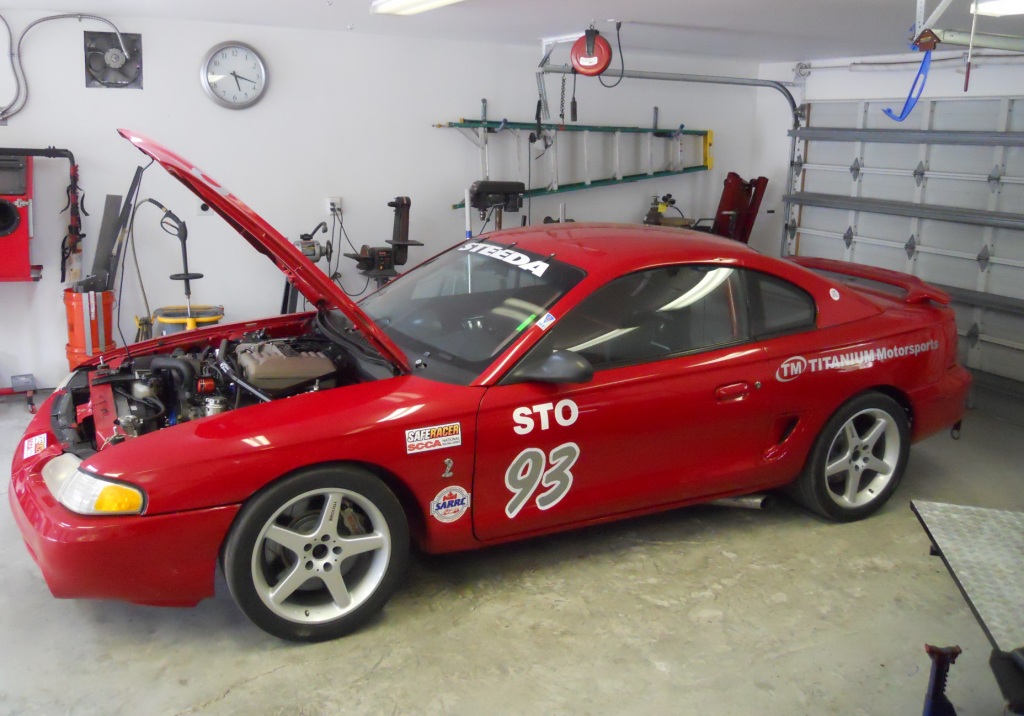 | ||
All images are property of Titanium Motorsports and may not be used without permission.Last Modified: March 25th, 2011. | ||