 TITANIUM
Motorsports
TITANIUM
Motorsports | TITANIUM Motorsports Home "POS Cobra" Restoration Journal Titanium Motorsports Racing Journal Parts & Stuff For Sale PRI Show The Lounge | TITANIUM
Motorsports "POS" Mustang Cobra Restoration Journal |
| #75: July 27nd, 2012 - Installing more Parts, Interior trim and the Dash... | ||
| Before
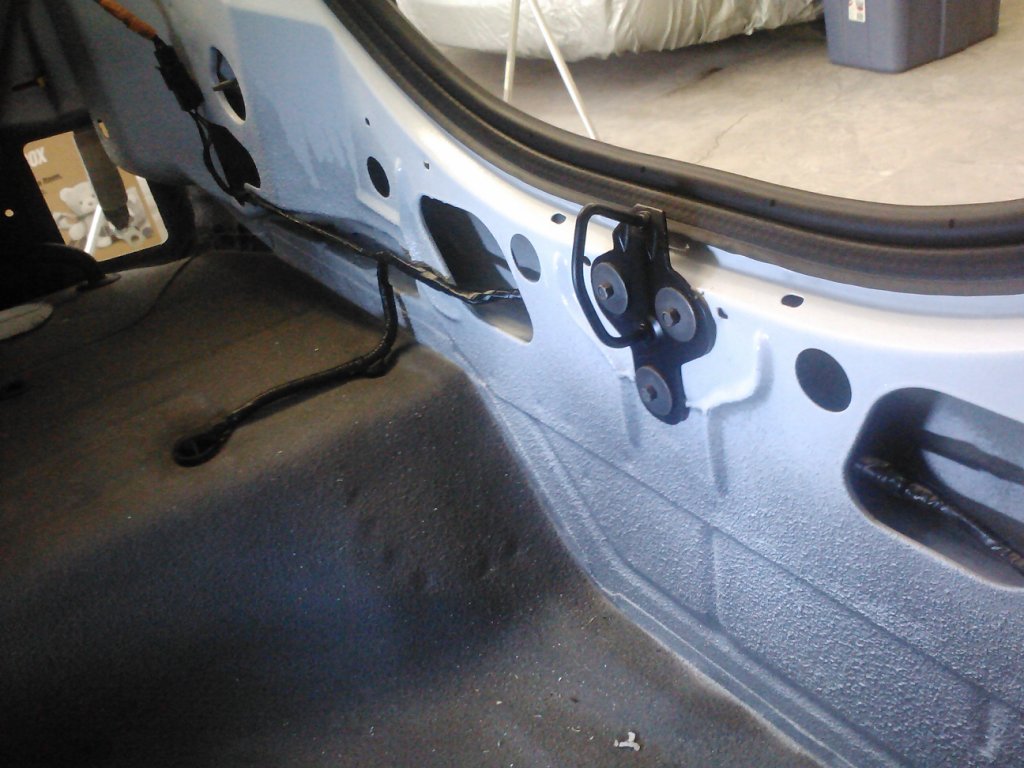
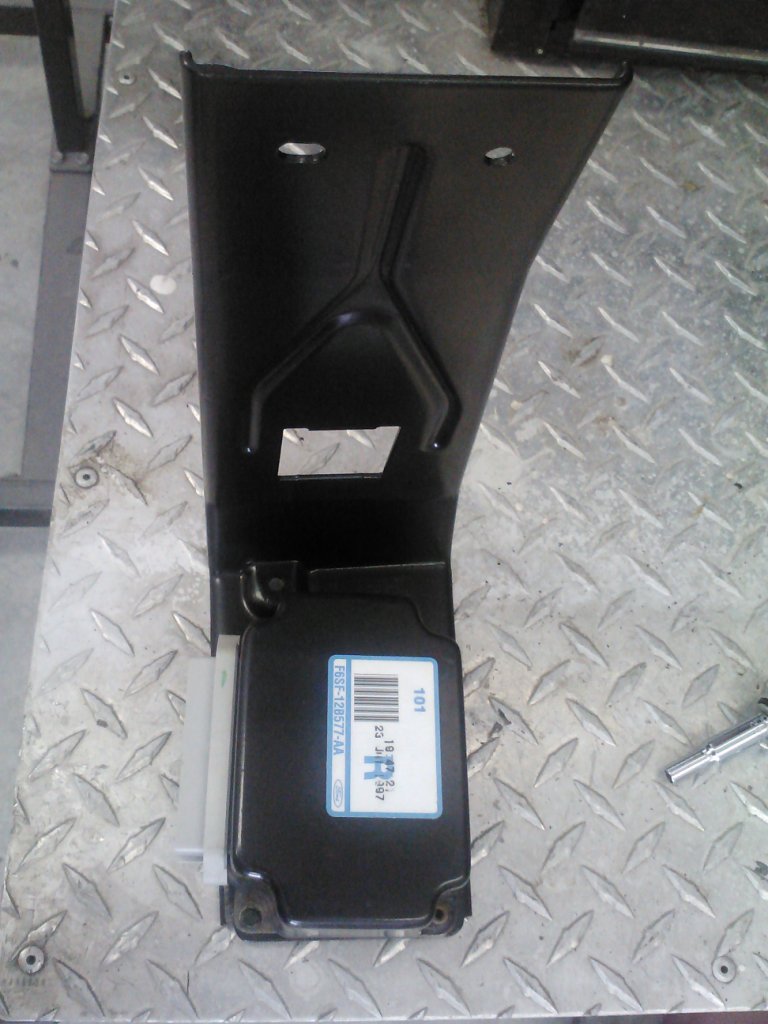
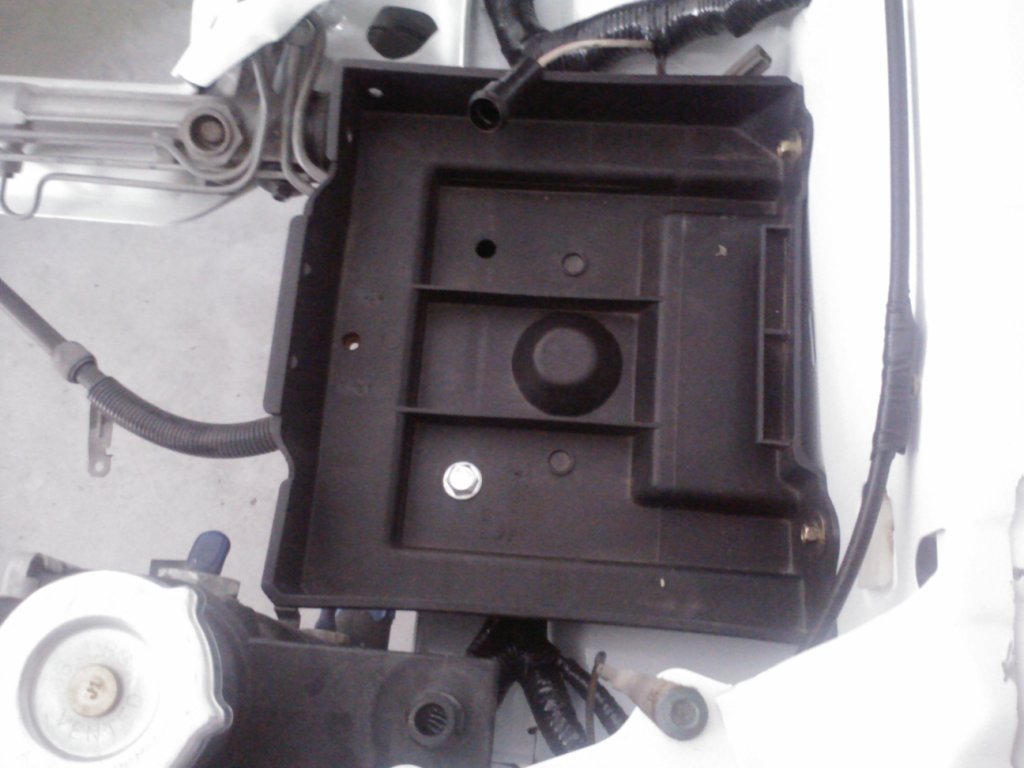
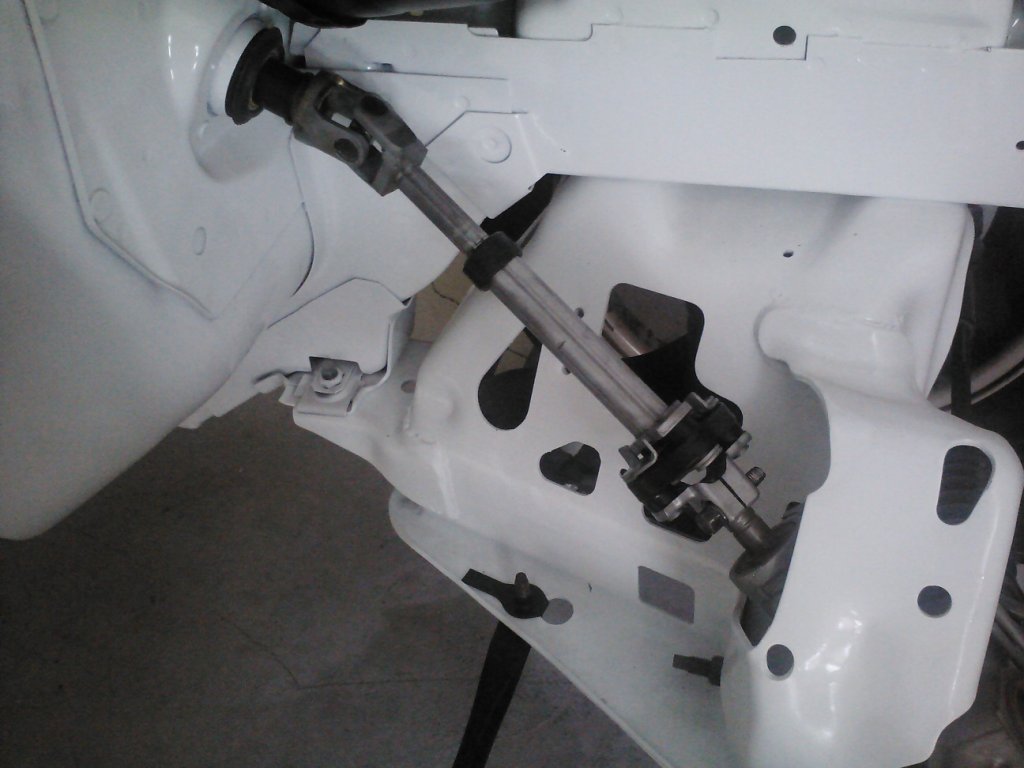
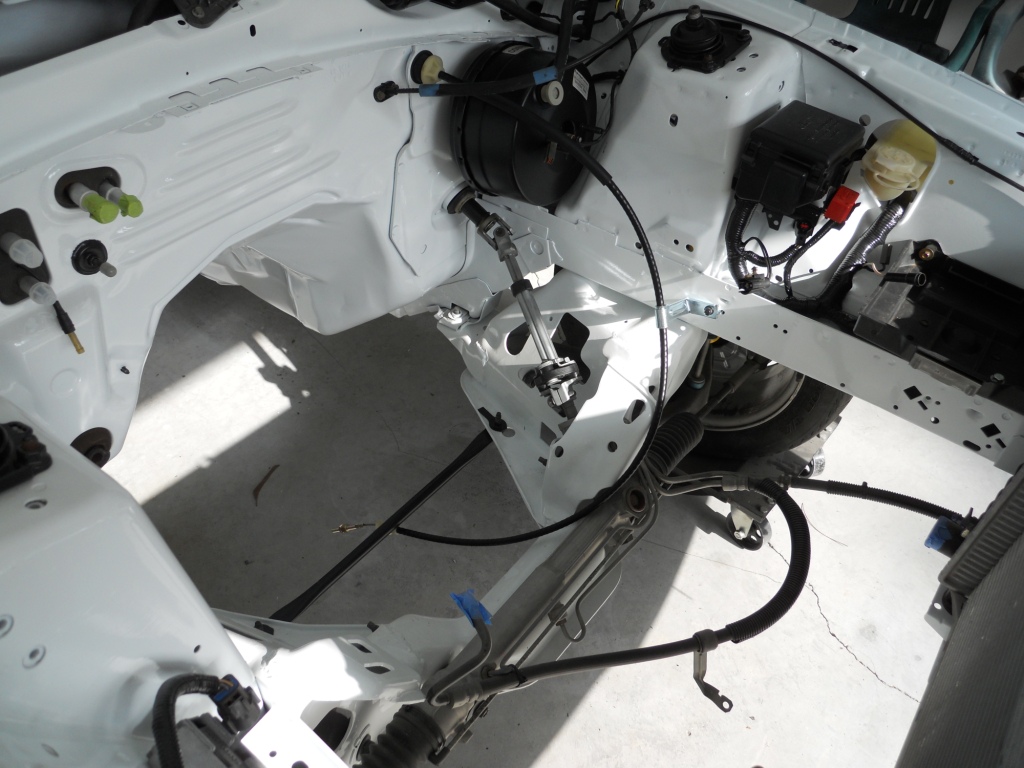
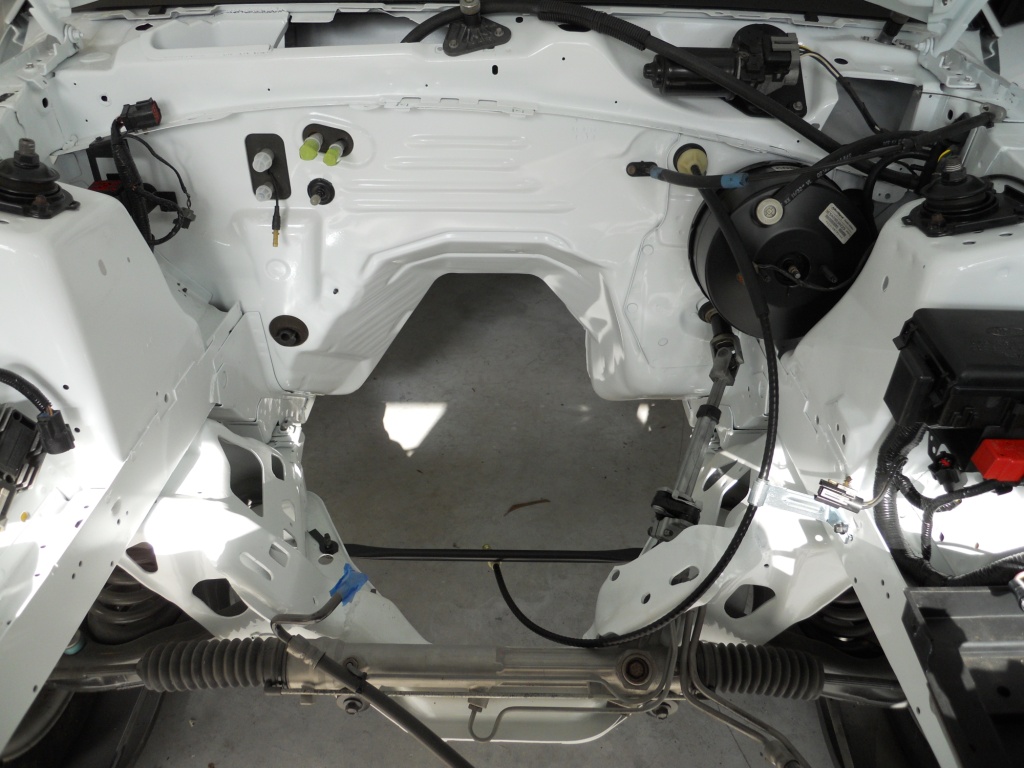
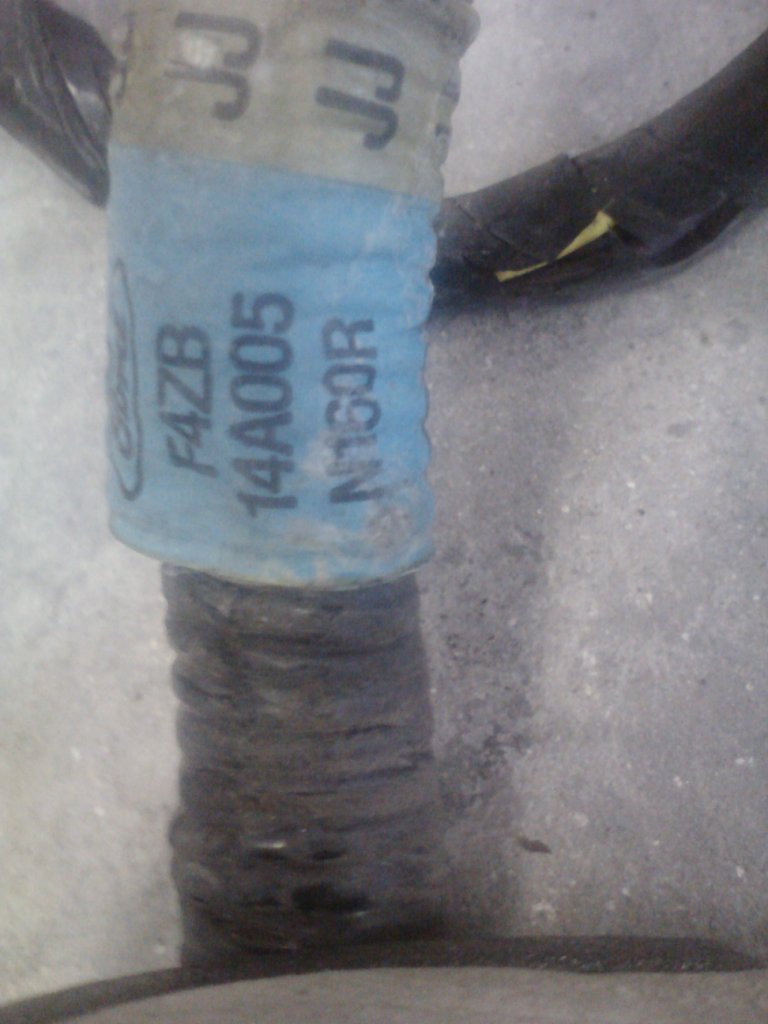
I start on the interior, I installed a few other parts. The taillight
wiring harness was finally located and installed. The CCRM and NOS
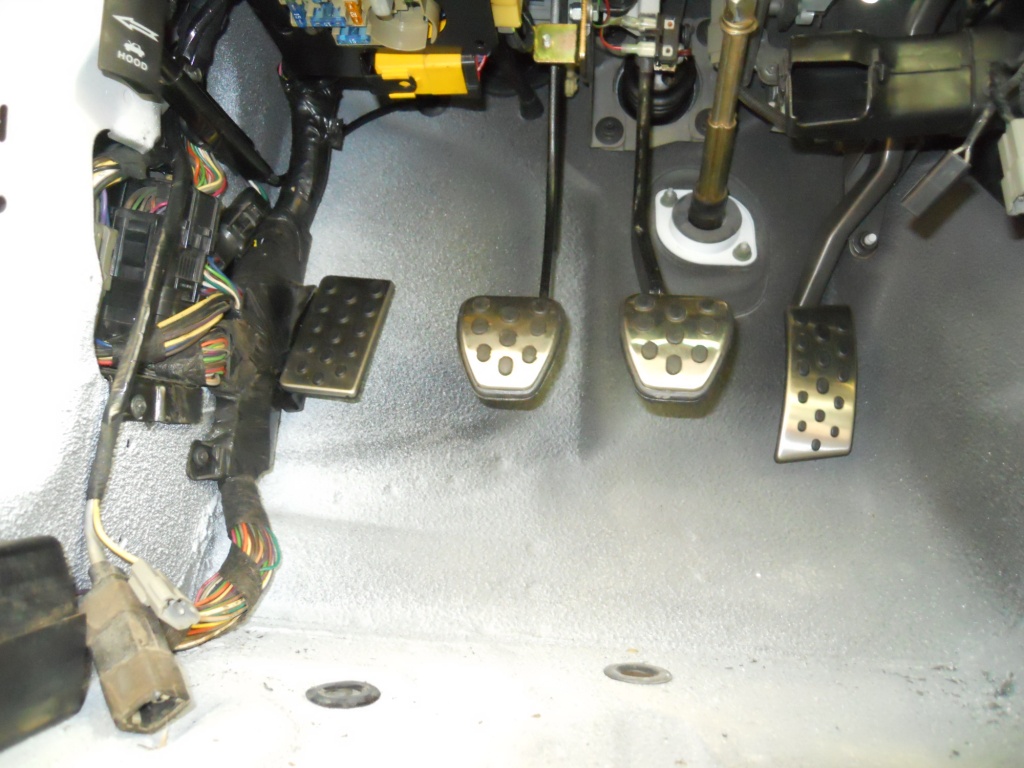
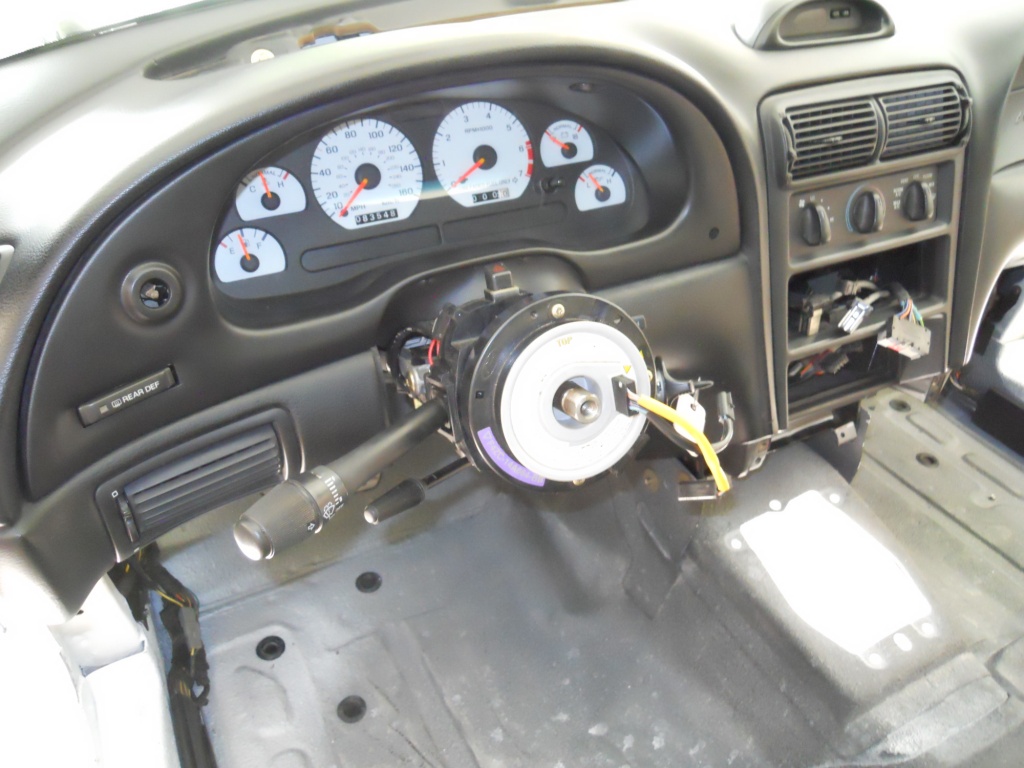
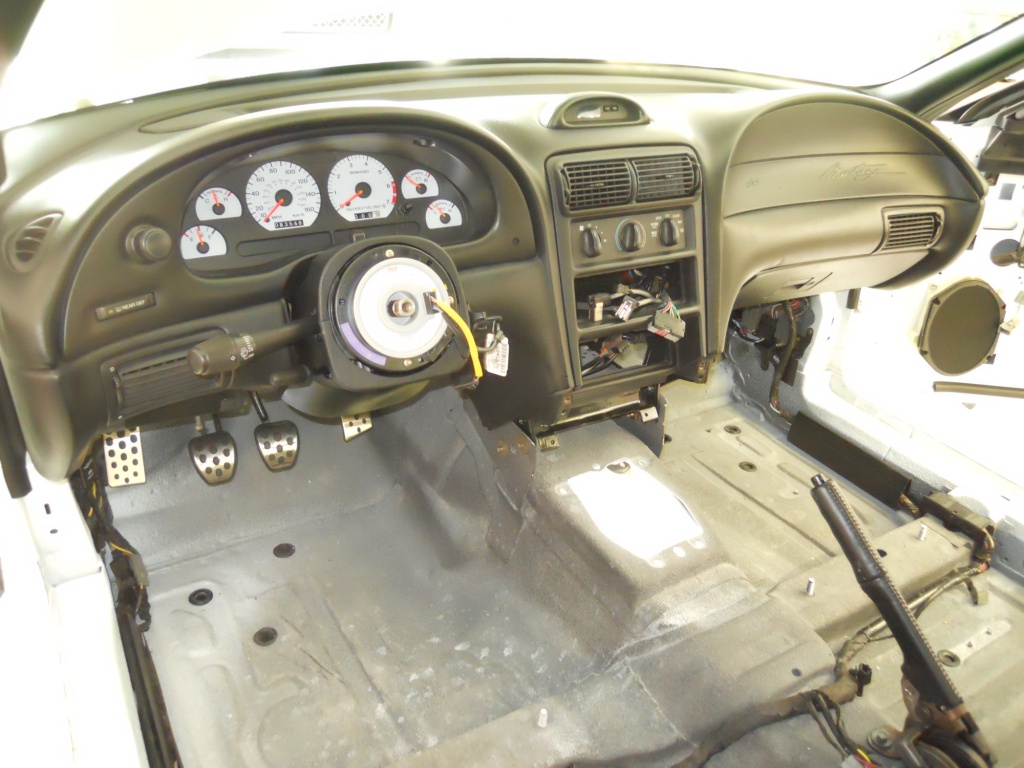
Battery tray that I got off eBay were put in. The steering shaft was
cleaned-up and installed, and finally, the throttle cable and a Steeda
adjustable clutch cable were put in. | ||
      | ||
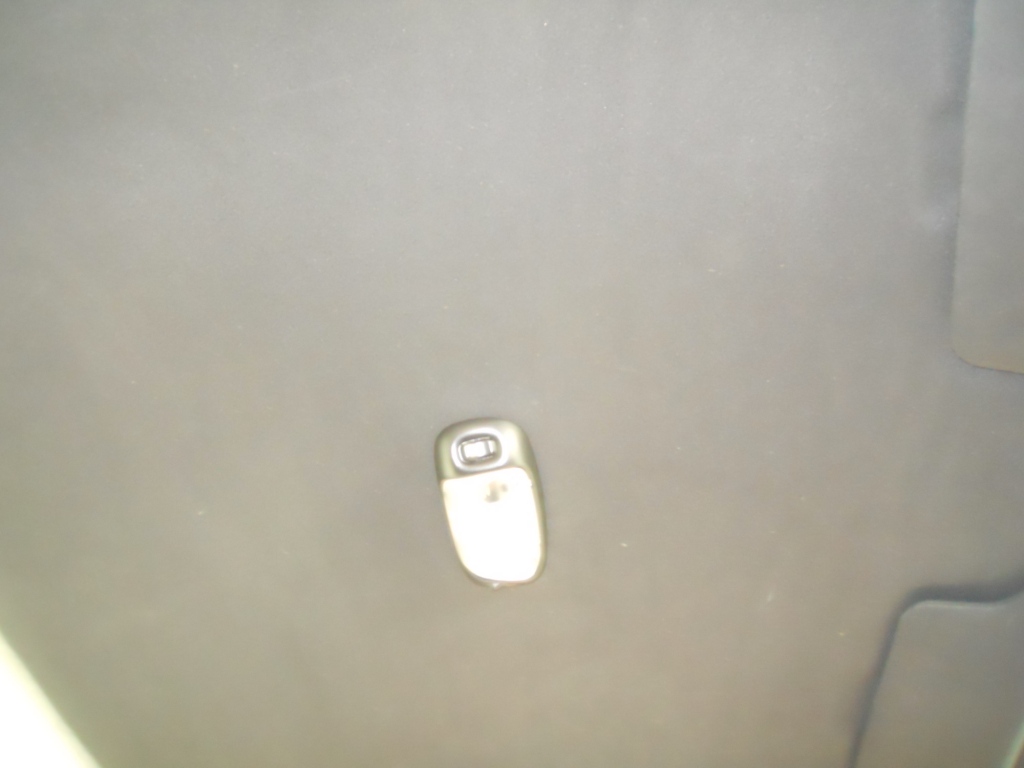
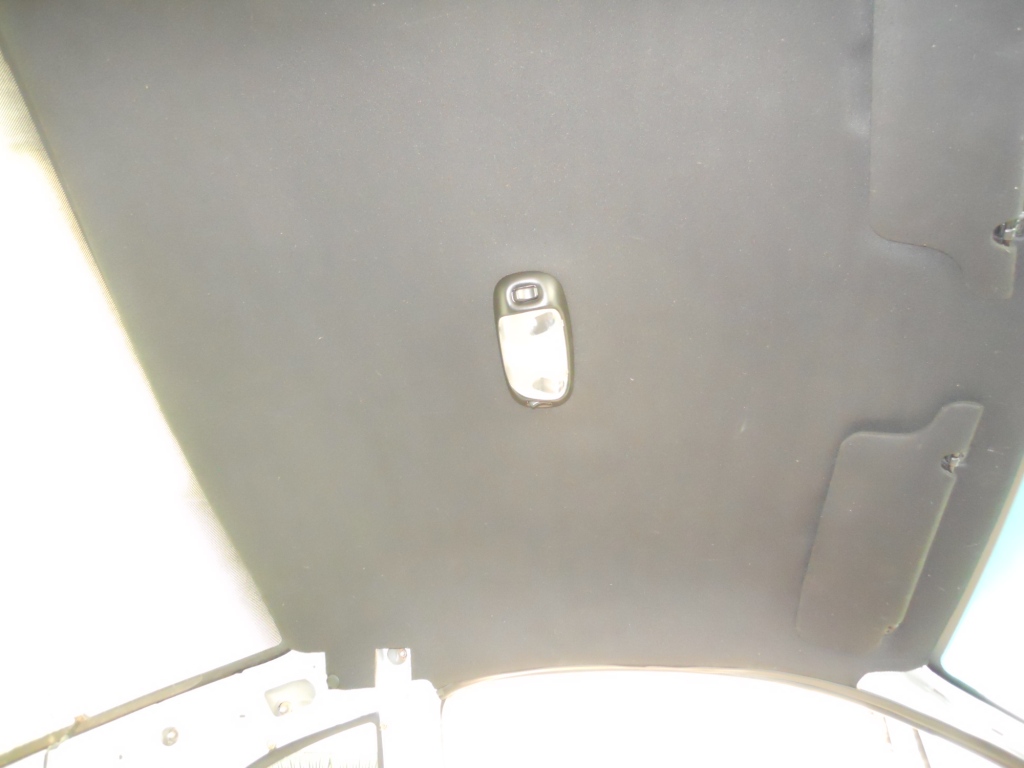
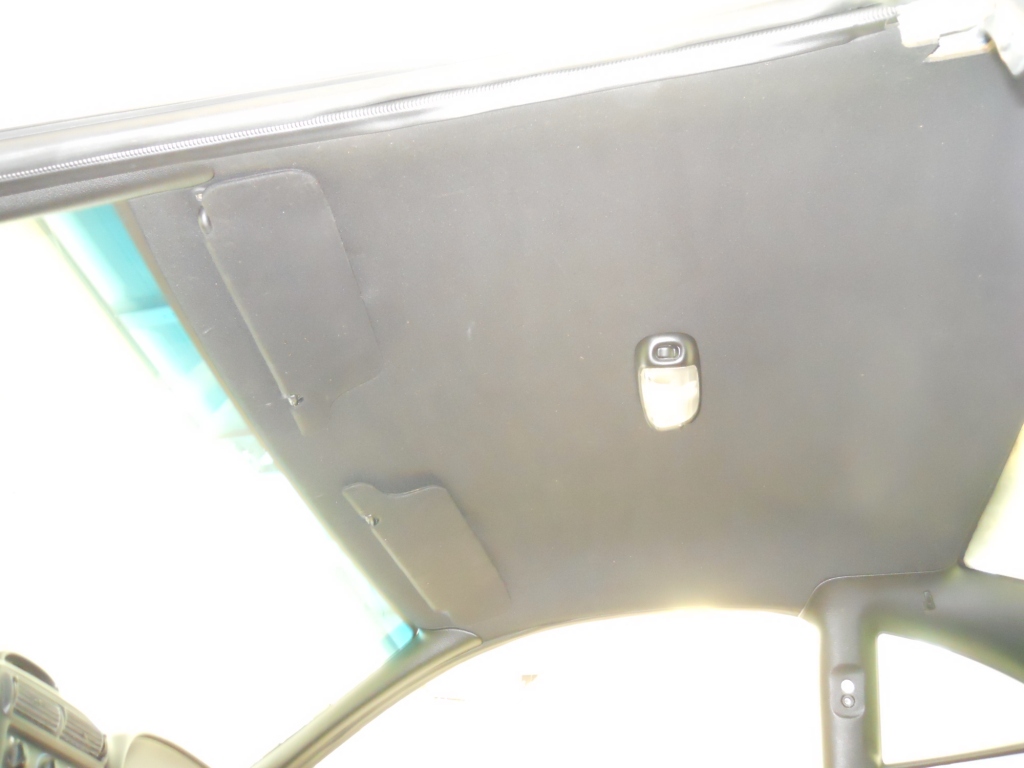
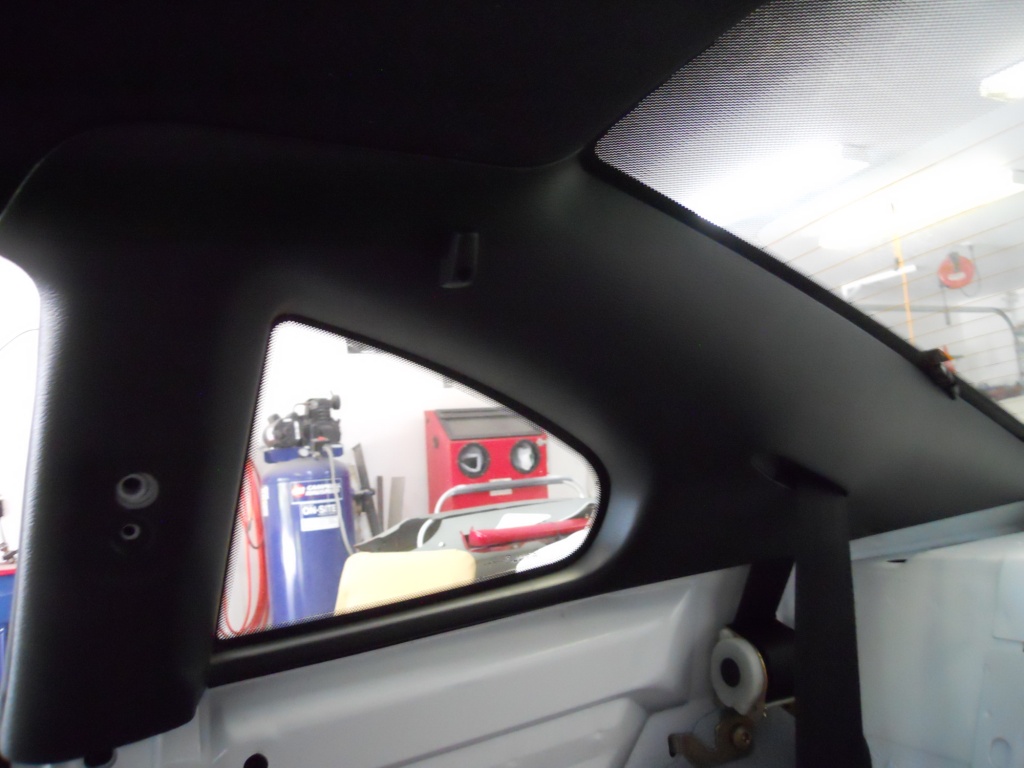
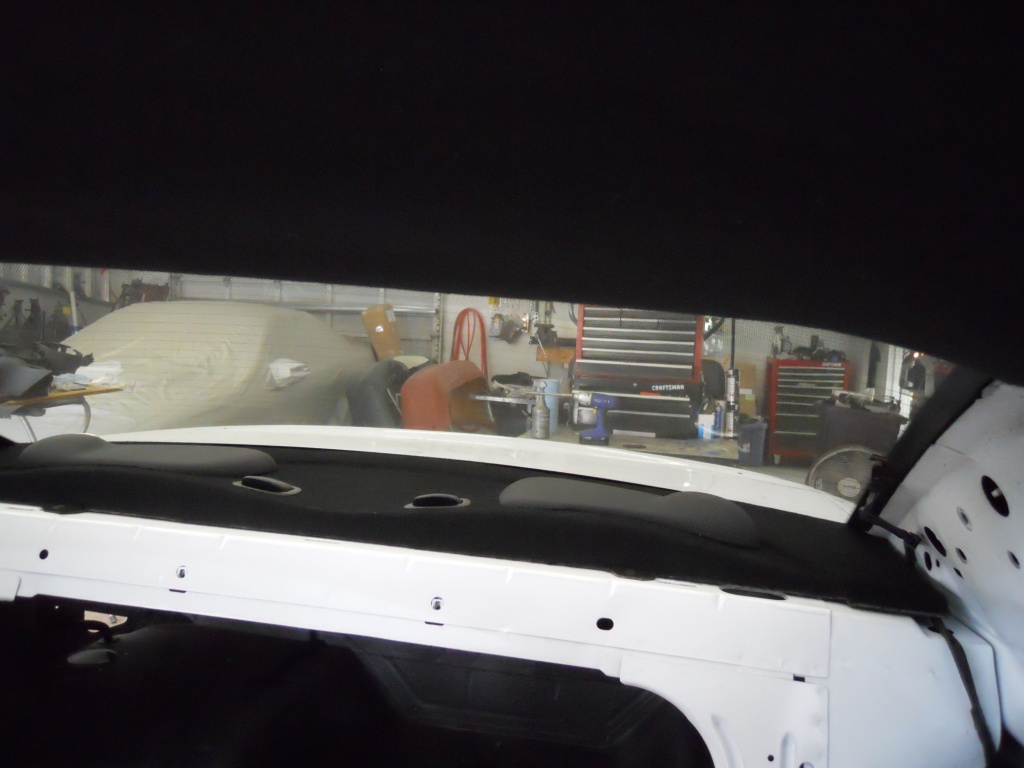
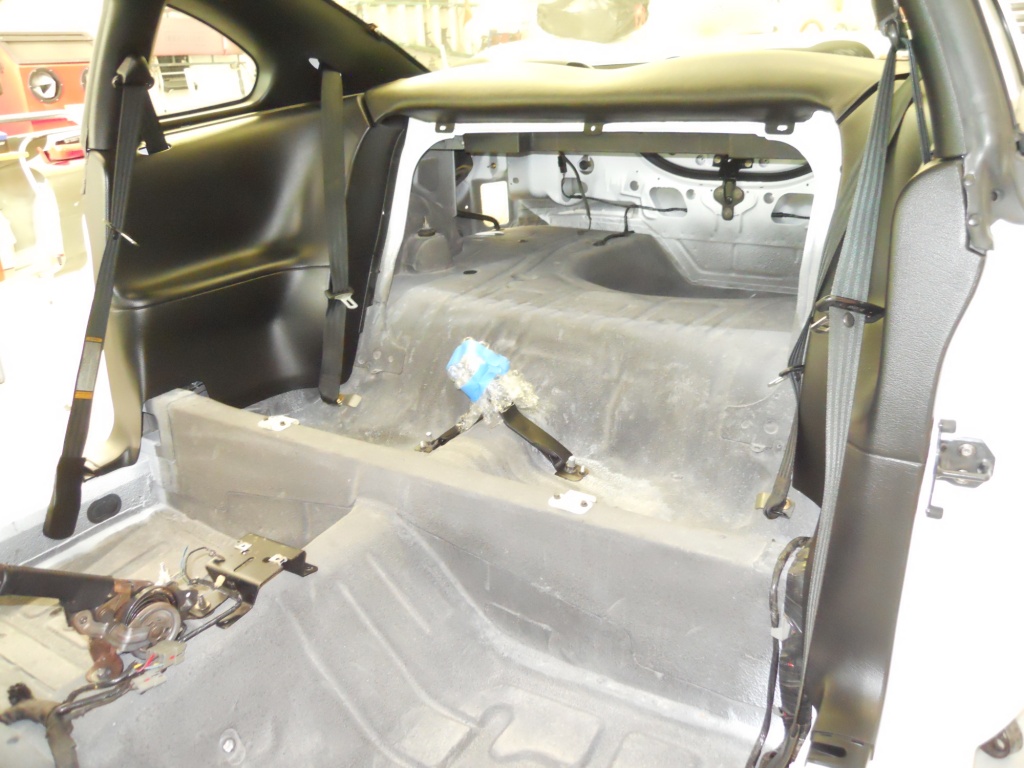
| I
was not sure in what order the interior parts and pieces had to go back
in. I did know that the headliner was first. The headliner that was in
the car was sagging at the front and rear windshields due to water
leaks around the glass. I picked up this one from a friend who was
building a track-only car. The headliners are glued into place from the
factory. Online sources say to use 'Liquid Nails' as a replacement for
the OE adhesive. So after cleaning all the surfaces and following the instructions on the tube, up it went. A couple of push-pins at the rear corners and the visors help to hold it in place. I added a couple of pieces of tape and additional adhesive at the door openings to keep it in place. Just remember to connect all the wiring as you install it, otherwise you wont be able to later. | ||
   | ||
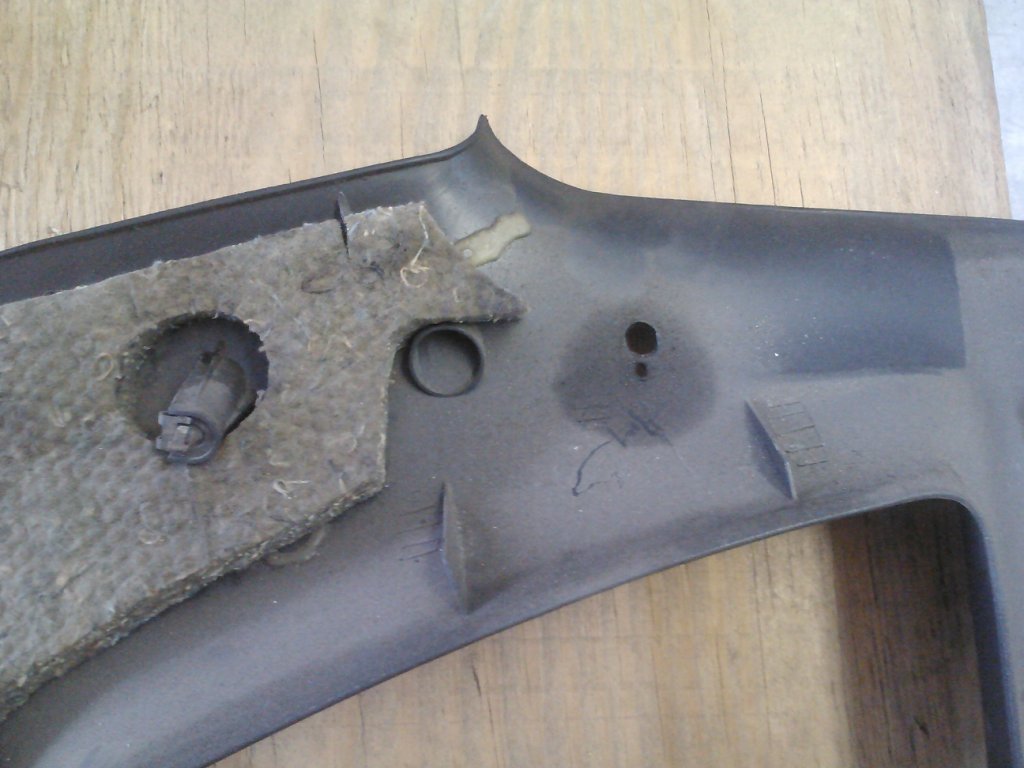
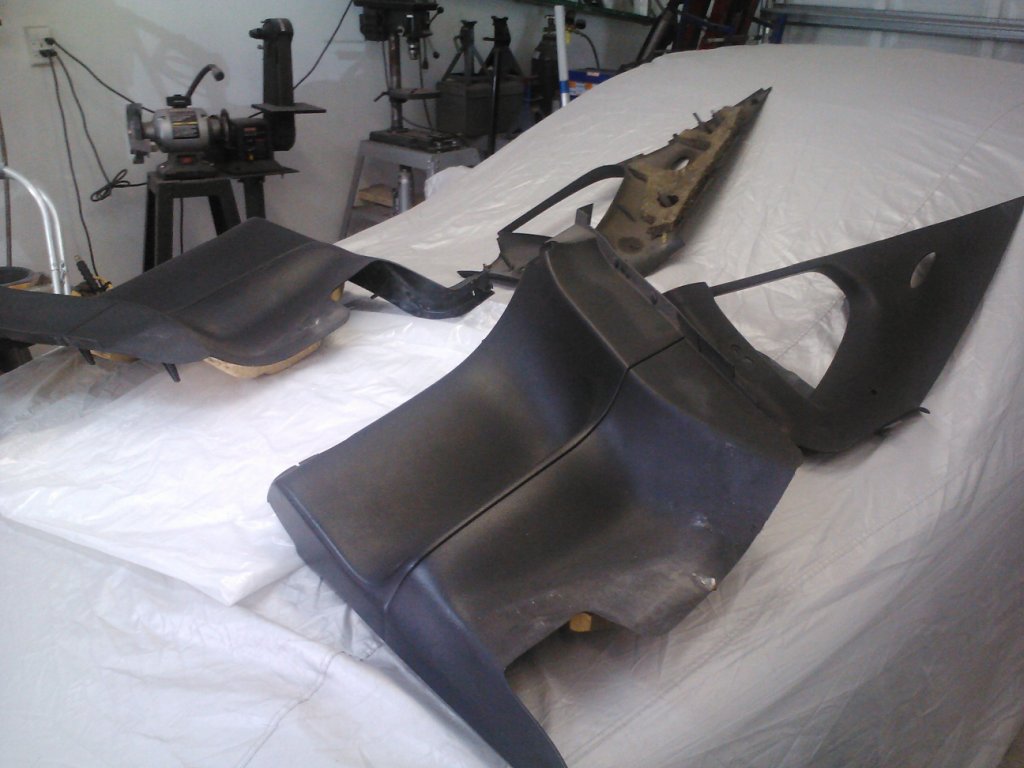
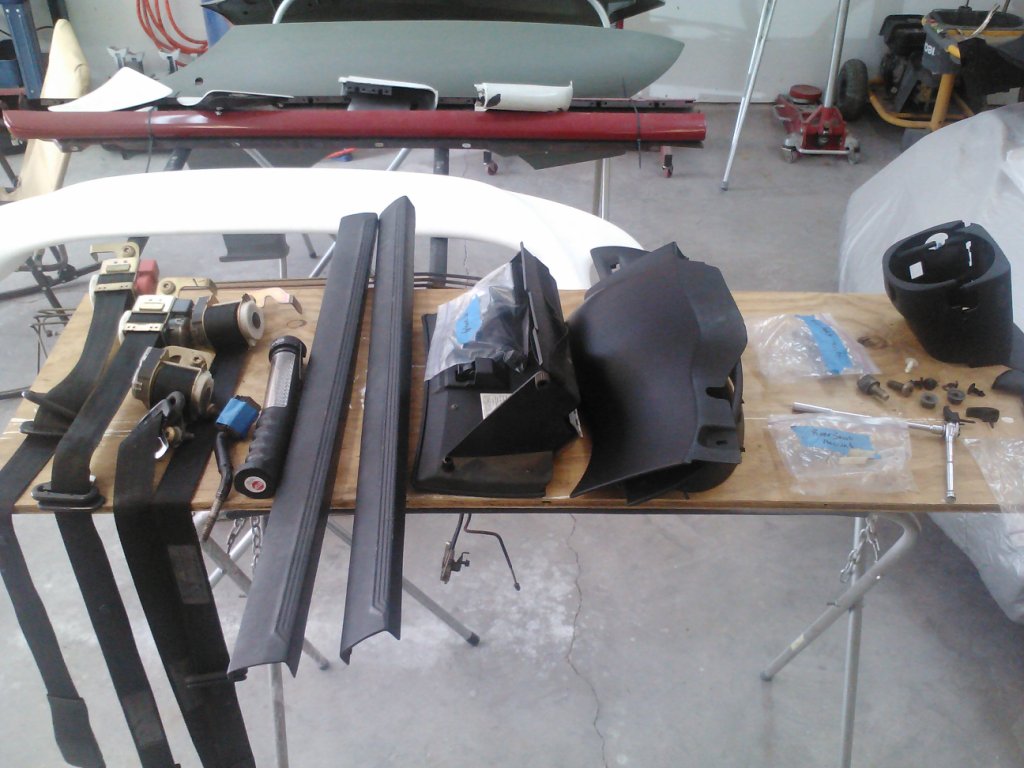
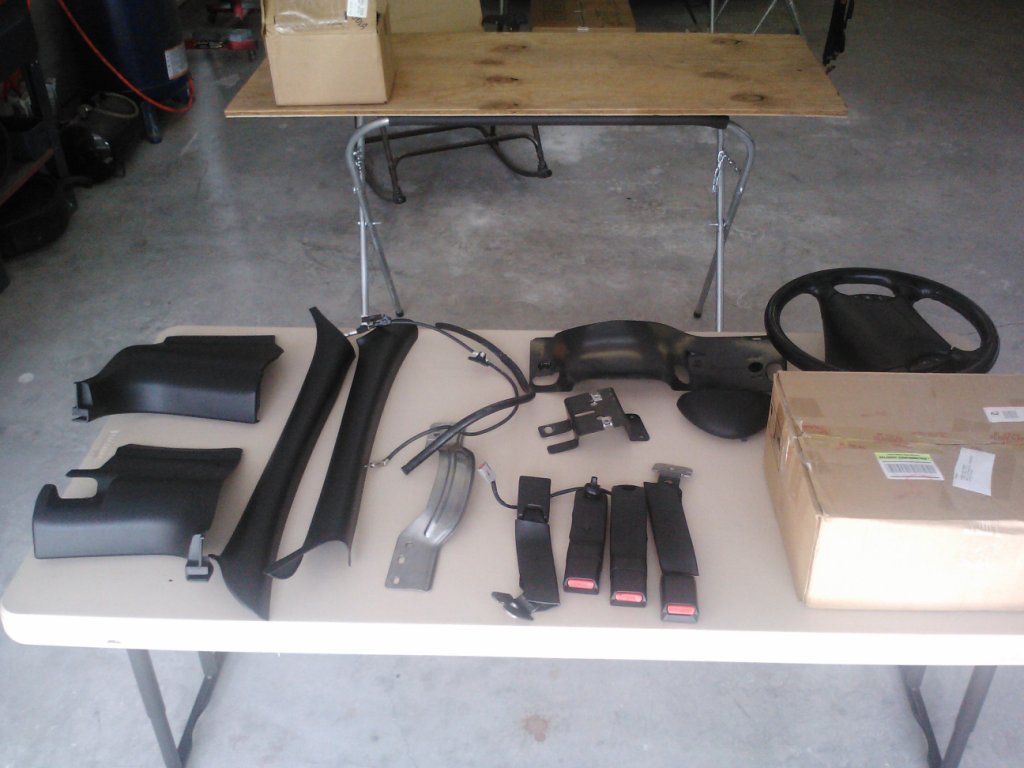
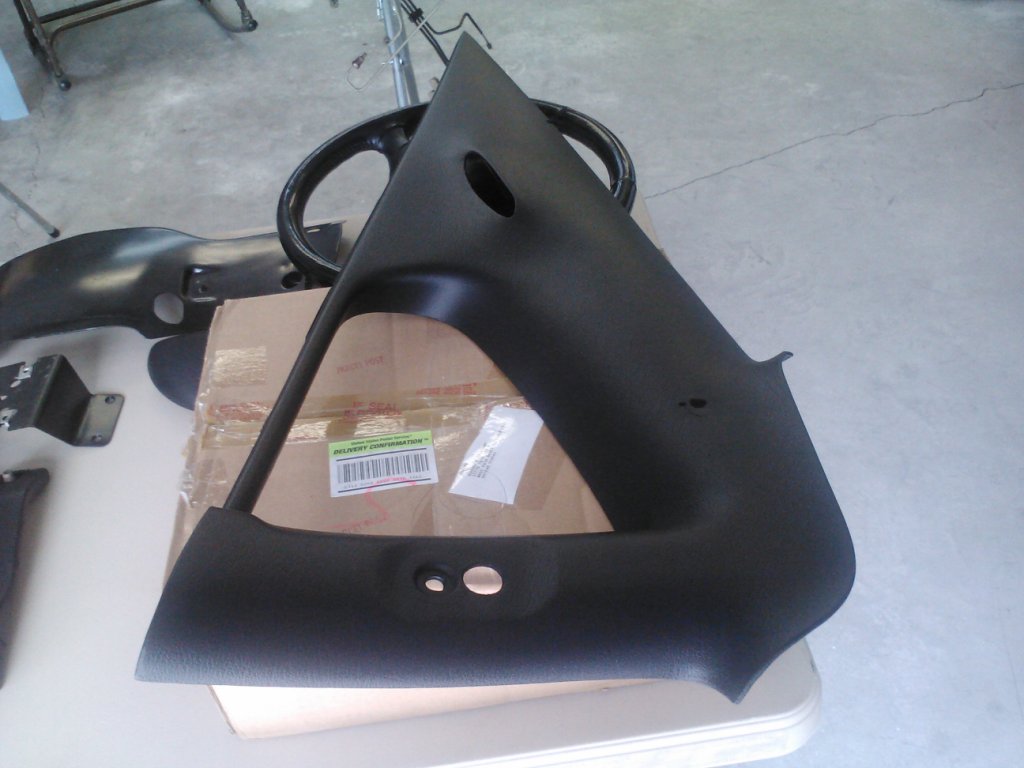
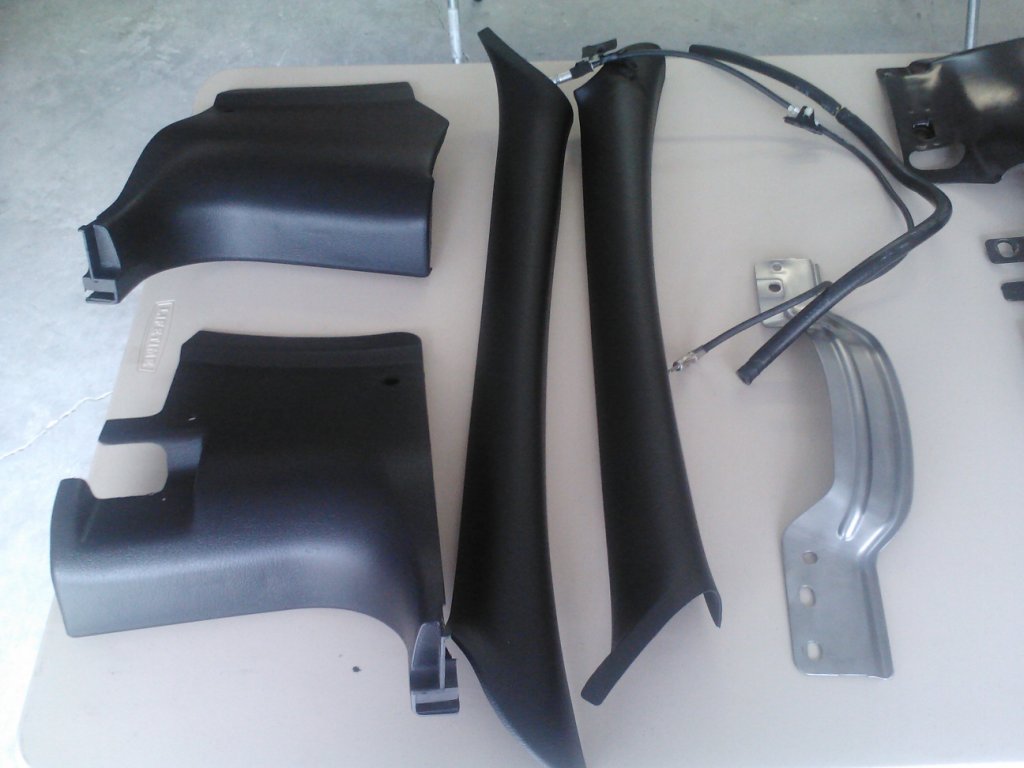
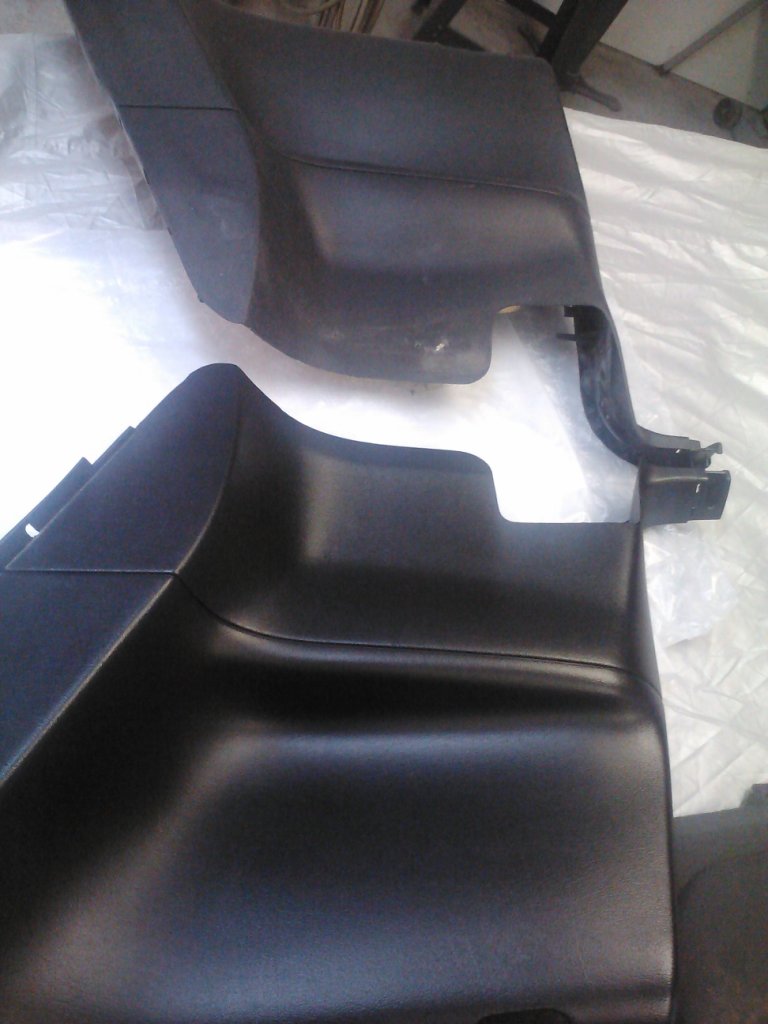
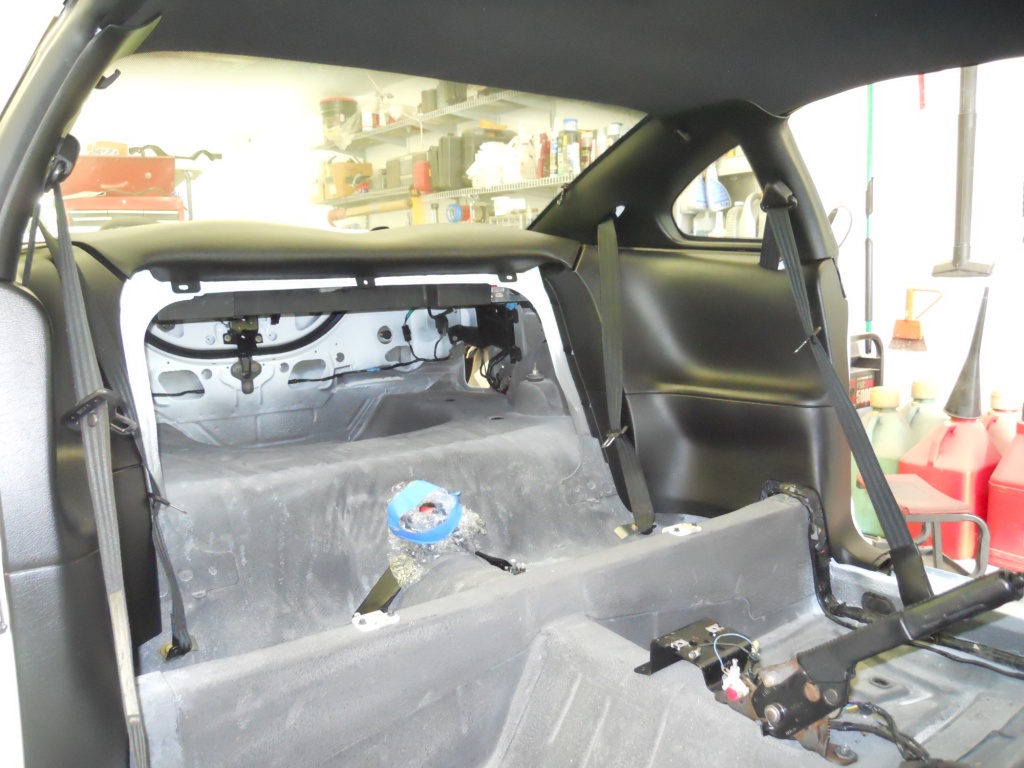
| With
the exception of the dash & steering wheel, all the other black
trim pieces in the car needed a lot of work. Most had years of caked-up
dirt and crud inside and out. First they were all throughly cleaned
with multi-purpose cleaner, then wiped-down with paint thinner. Finally
they were given several coats of SEM 'Landau Black' flexible
spray coating for vinyl, plastic and carpet. Some plastic parts looked
a little 'dull' or 'matted' after spraying. Once dry, I went over those
parts with a fine 3M scotch-brite pad and a towel, which gave more
depth and shine to the parts. The seat belts and related hardware were all cleaned before installing. I screwed-up on the order of installation of the parts, as you can see from the photos. The interior 'Sail-panel' trim has to be installed after the lower quarter-trim panel. Also, outside the car, the side scoops need to be installed before the interior quarter-trim goes in. I'll cover that in the next update. The rear speaker tray cover that I got from eBay, is from a newer Mustang. You can tell by the child safety seat tether covers. It too was coated with the SEM product, as it was charcoal in color, rather than black. | ||
            | ||
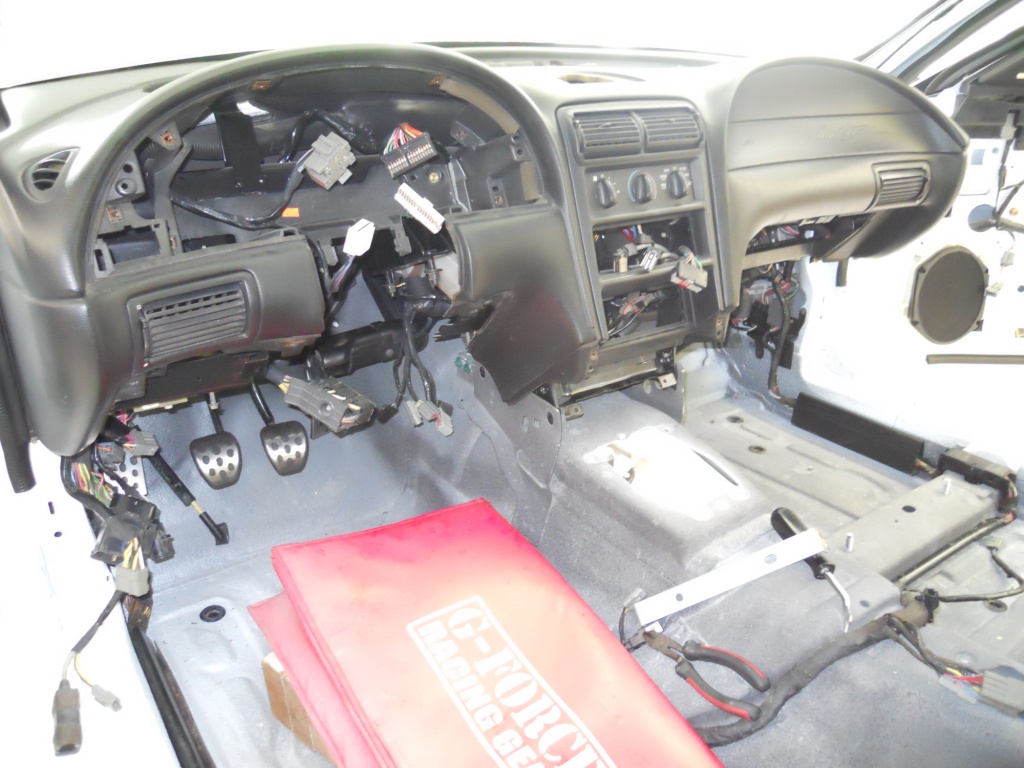
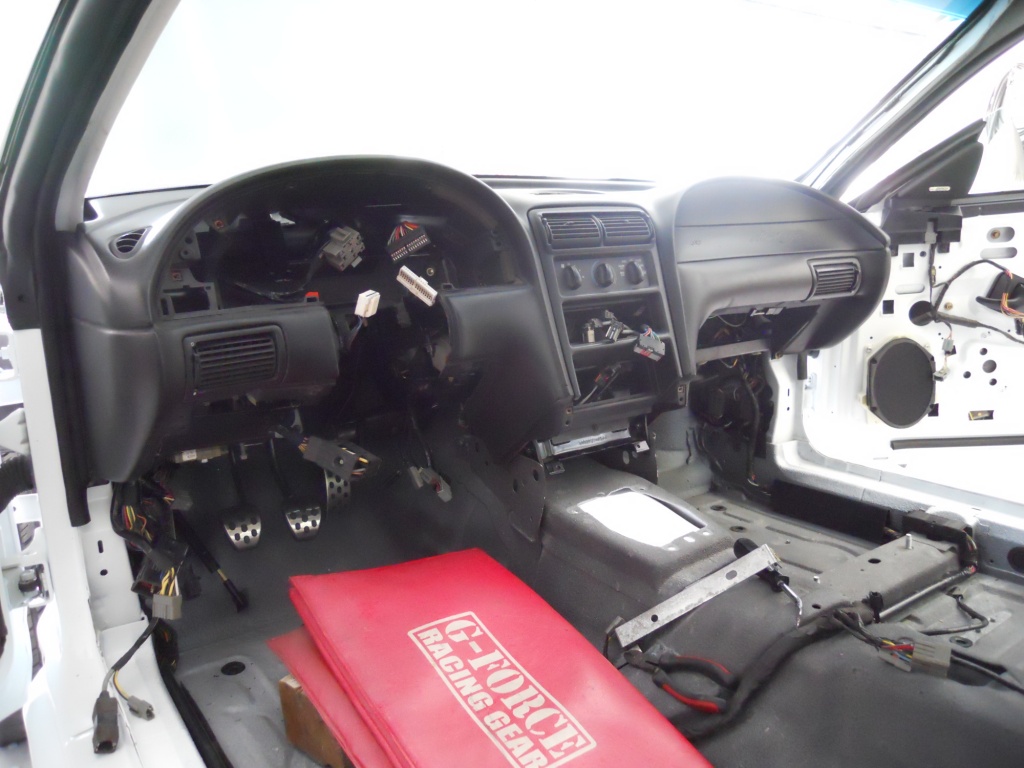
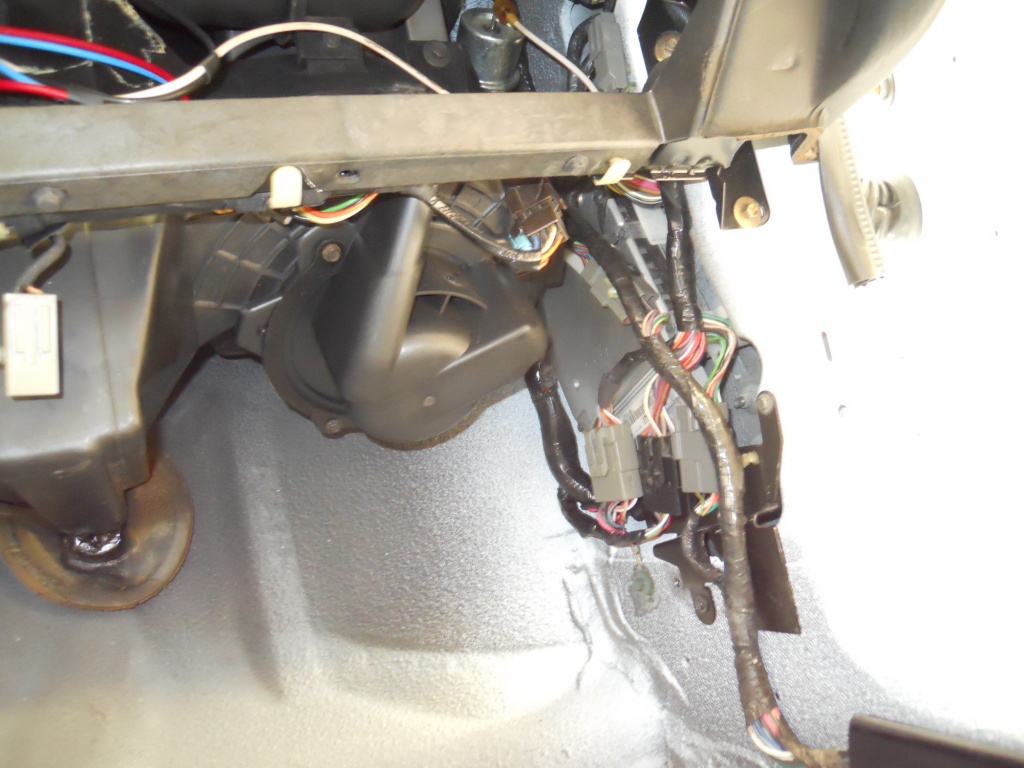
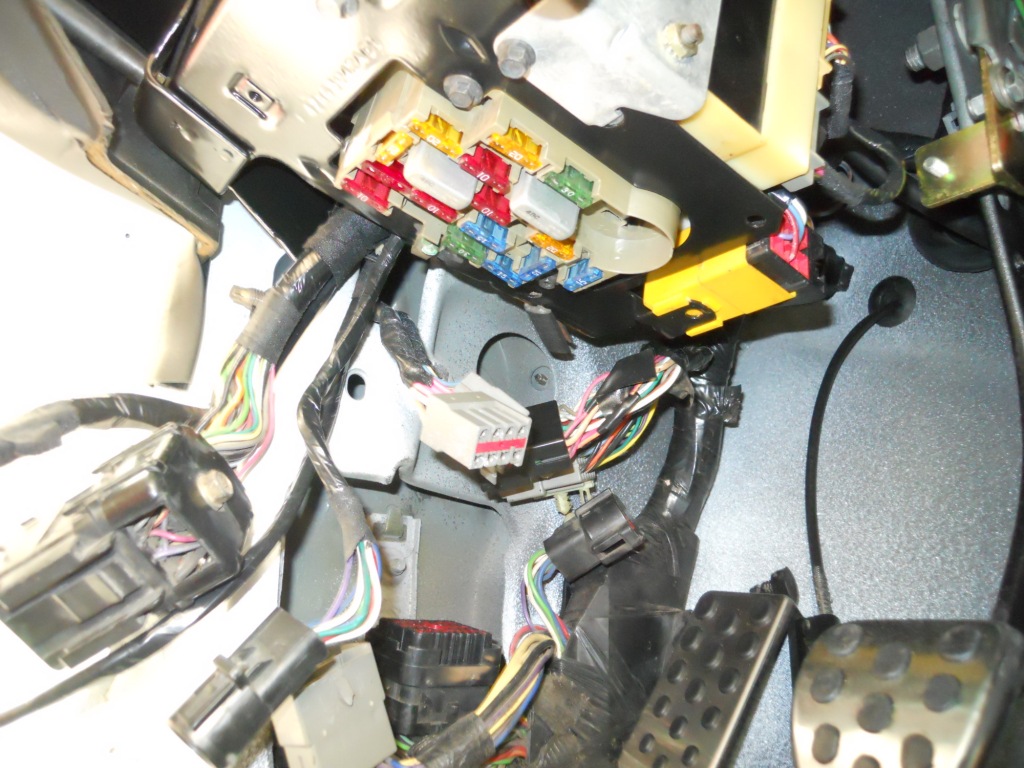
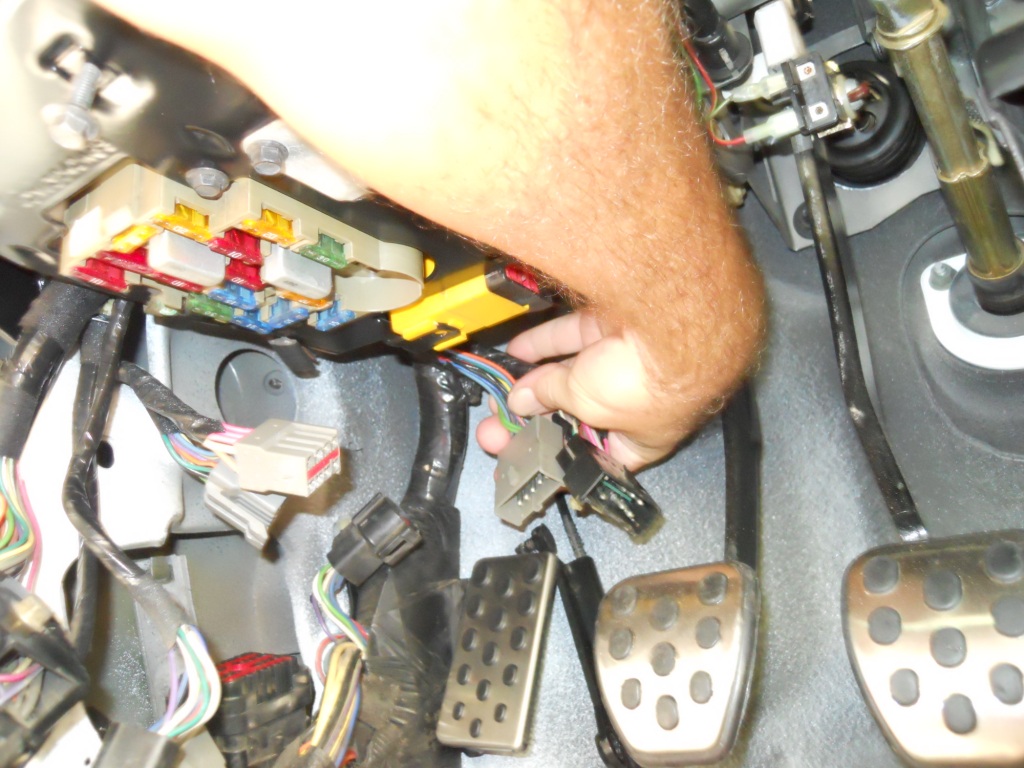
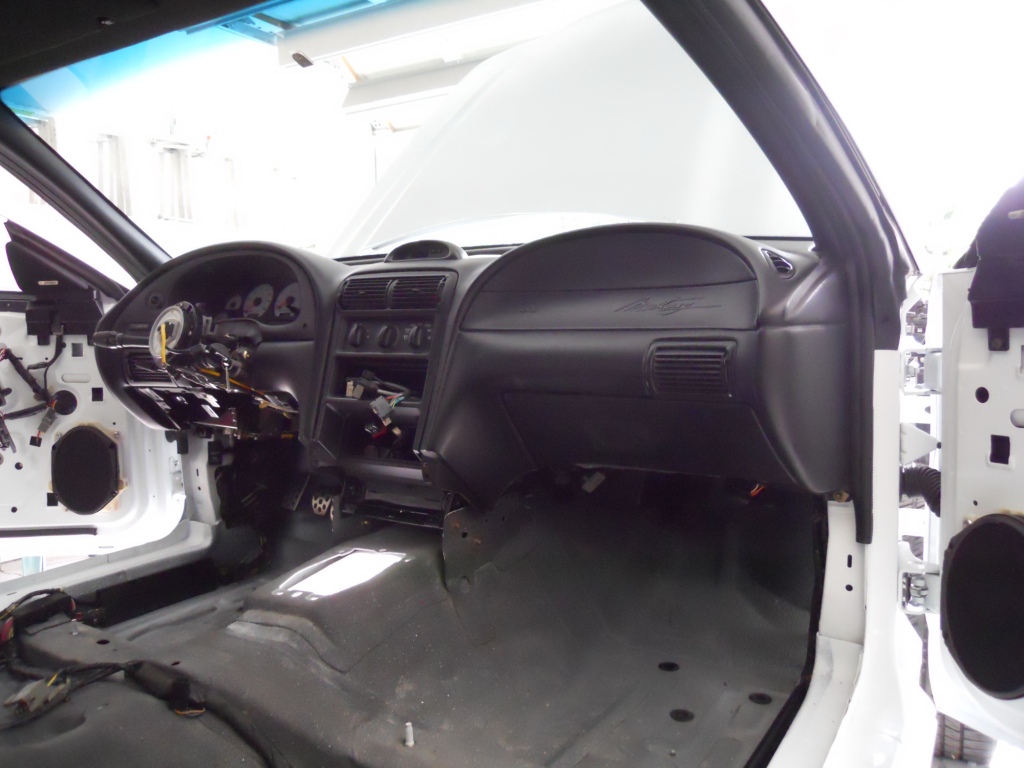
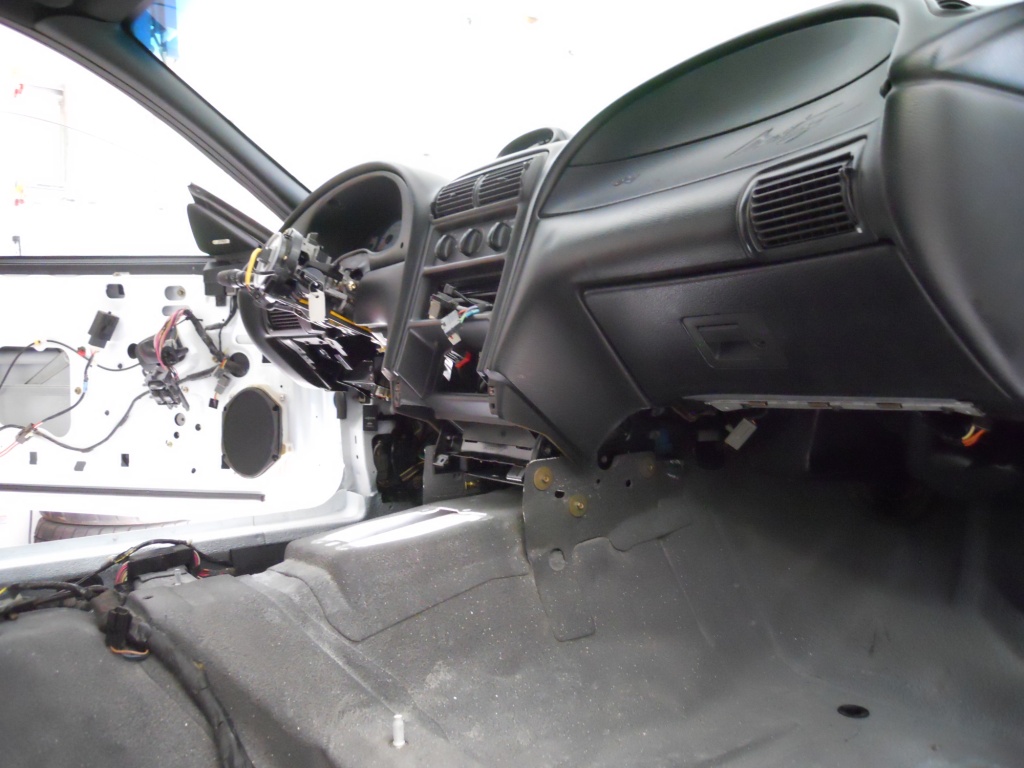
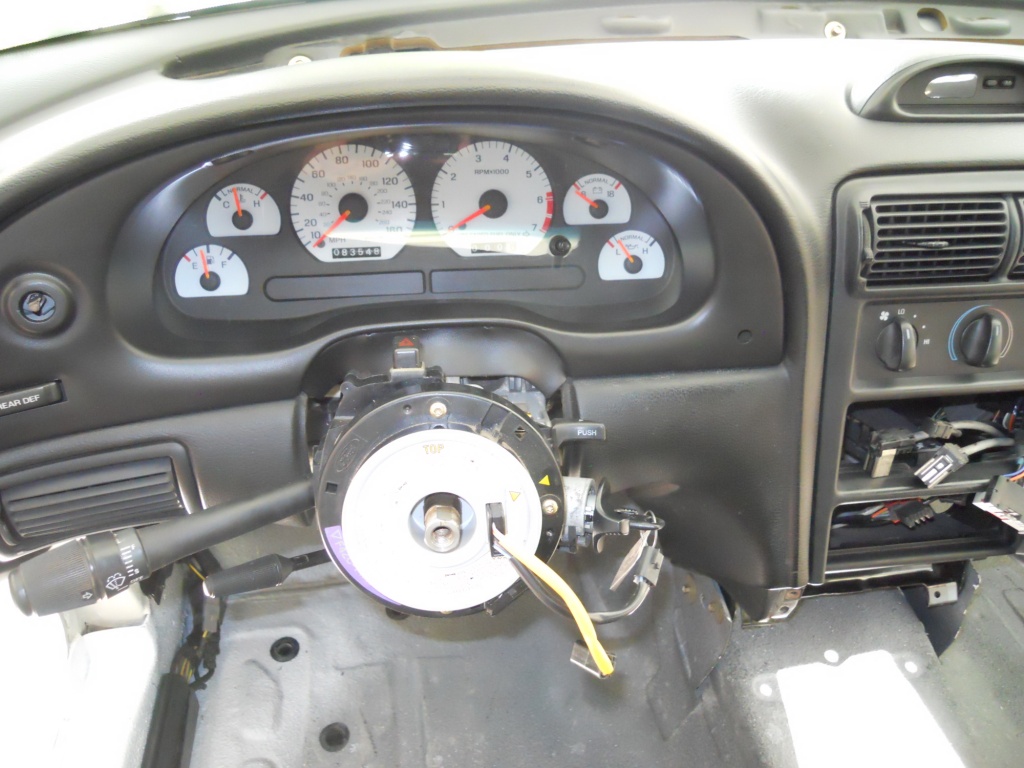
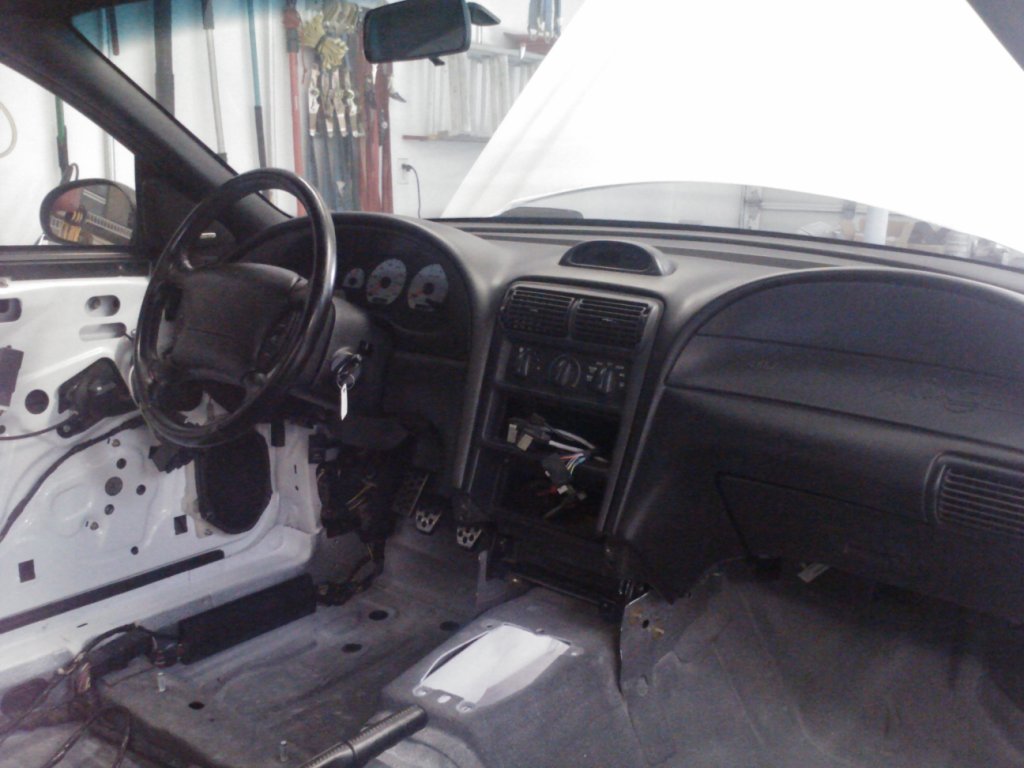
| Next
up was the dash assembly. My wife Tammy helped me to get it into the
car and then I was able to start connecting all the different wiring
harnesses together. And now the problems started. The connectors for the passenger door harness did not match up to the connectors in my 'new' main body harness. However, the drivers-side door harness worked fine. None of the three harnesses in question are original to the car. All were from different eBay sellers. Both door harness had all the connectors for the power accessores and Mach speakers, so why the difference? I pulled out of the attic the original main harness that was in the car. (Luckily, I had not discarded it) and now had the exact opposite issue. Passenger side door harness worked, but the drivers sided did not. After doing research, I found out the main harness I purchased was for a Mustang that did not have remote unlocking or the factory anti-theft system, but did have power windows and door locks. As I wanted to keep the remote unlocking feature, I removed the new main harness and cleaned-up and reinstalled the factory harness. This meant a delay of a couple of days as I needed to get a different drivers side door harness too. Luckily, I found one on eBay and was back on my way to finishing up the dash install in a few days. | ||
    | ||
            | ||
All images are property of Titanium Motorsports and may not be used without permission.Last Modified: August 21st, 2012. | ||