 TITANIUM
Motorsports
TITANIUM
Motorsports | TITANIUM Motorsports Home "POS Cobra" Restoration Journal Titanium Motorsports Racing Journal Parts & Stuff For Sale PRI Show The Lounge | TITANIUM
Motorsports "POS" Mustang Cobra Restoration Journal |
| #7: March 15th, 2010 - Floor Repairs and Fabrication at Florida Performance Machine... I needed to do extensive repairs to the floor of the car. While I have a MIG welder and can weld OK, doing welding while lying on my back with the car on jack stands just inches from my nose did not appeal to me. So, I loaded the car on the trailer and took a trip to see my friend Buddy Hendricks at Florida Performance Machine in Sanford FL. We had three task to accomplish; one, re-weld the floor seam from the firewall back to the transmission tunnel and across to the rocker panel. Two, fabricate and install new front frame rail reinforcements. Three, re-weld in the captured-nut assembly for the trunk catch. | ||
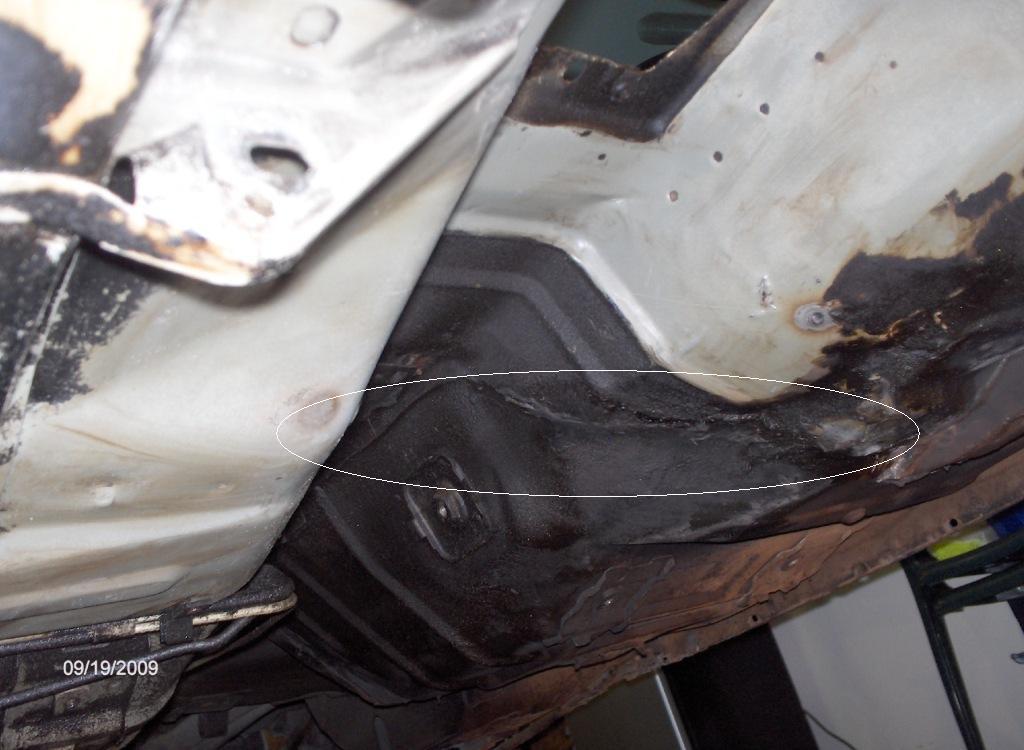
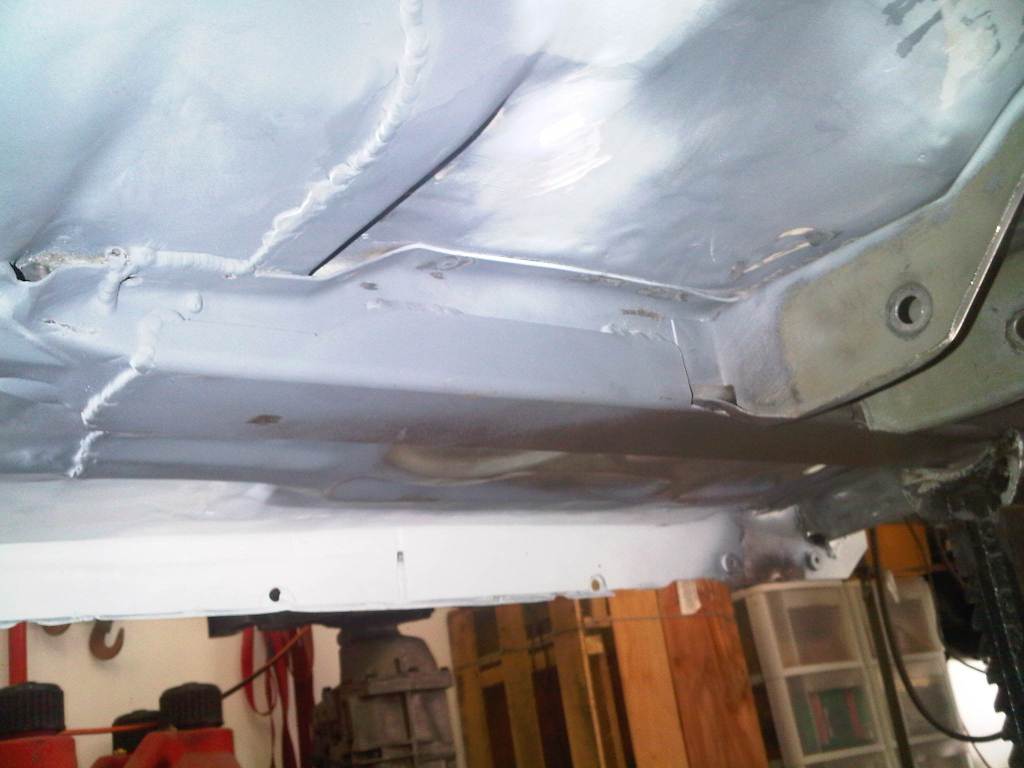
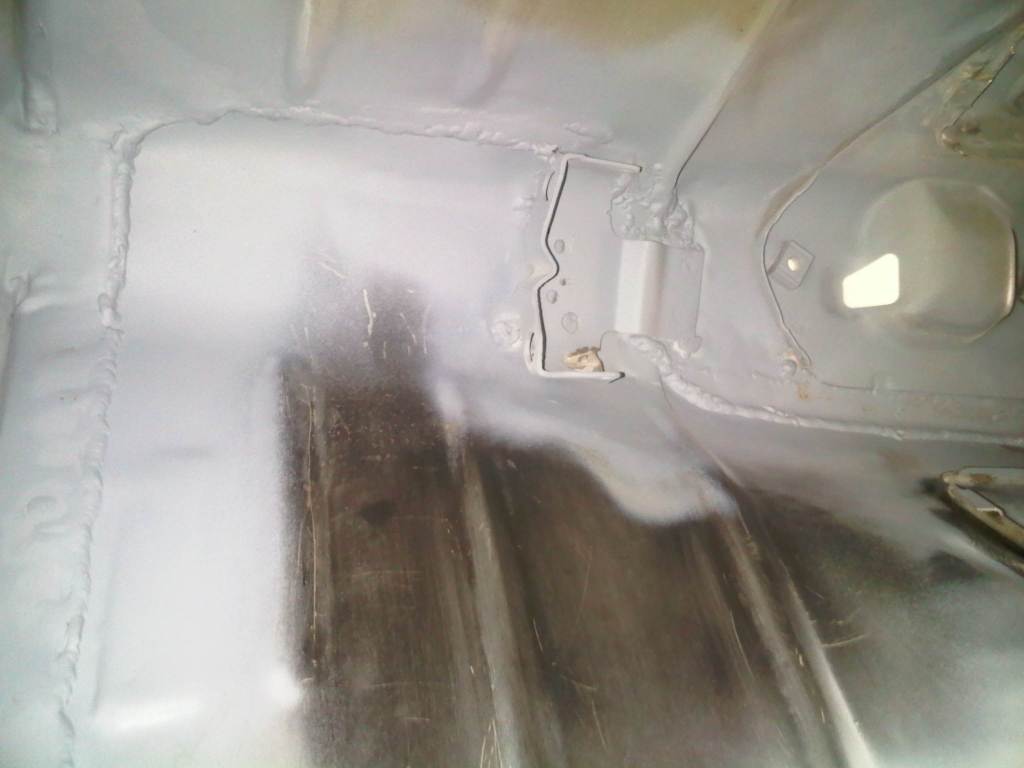
| First
on the list was to re-weld the floor seam. You may recall the repairs
in '97 were done by laying the new floor on top of part of the old
floor. Then welded in on the inside only. The outside was covered in
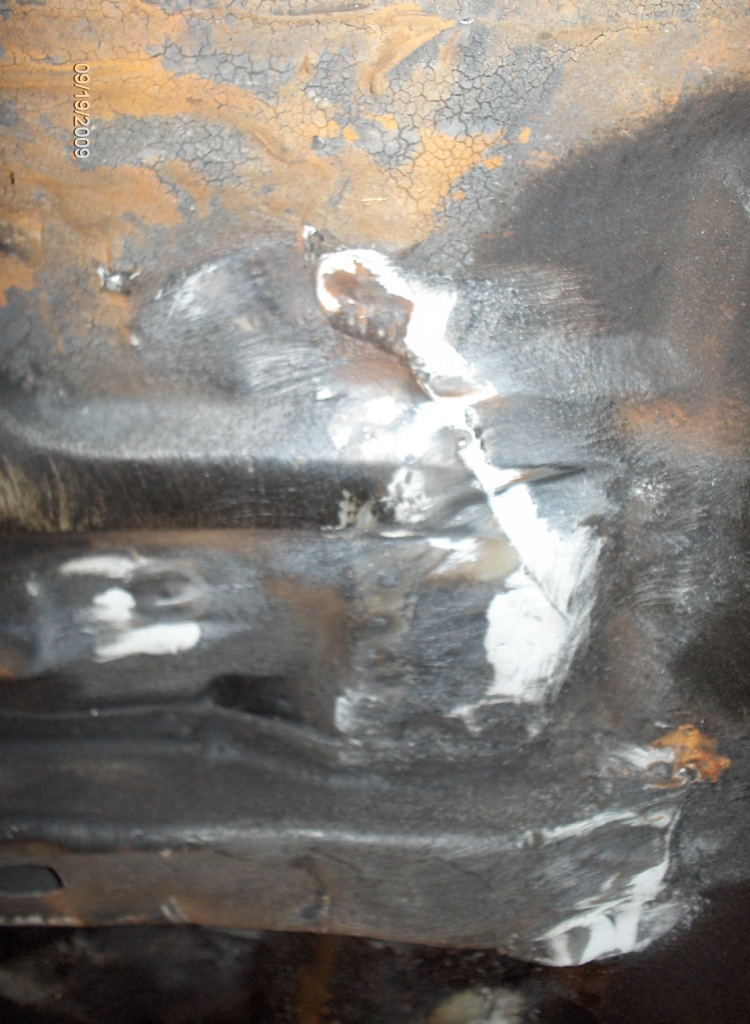
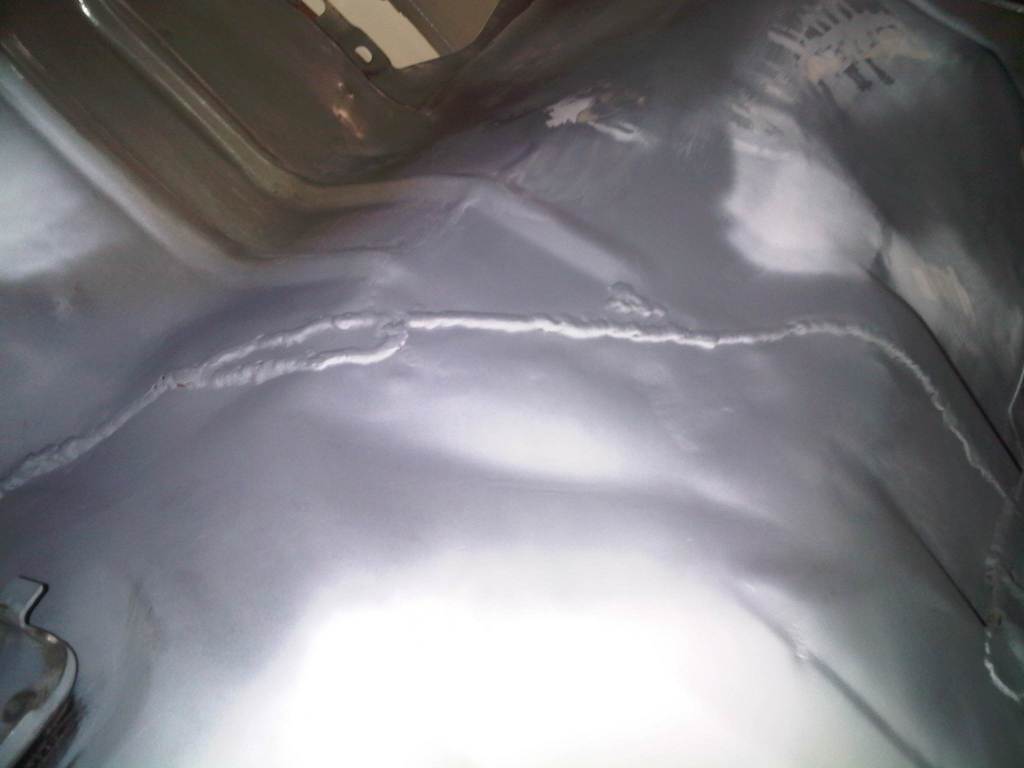
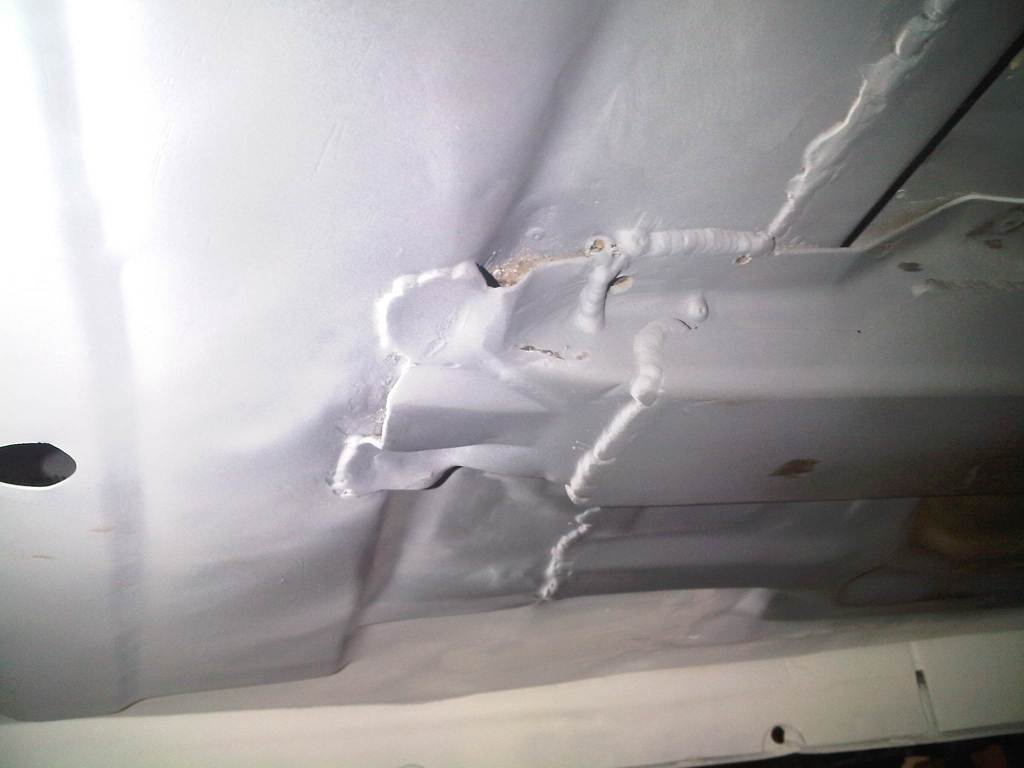
seam sealer to try and keep out moisture and rust. It didn't work. So everything was cleaned and the overlap was trimmed. Buddy then used his mad welding skills to run a bead along the seam to seal up everything. The factory sub-frame had to be partially removed to get the old floor out from underneath it. Here you can see where it has been re-welded into place. The welding continues up into the transmission tunnel and on the side of the tunnel. Multiple holes had to be welded up also in the transmission tunnel, next to the recess for the parking brake assembly. The cable mount for the parking brake was re-attached. This area looked like swiss-cheese before, that why all the weld build-up. And finally the welding finishes back down towards the floor and over to the rocker panel. | ||
  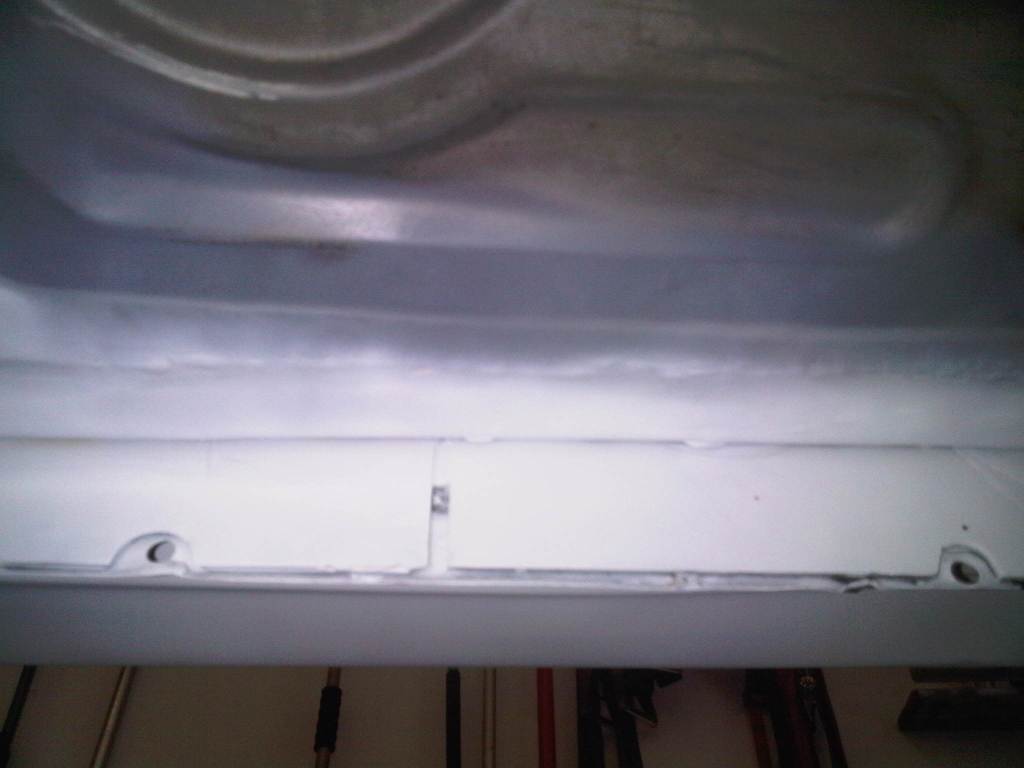    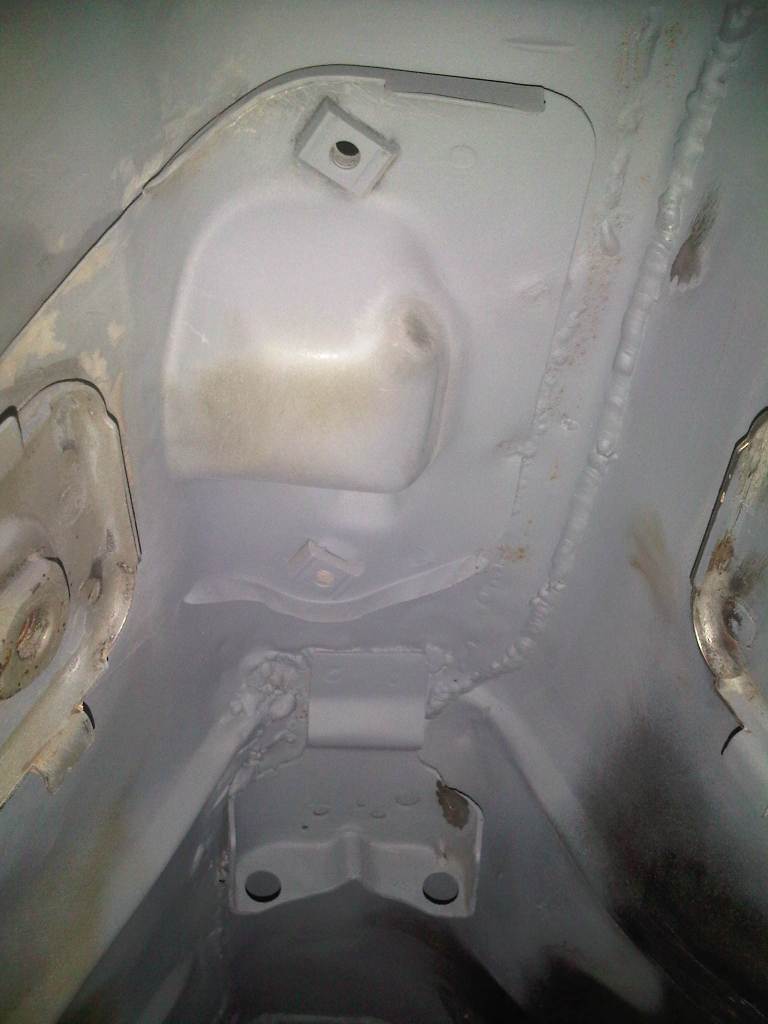   | ||
| Second on the list was fabricate and install new front frame rail reinforcements. The front frame rails were really bent-up. My solution was taking a 4ft length of 2.5 inch square, .120 wall tubing, and splitting it lengthwise, creating two u-shaped channels. Then fitting the channel over the existing frame rail. Buddy went the extra step to widen the channel around the front frame section. I was expecting him to just trim-down the sides. The channel was trimmed to clear the transmission cross member mount, and tapered-down in back to follow the contours of the floor. The result is much better looking and stronger than the factory rail. 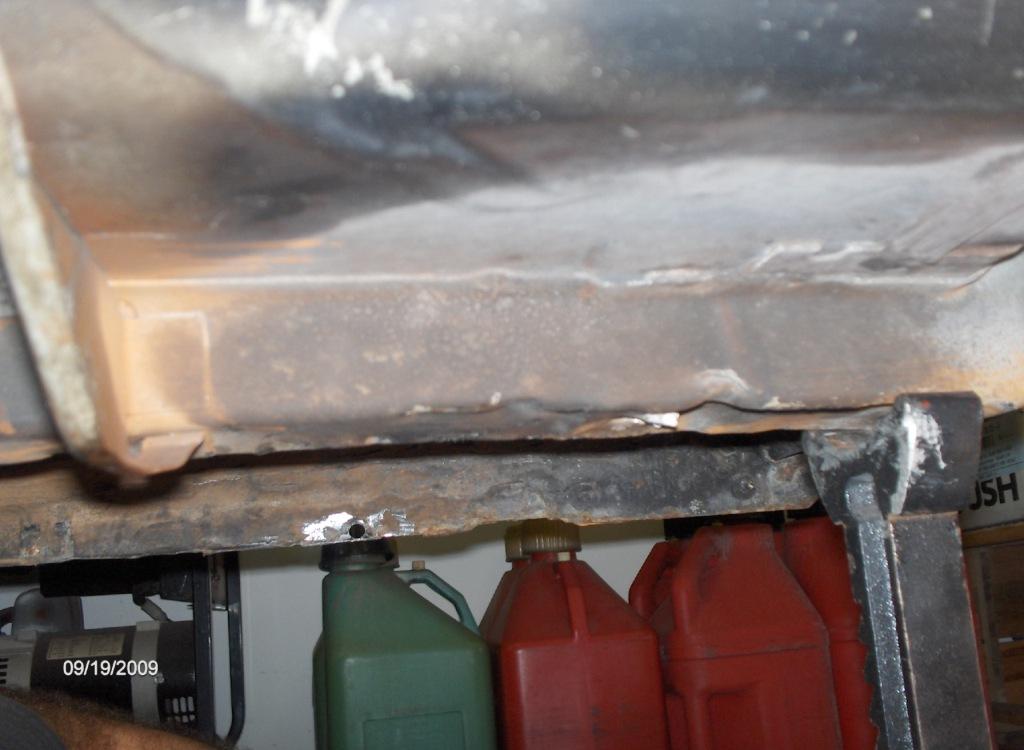 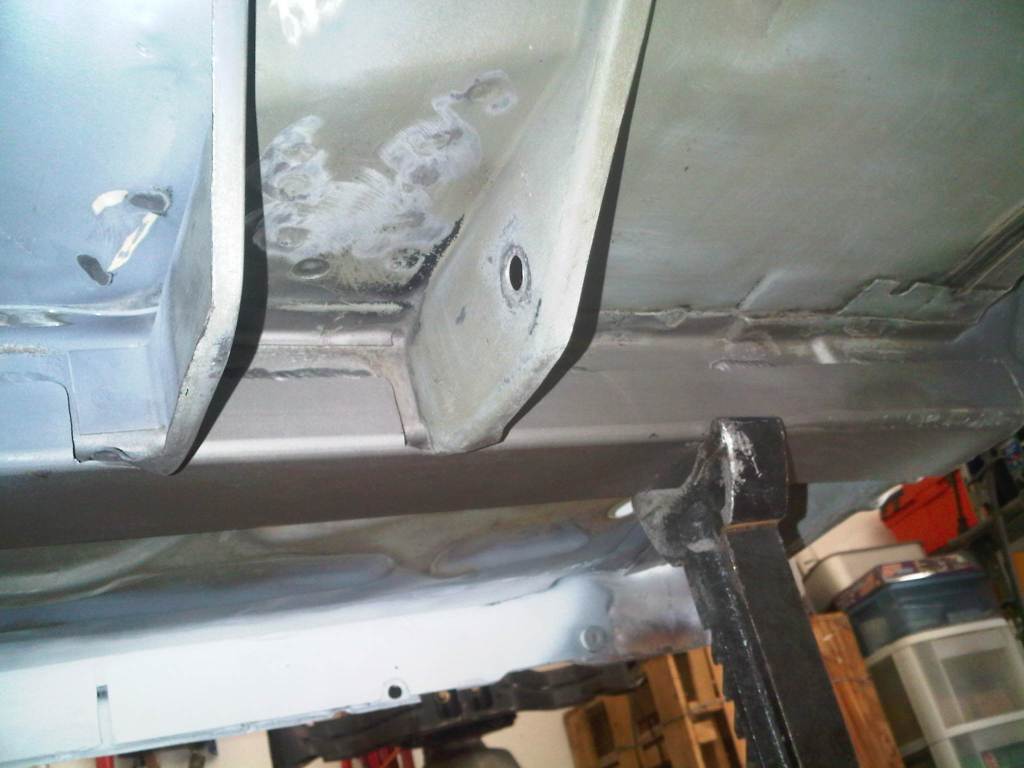 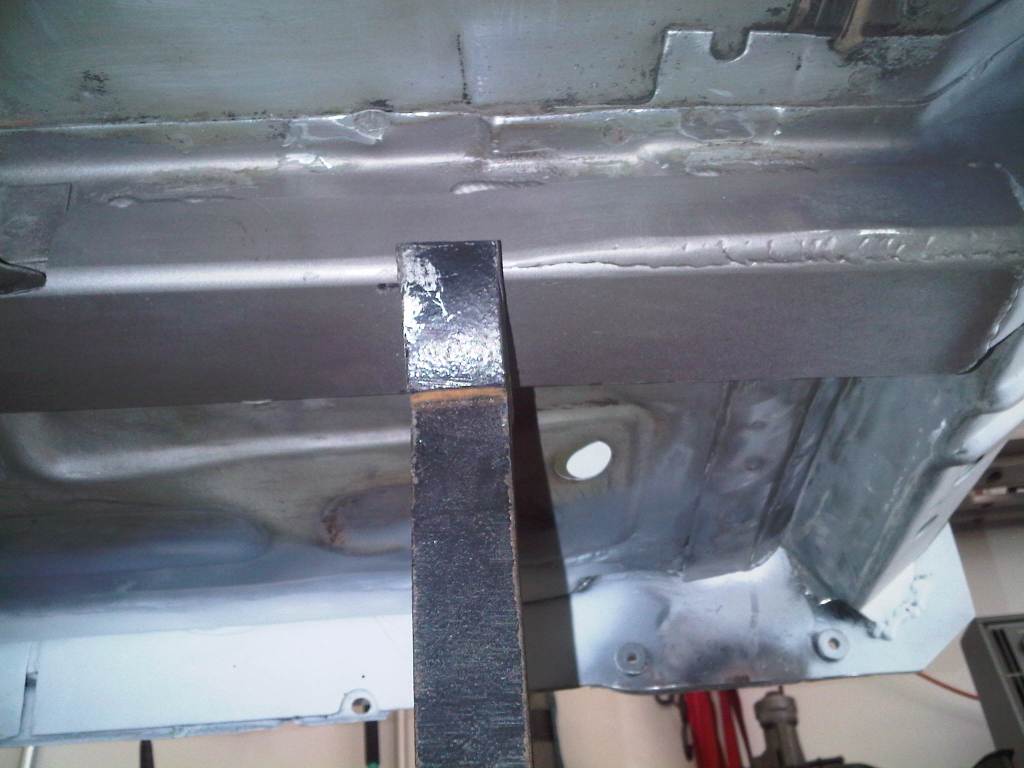 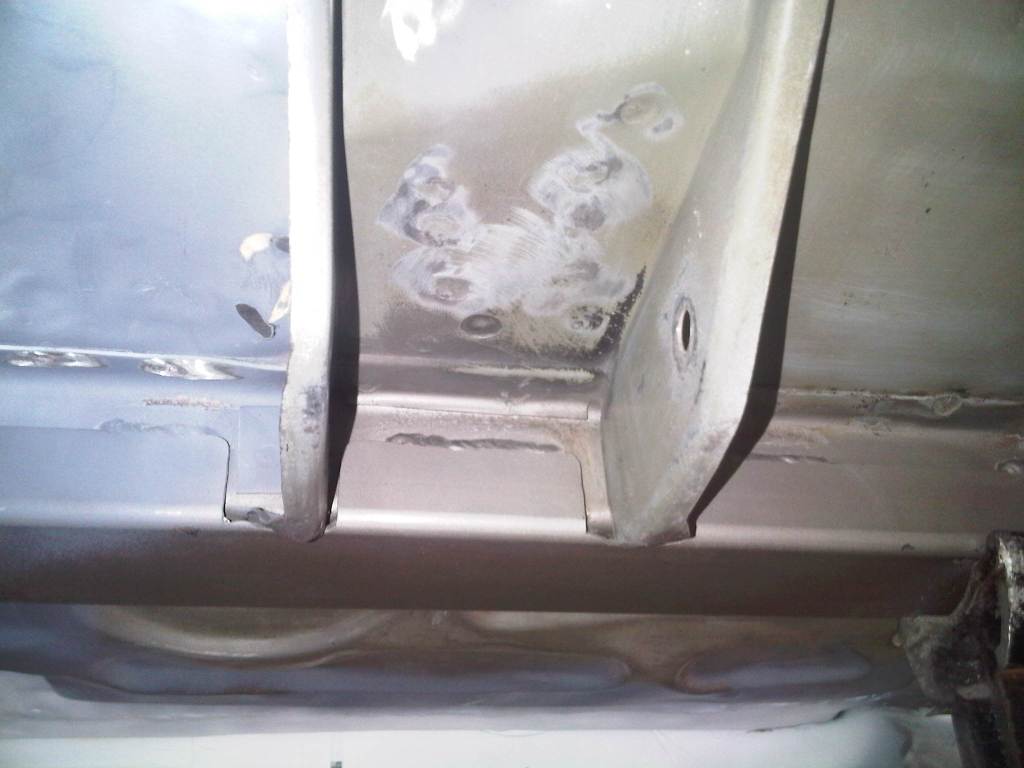 | ||
 | ||
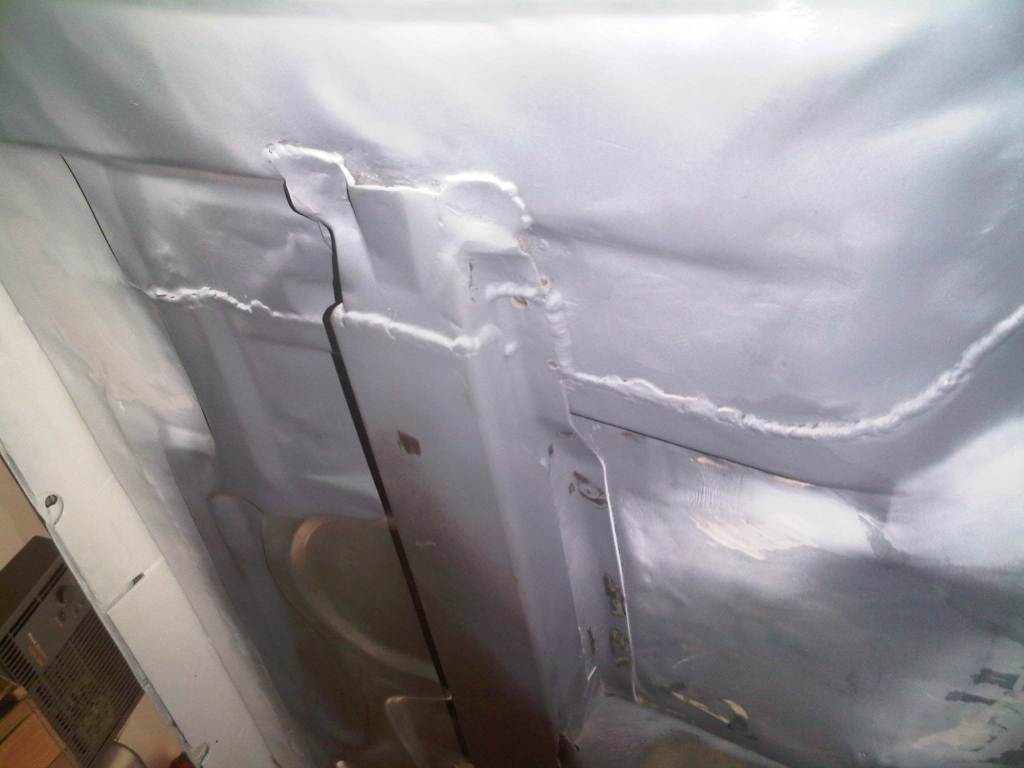
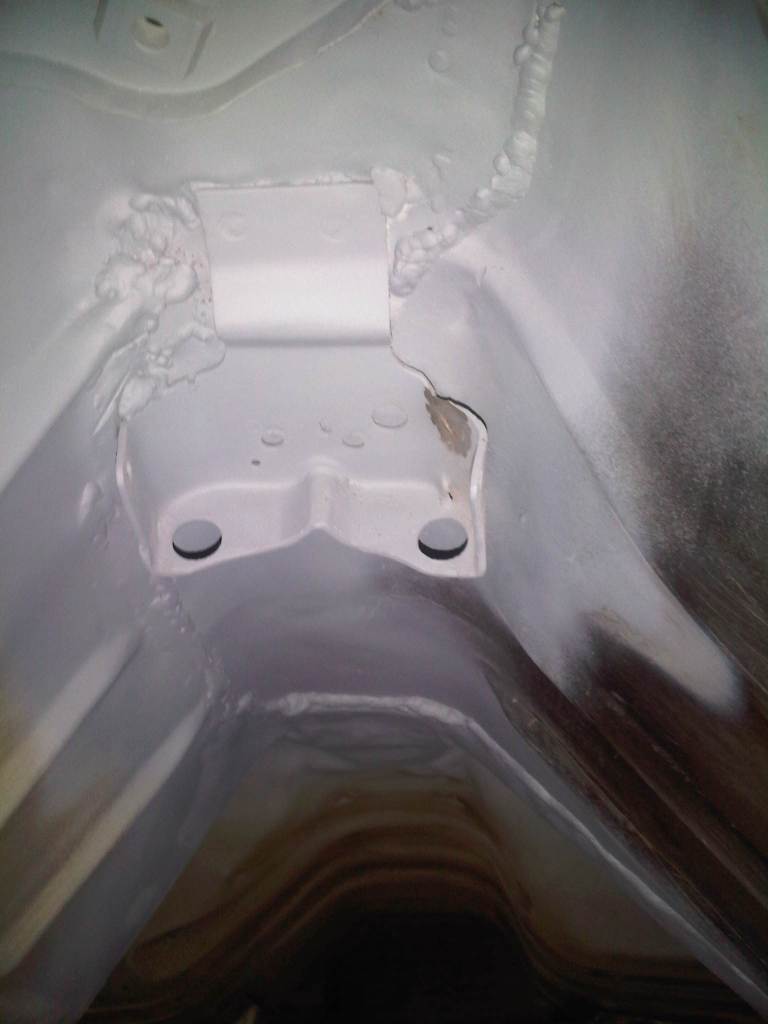
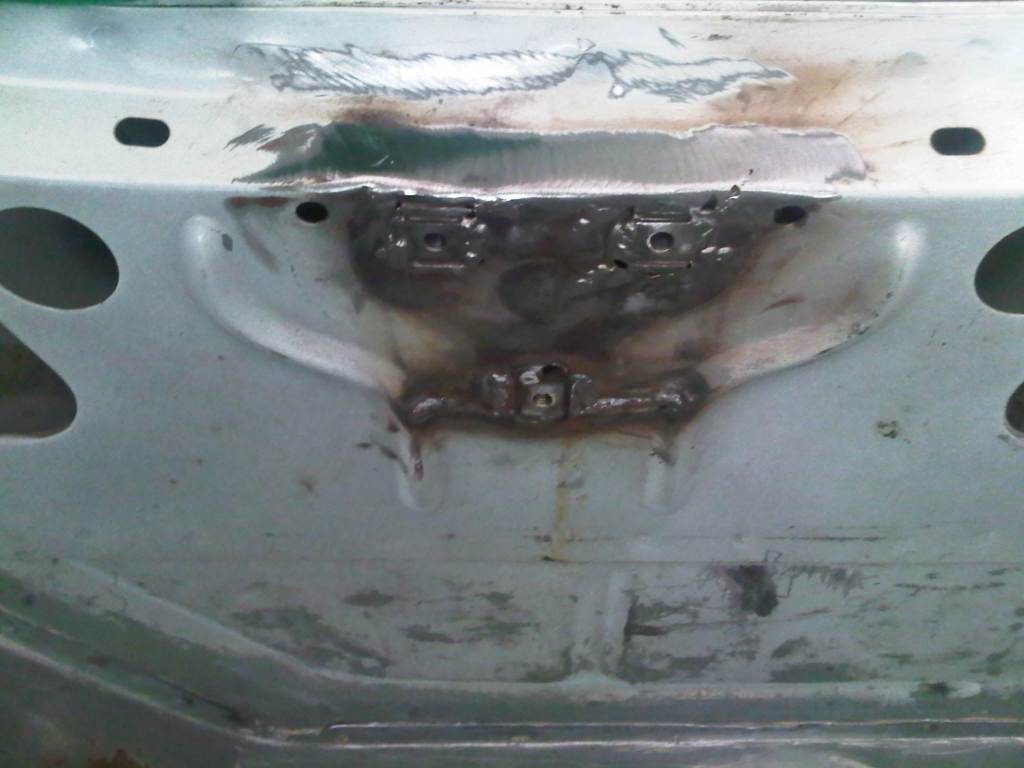
| The
final item on the list was the re-welding of the captured nut assembly
on the trunk striker. Someone at one time had pried the trunk open with
a crowbar or something, ripping the catch for the latch right out of
the sheet metal. | ||
 | ||
All images are property of Titanium Motorsports and may not be used without permission.Last Modified: April 1st, 2011. | ||