 TITANIUM
Motorsports
TITANIUM
Motorsports | TITANIUM Motorsports Home "POS Cobra" Restoration Journal Titanium Motorsports Racing Journal Parts & Stuff For Sale PRI Show The Lounge | TITANIUM
Motorsports "POS" Mustang Cobra Restoration Journal |
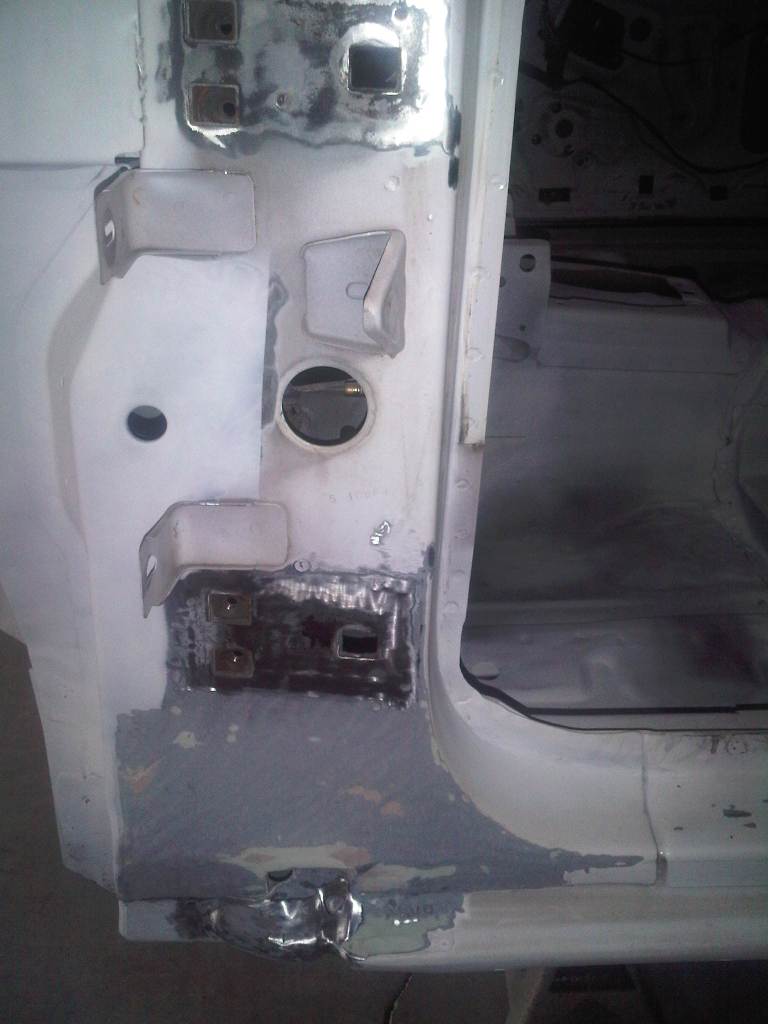
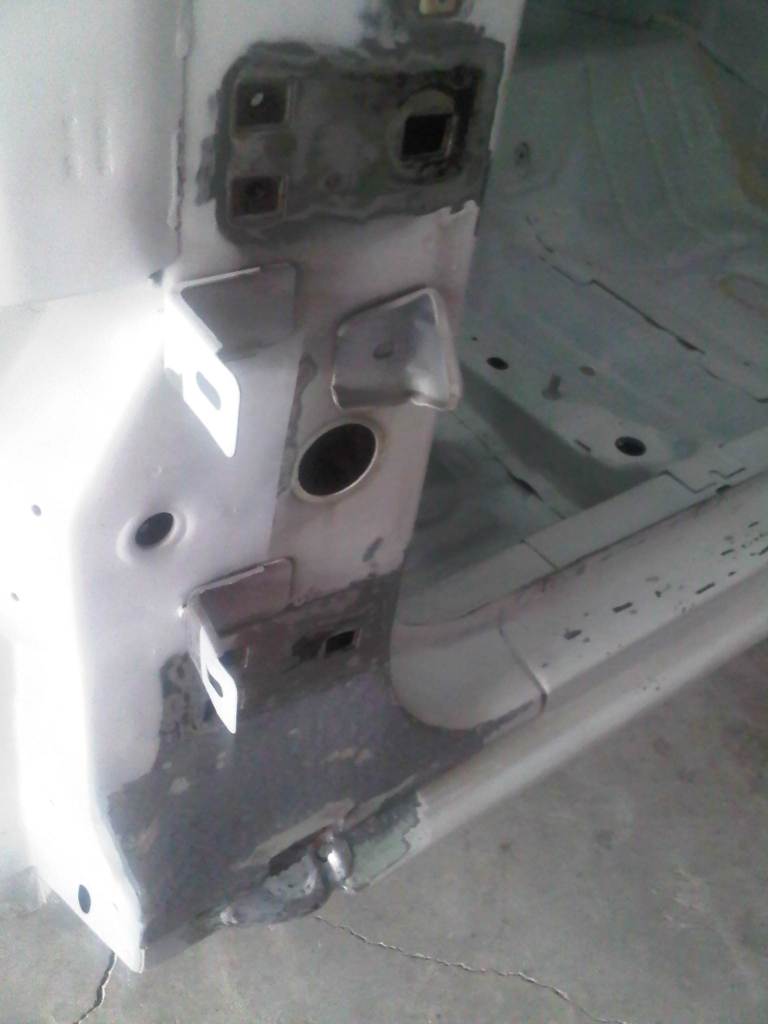
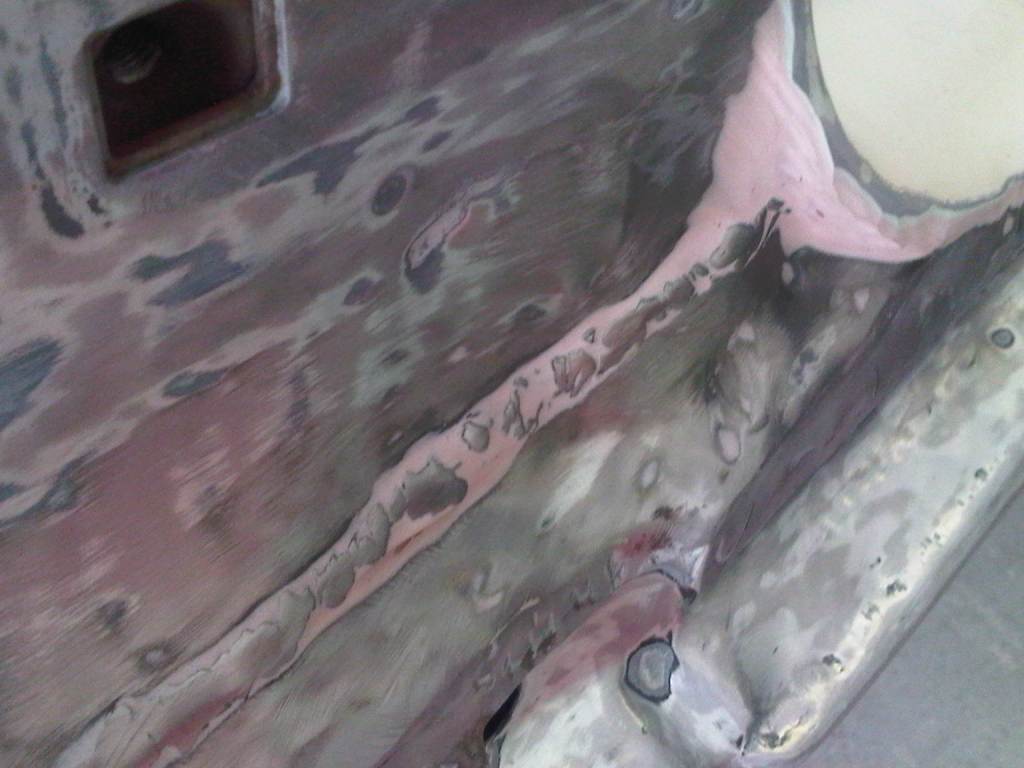
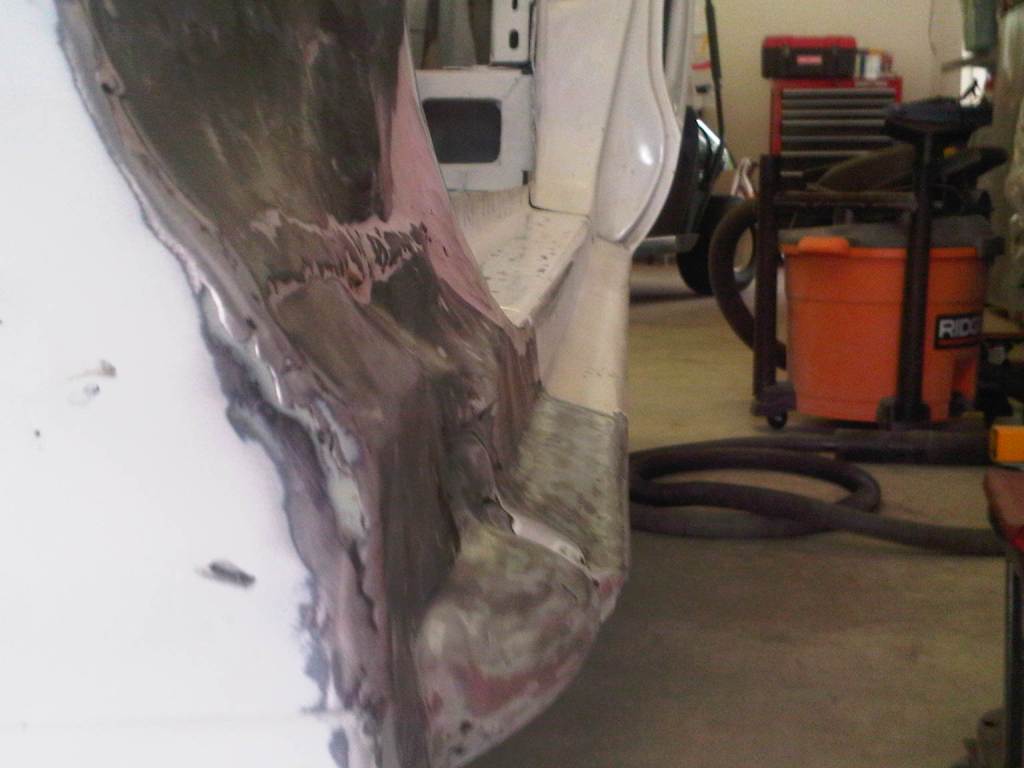
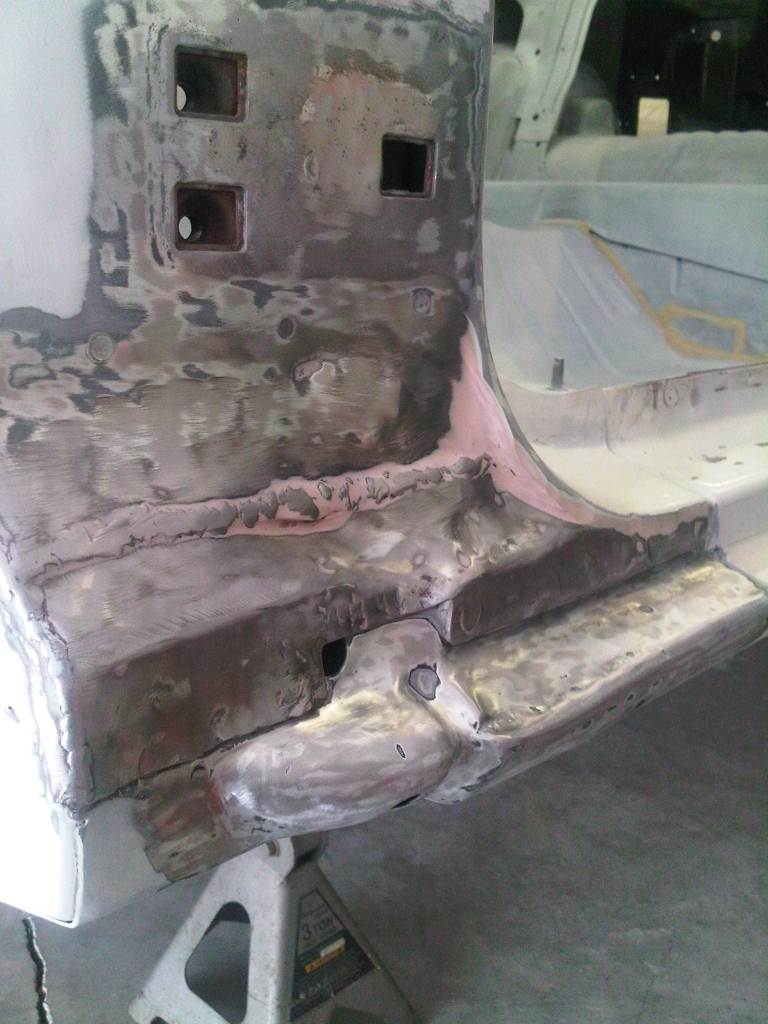
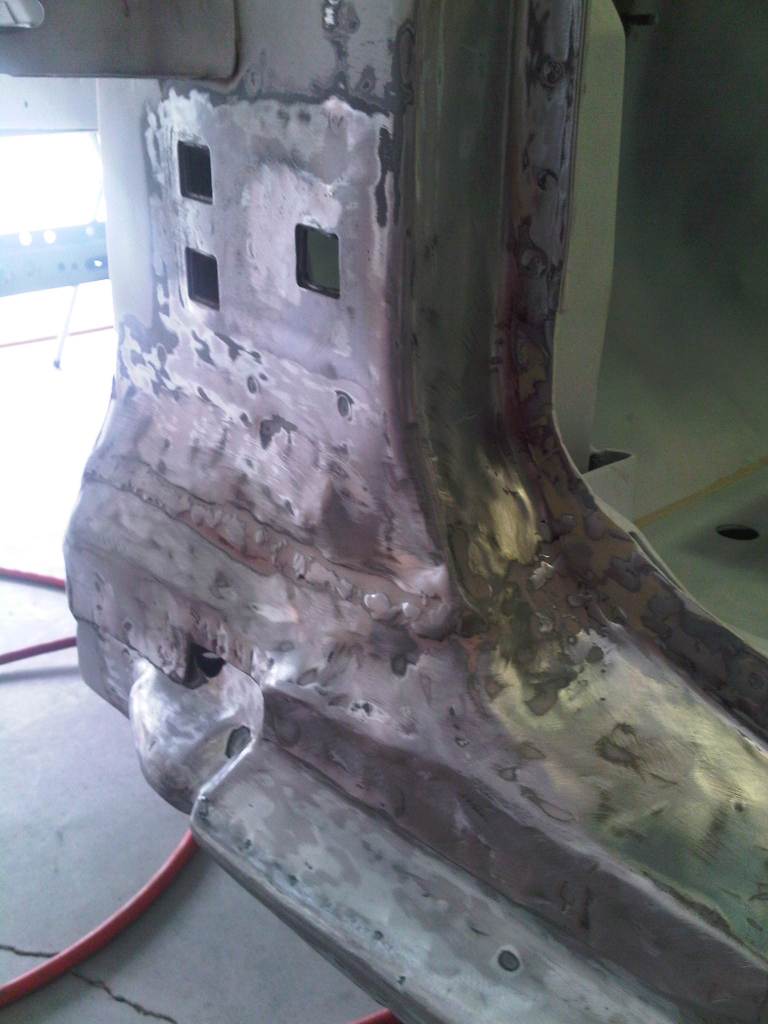
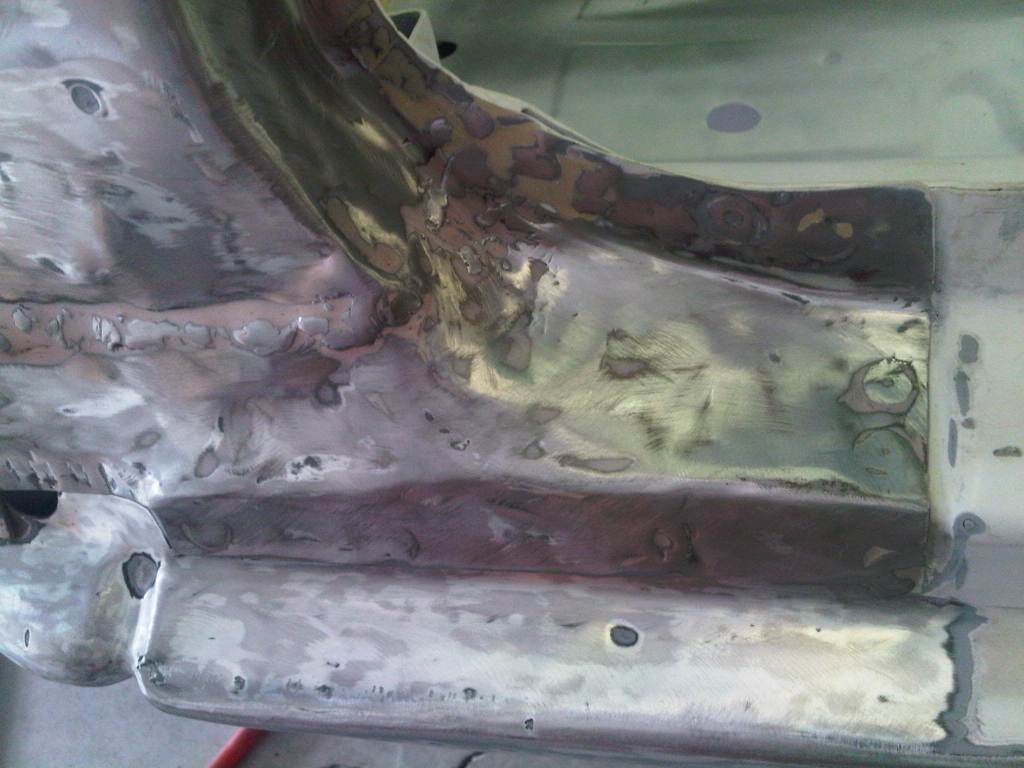
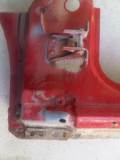
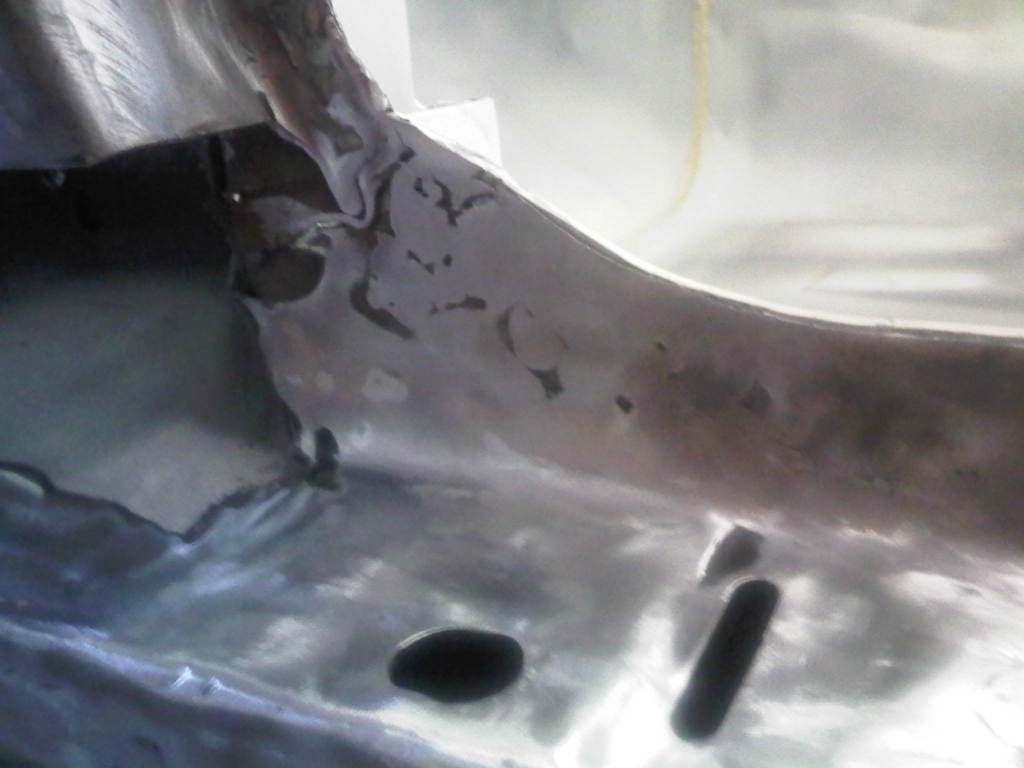
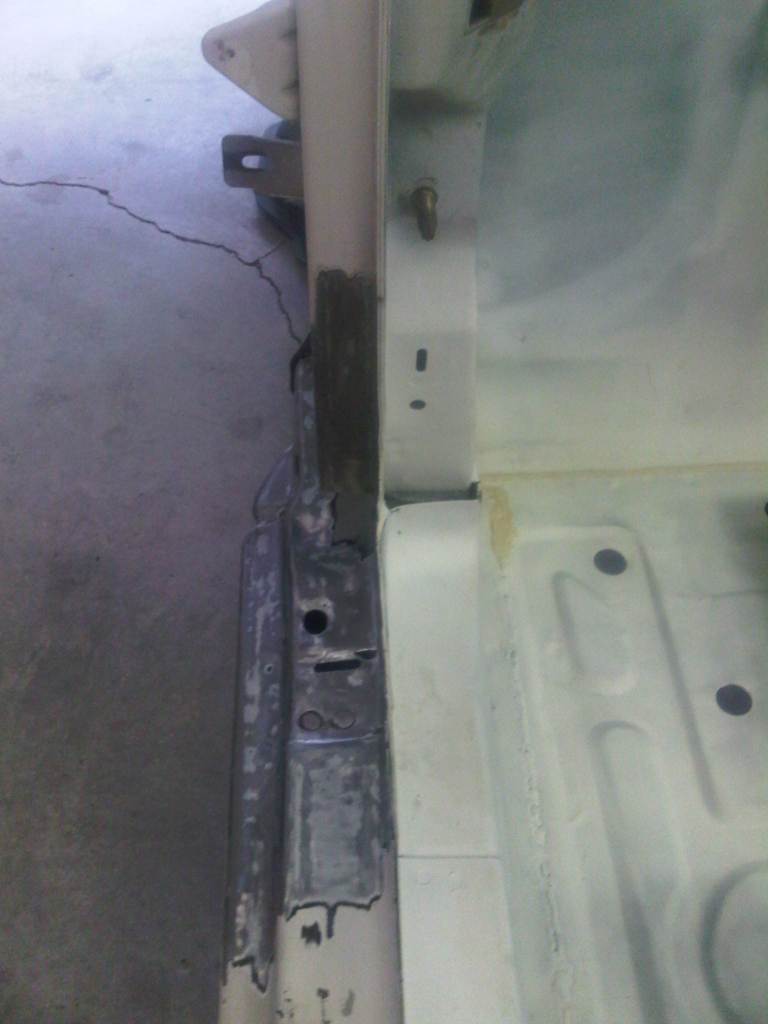
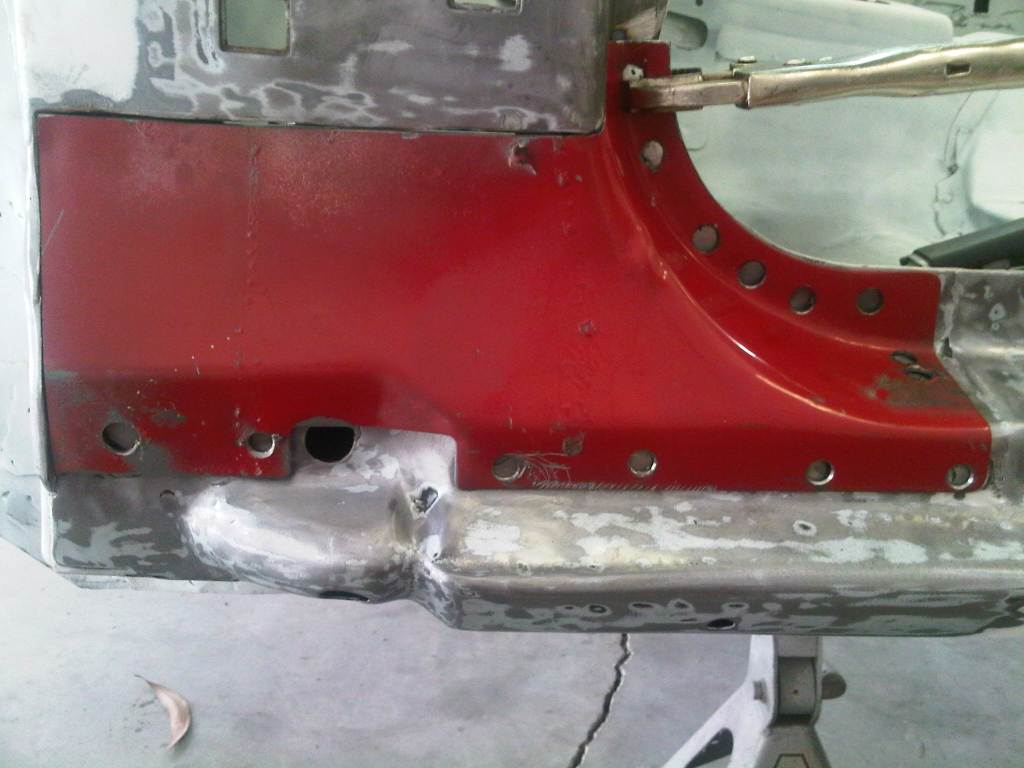
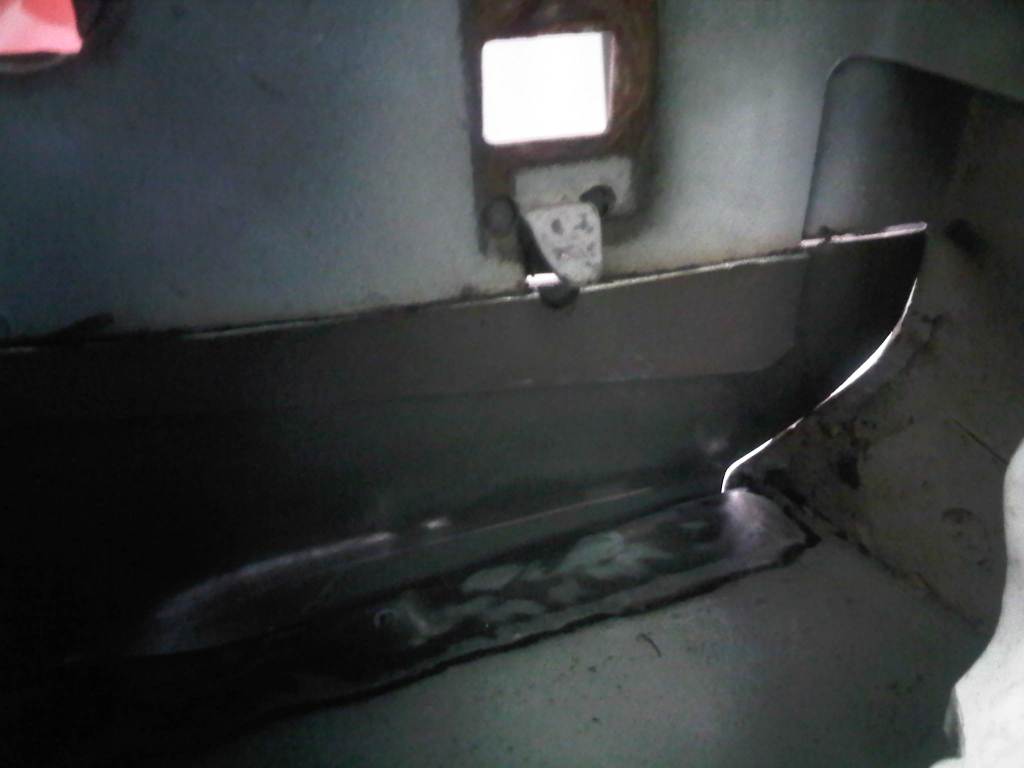
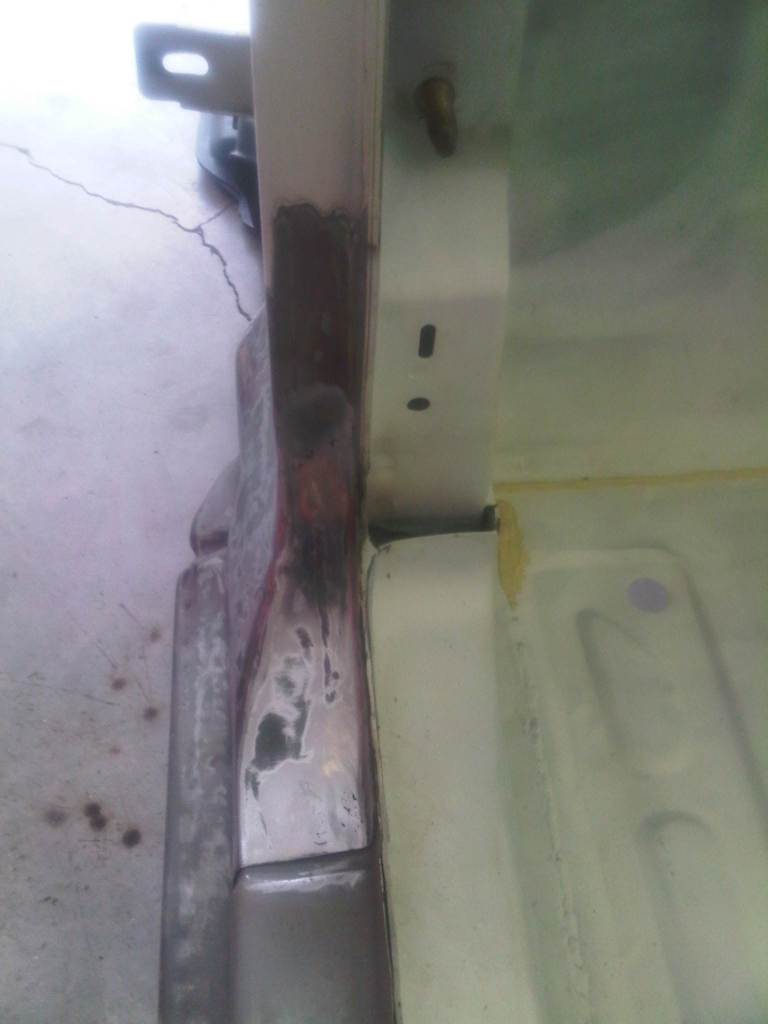
| #40: April 23rd, 2011 - Repairing the Drivers-side Lower A-Pillar... I knew that the lower A-pillar had been repaired in '97. I could see the weld from the inside of the car. However I did not know how bad the repairs were until I removed the door. In the pictures below, you can see the gray area below the hinge mount. That is the primer that I exposed after sanding off the paint to try and find out why there was a crack leaking up from the hole on the lower edge. It was at this point I realized that there was a layer of body filler that had cracked. As I started to remove the filler, the extent of the poor repair became evident. There was over 3/4 of an inch of filler on the area and the metal underneath was all beat-up. | ||
        | ||
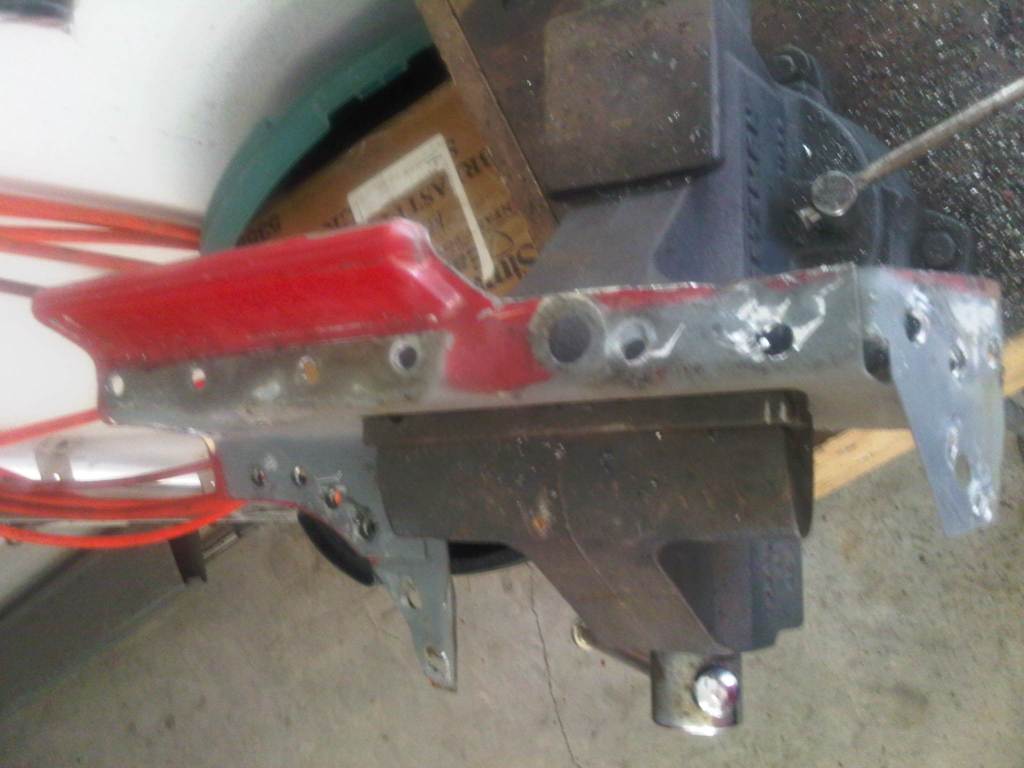
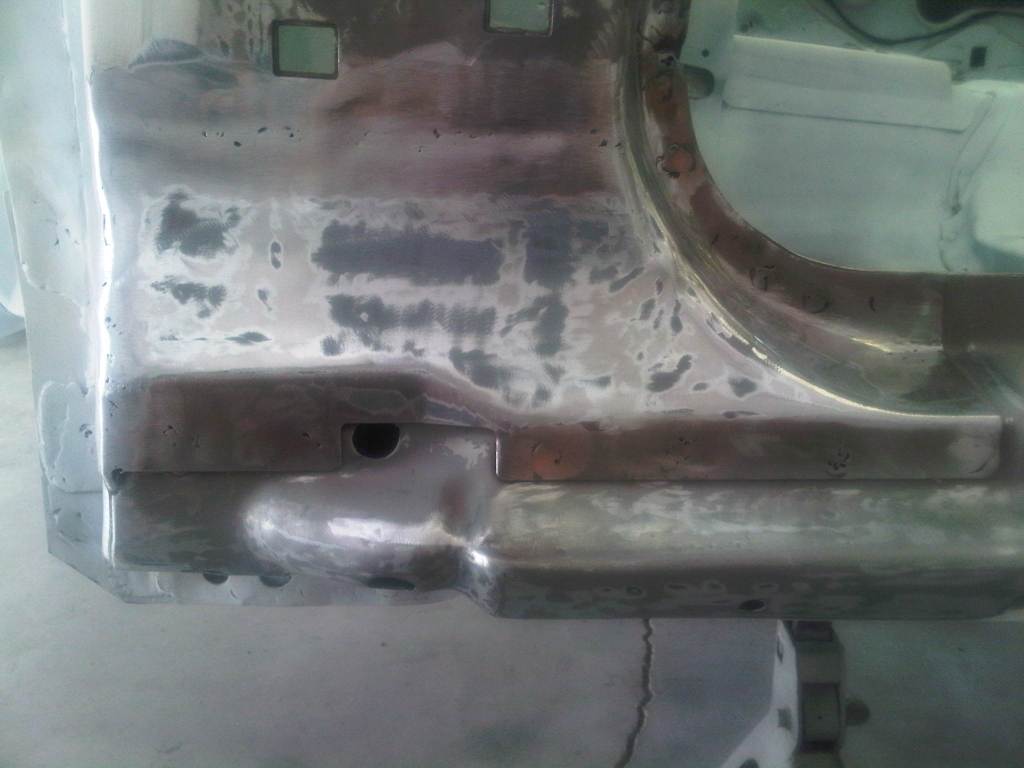
      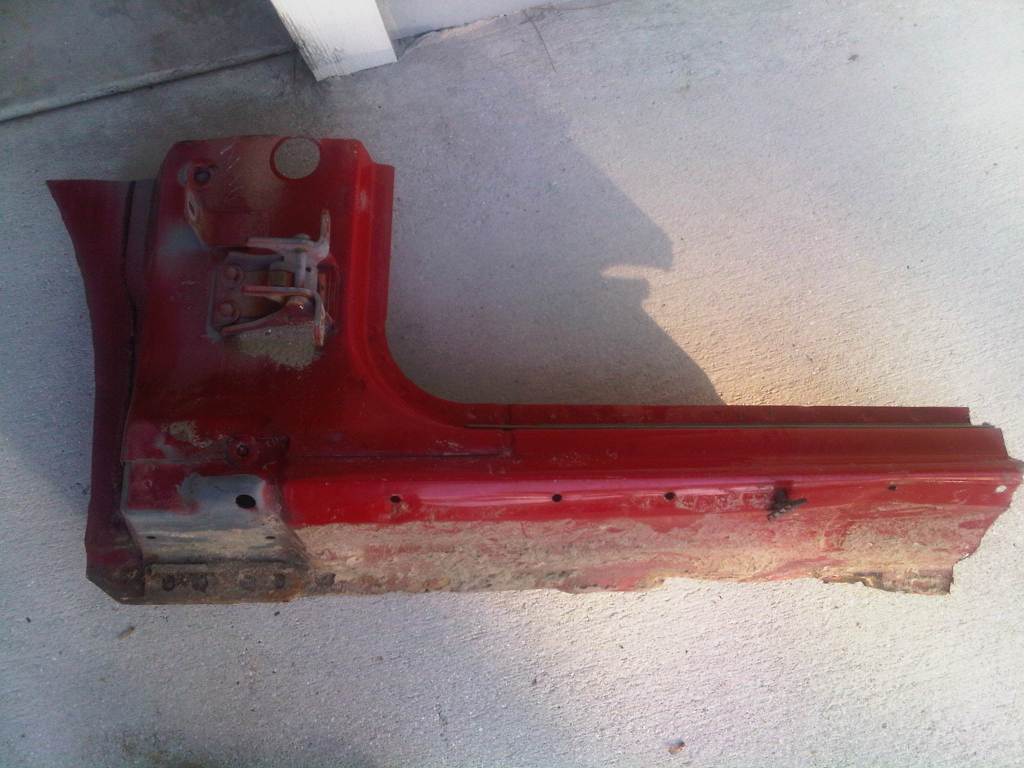  I took one of the pictures of the lower a-pillar and drew a box on it using MS Paint. I then e-mailed it to Action Auto Salvage in Okeechobee, who was able to cut the part I needed from a junked Mustang. Cost $50 | ||
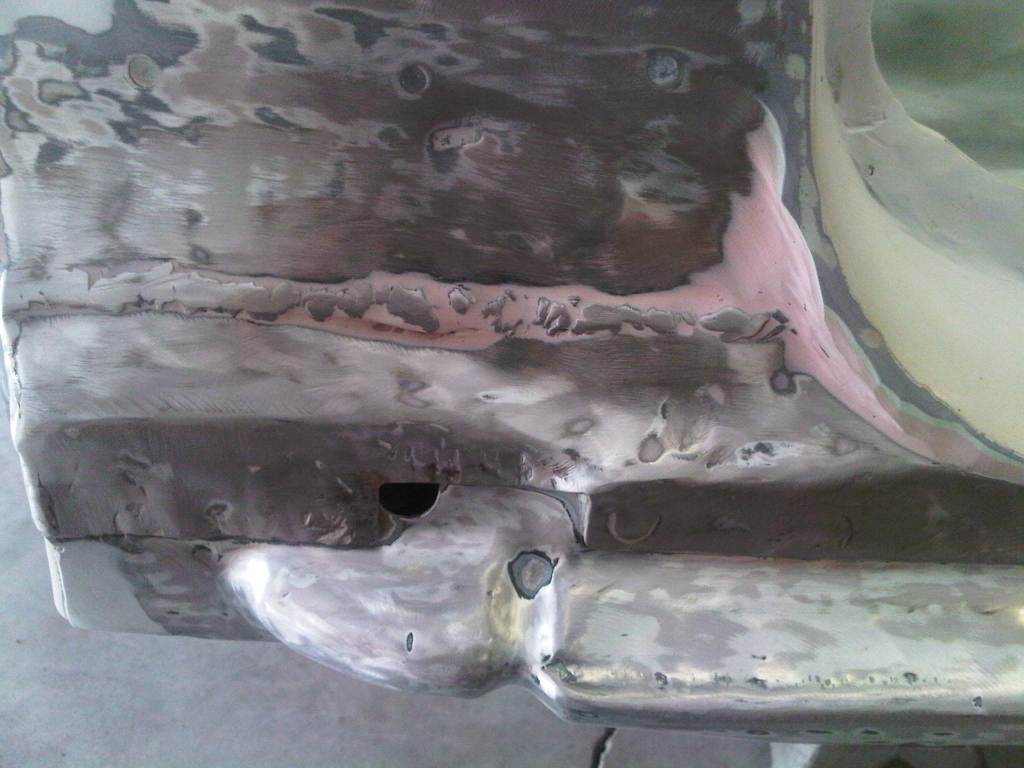
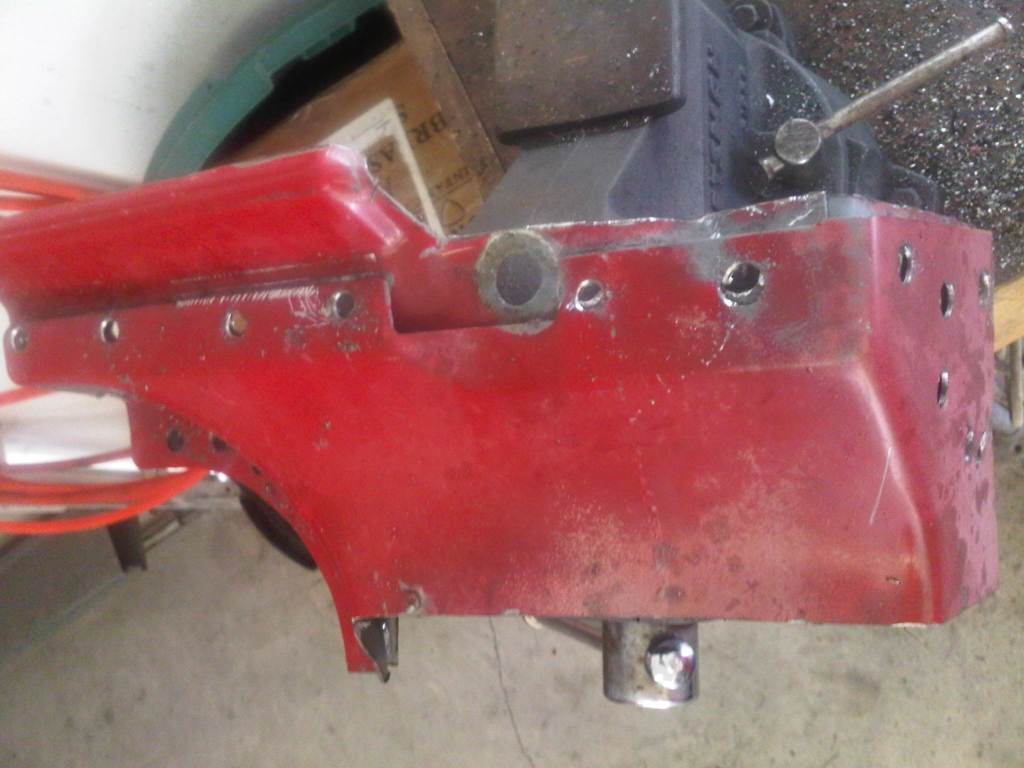
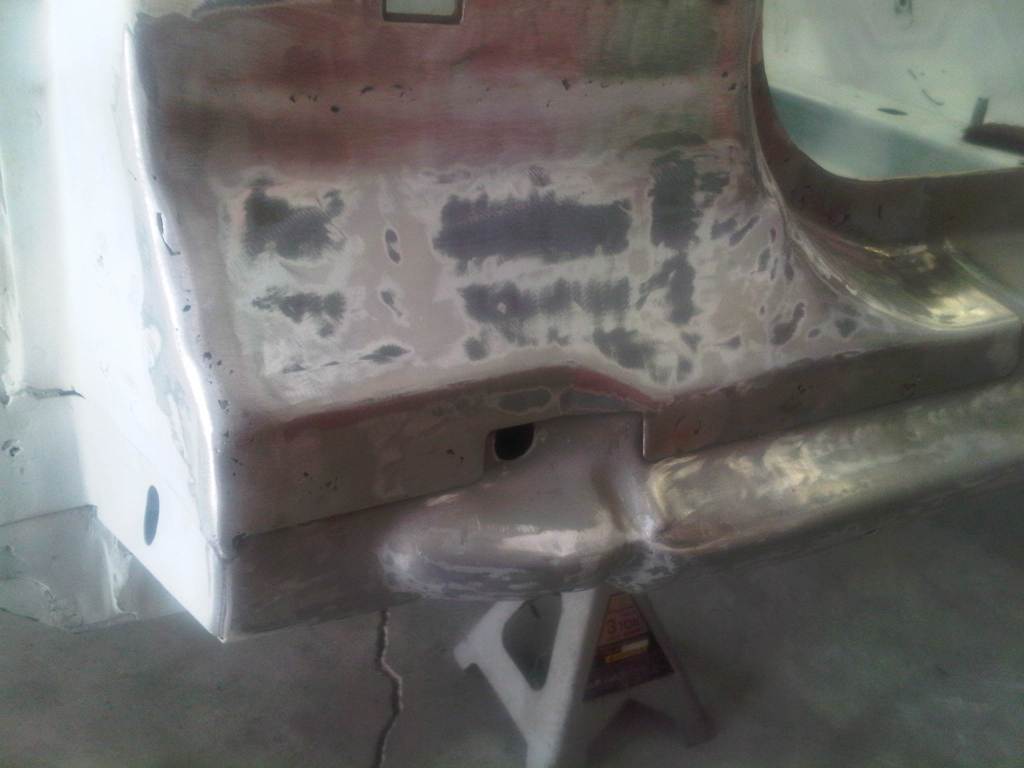
 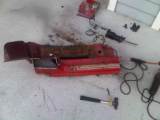   I started by trimming away the parts of the rocker and a-pillar that I didn't need. This got me close to a part that I could work with. Plus I now had a "3-D diagram" for how to remove the part from the POS.  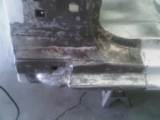 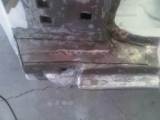 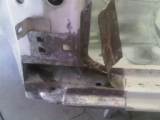 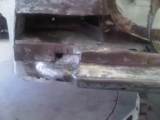  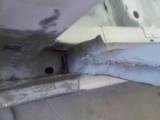 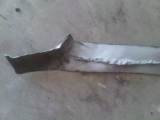 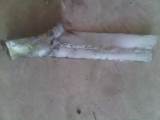 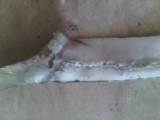 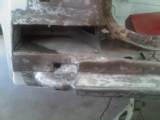 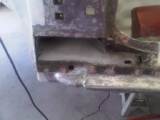 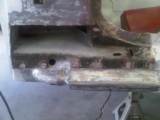 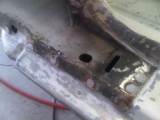 Excuse the small pictures above. I accidently over-wrote the large versions. Anyway, you can see that I used a cut-off wheel and body saw to remove the damaged metal from the POS. I ground off the lower plug welds but left the door opening seam attached at this point. | ||
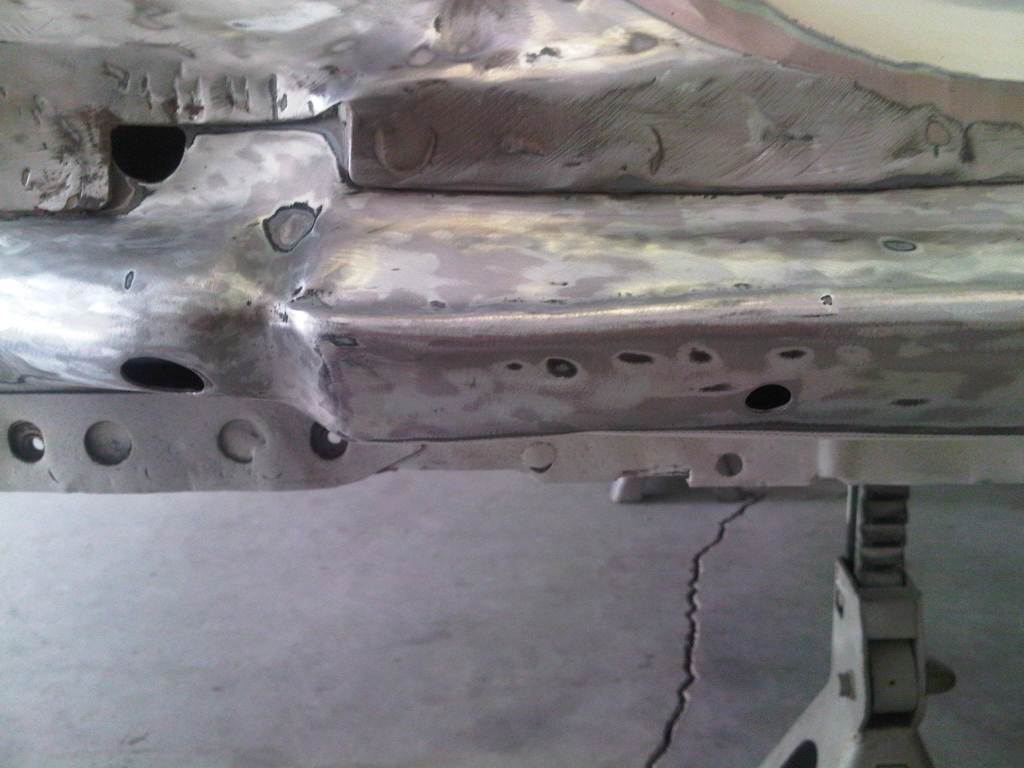
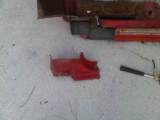
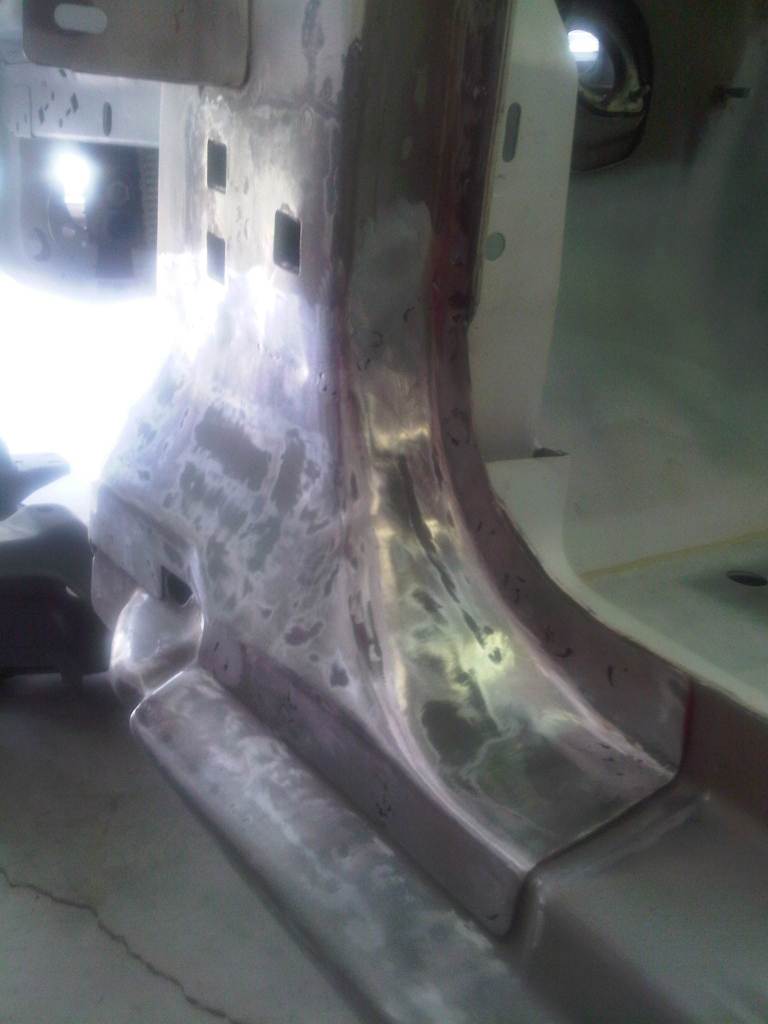
  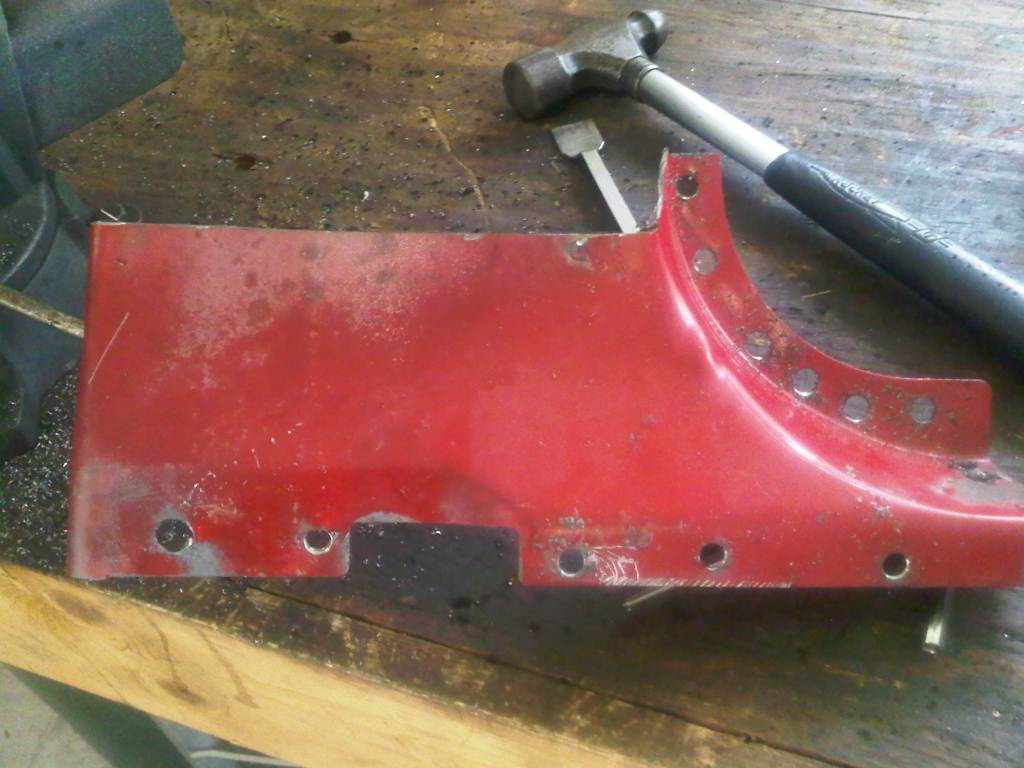  Pictures are now back to normal. Here I have taken the new part and removed the outer skin from the inner structure by drilling out the spot welds. Next I began cleaning up the surfaces for test fitting and final trimming of the opening. 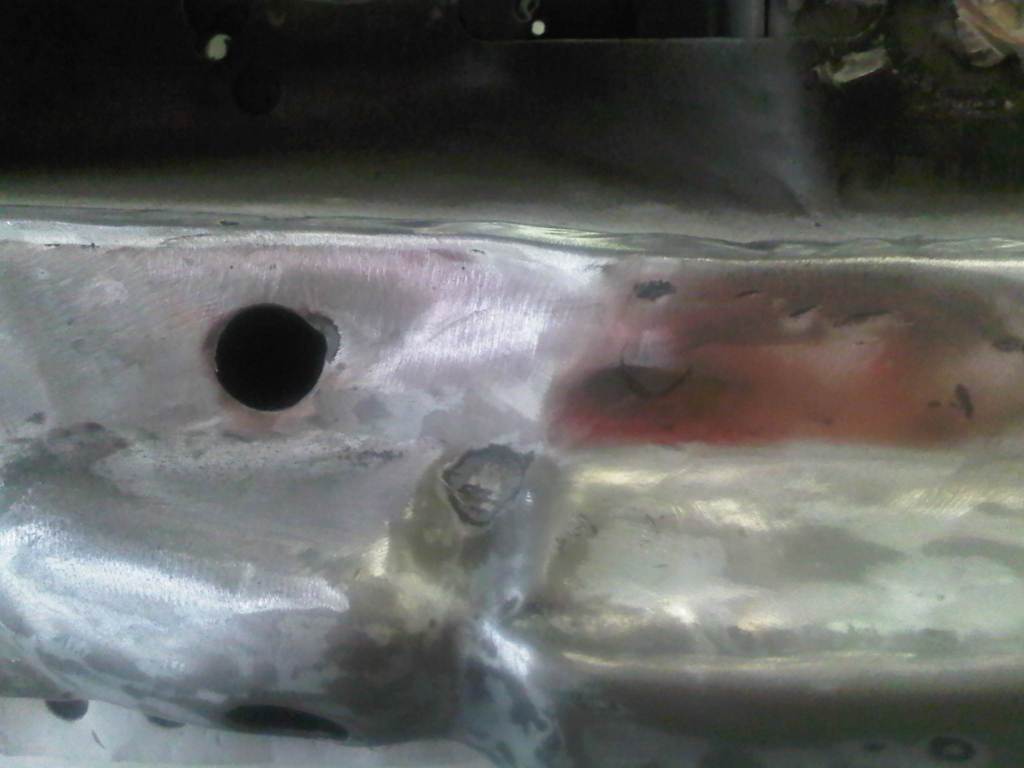 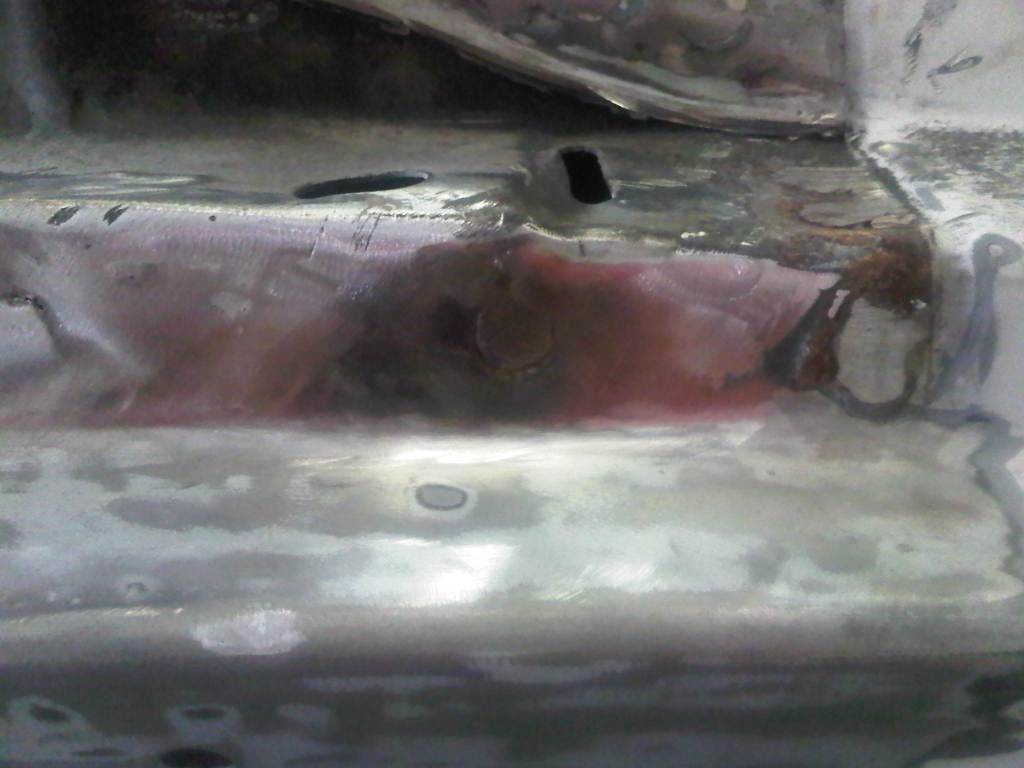 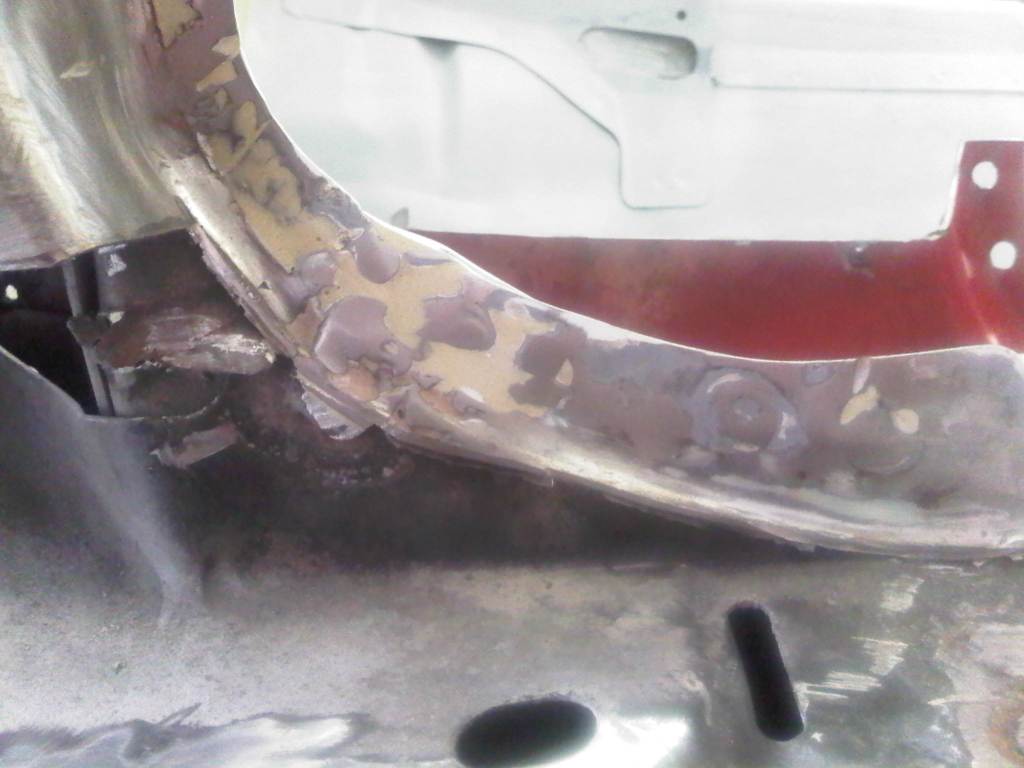 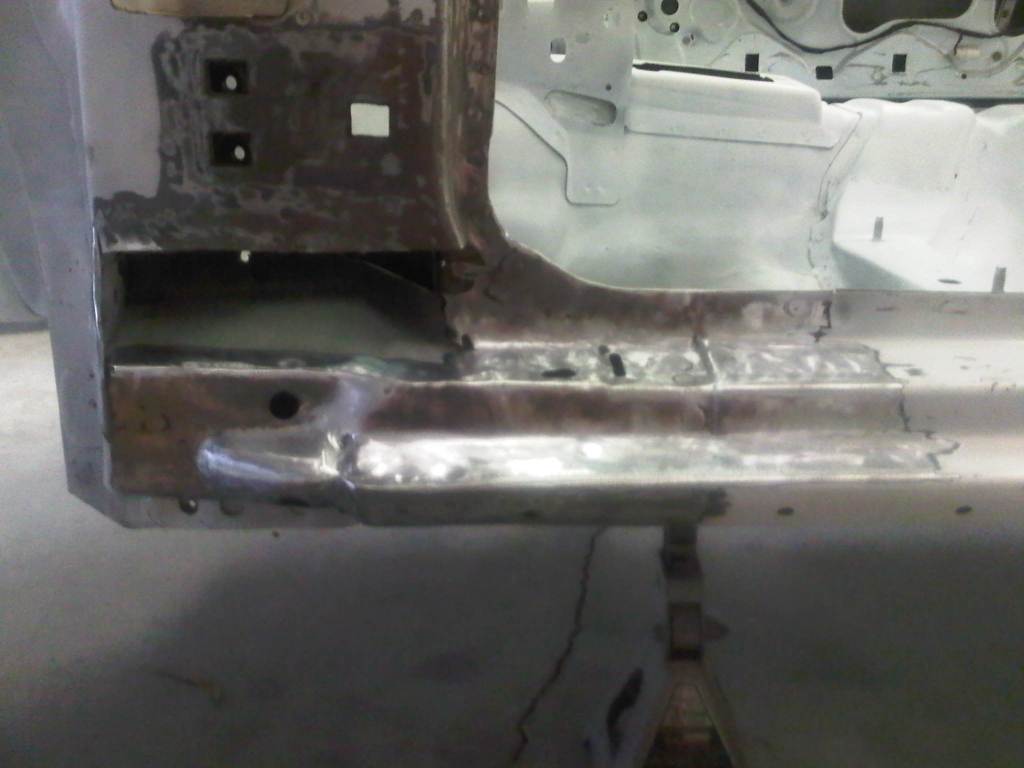 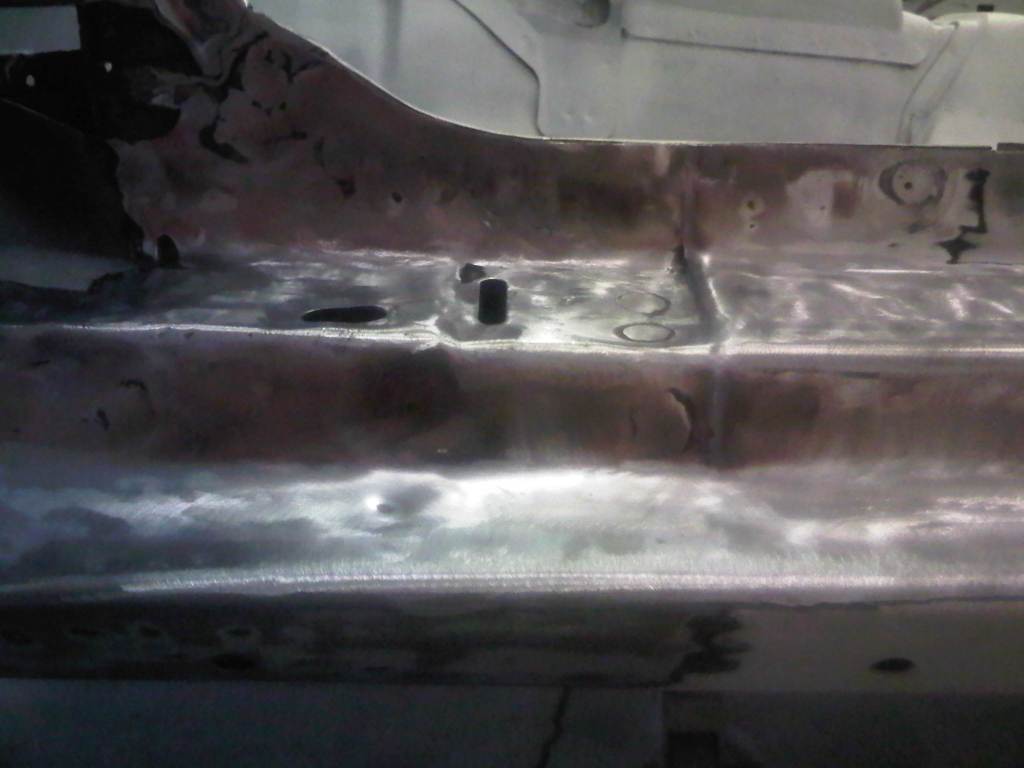 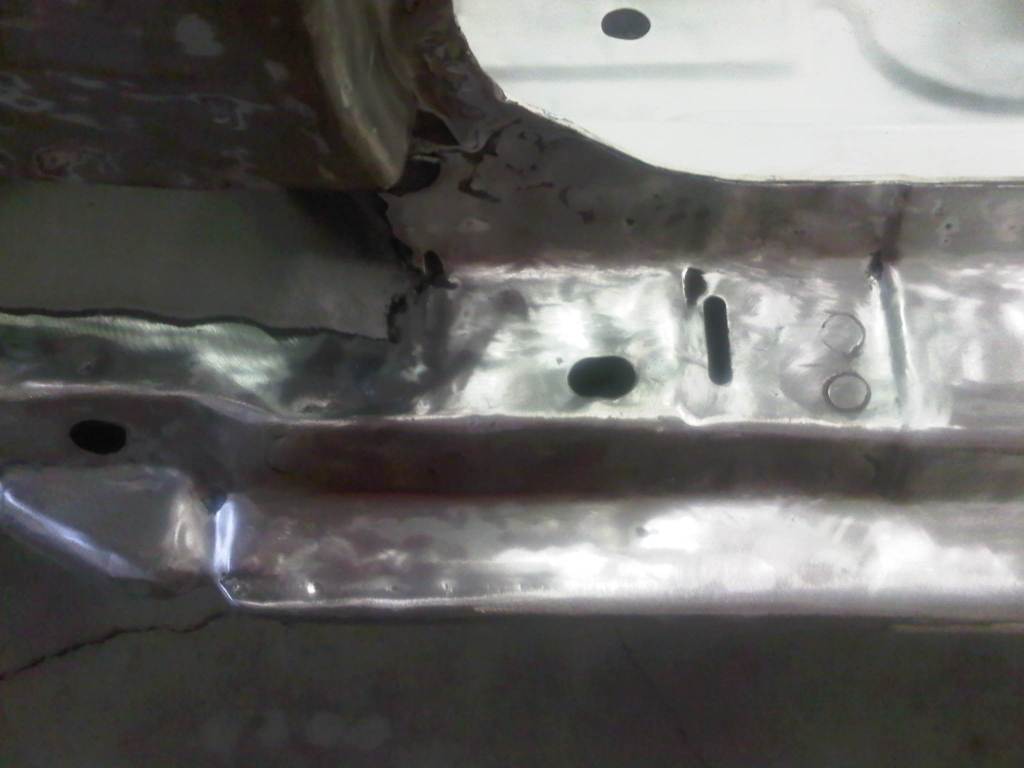 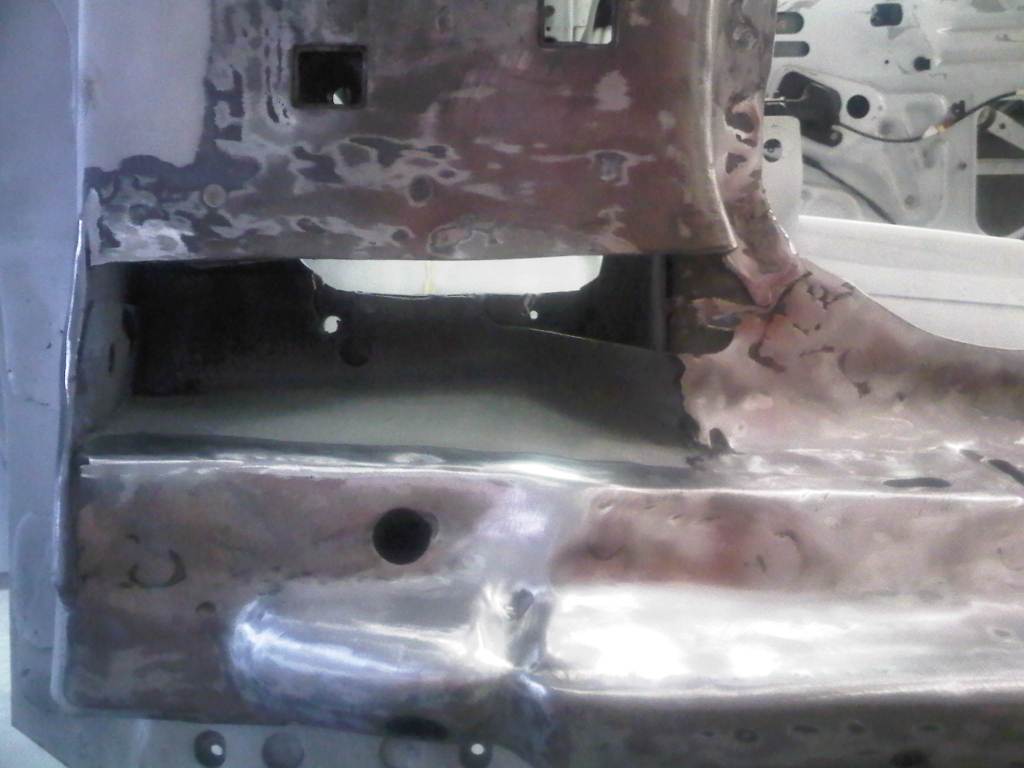 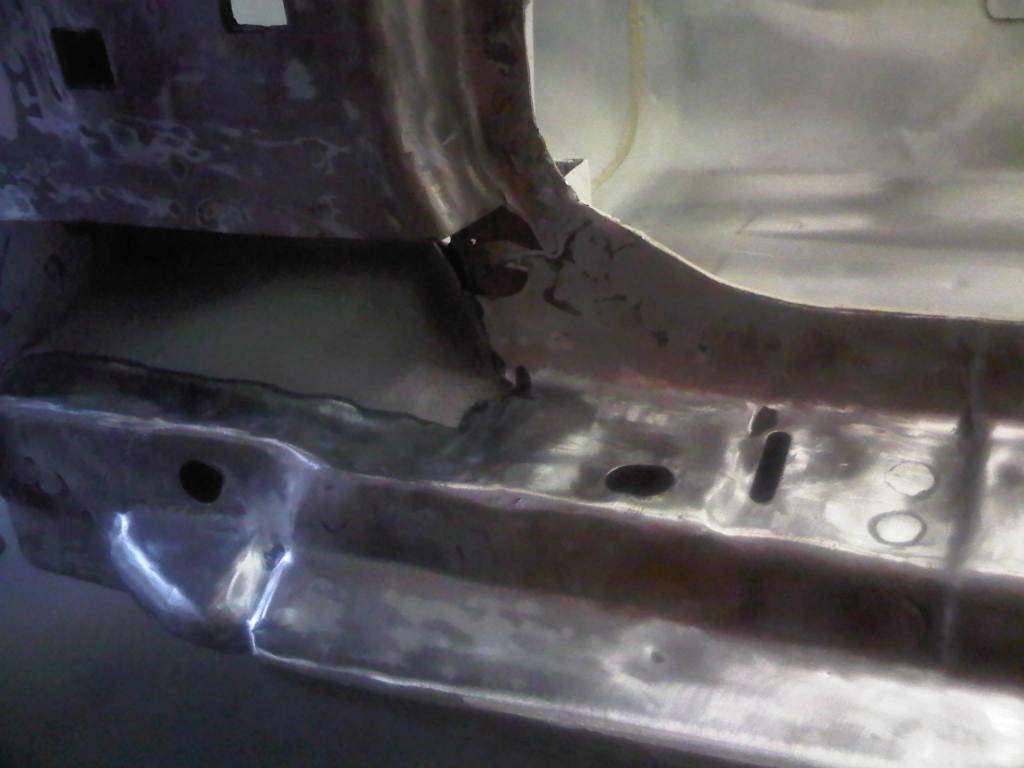 | ||
    I ended up going up higher on the a-pillar, as I wanted to get to sound metal. This put the new seam up into the hinge reinforcement area of the a-pillar, which is two layers of metal. That's OK by me. Less chance of burn-thorough when welding. 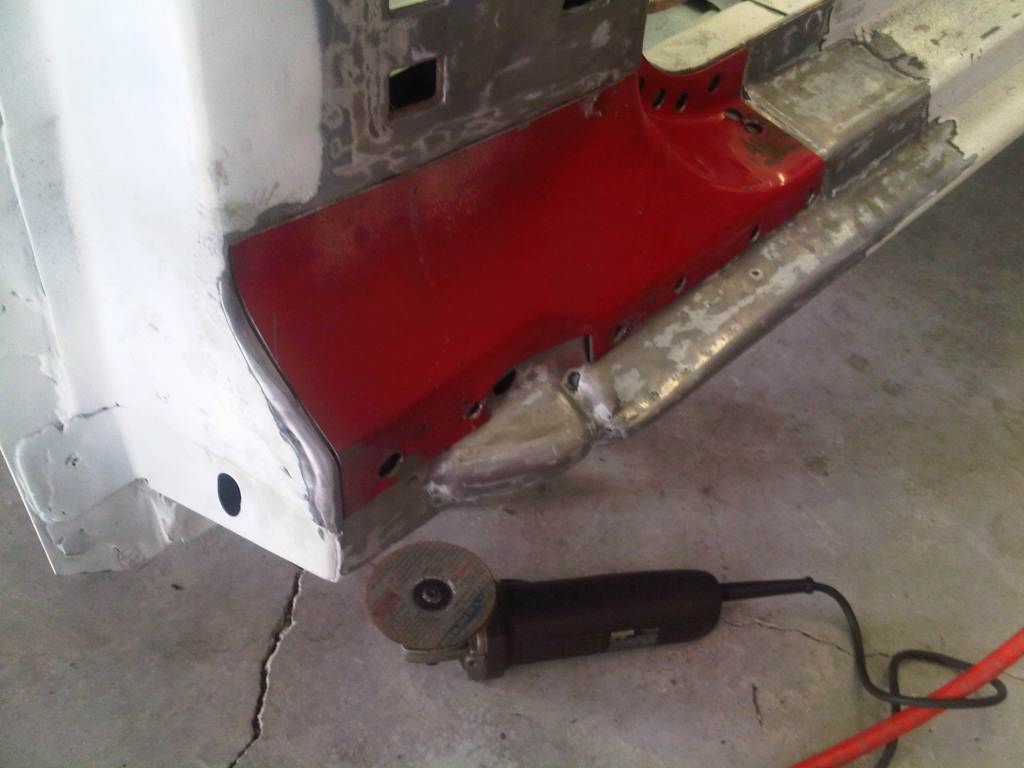  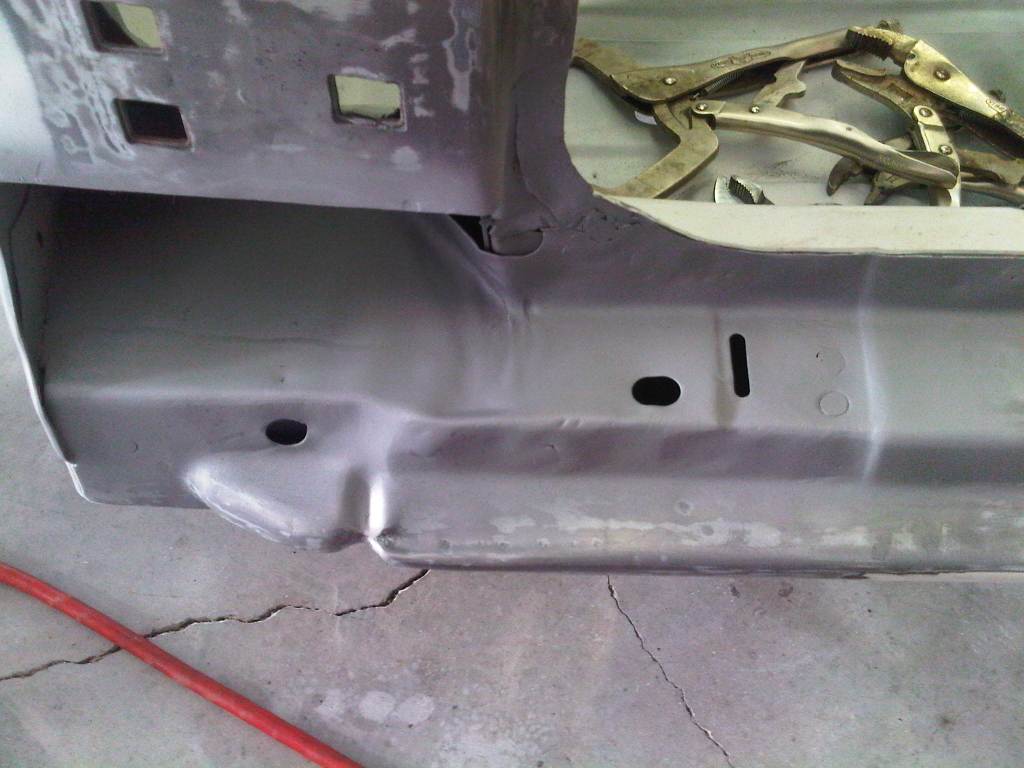 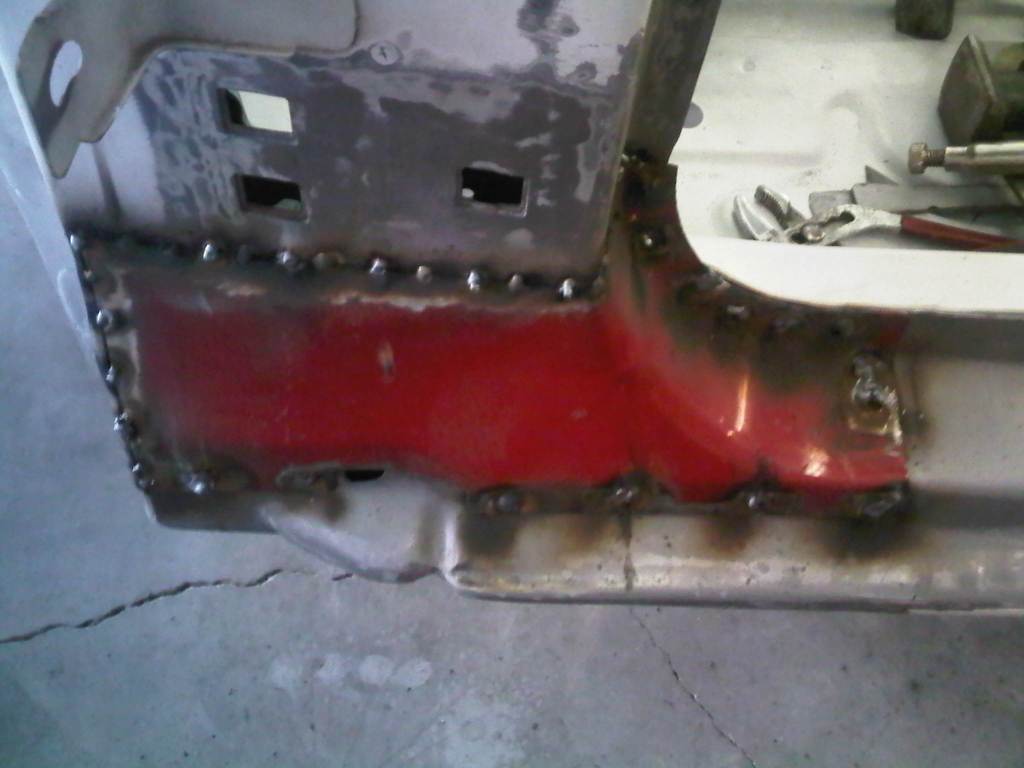 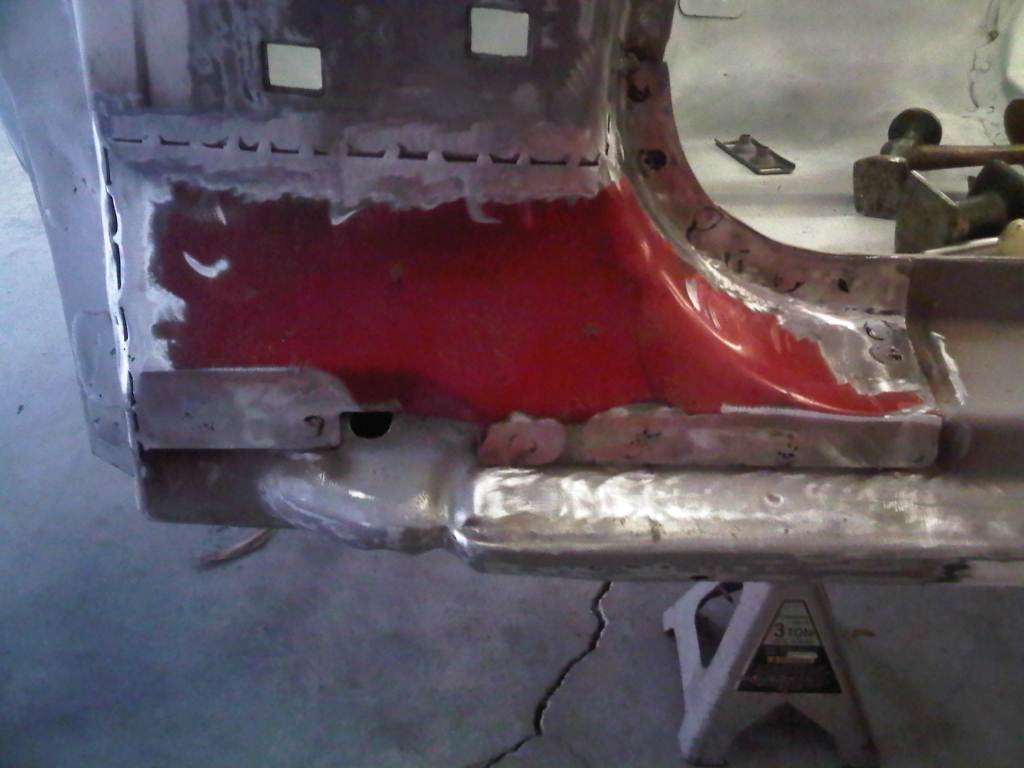 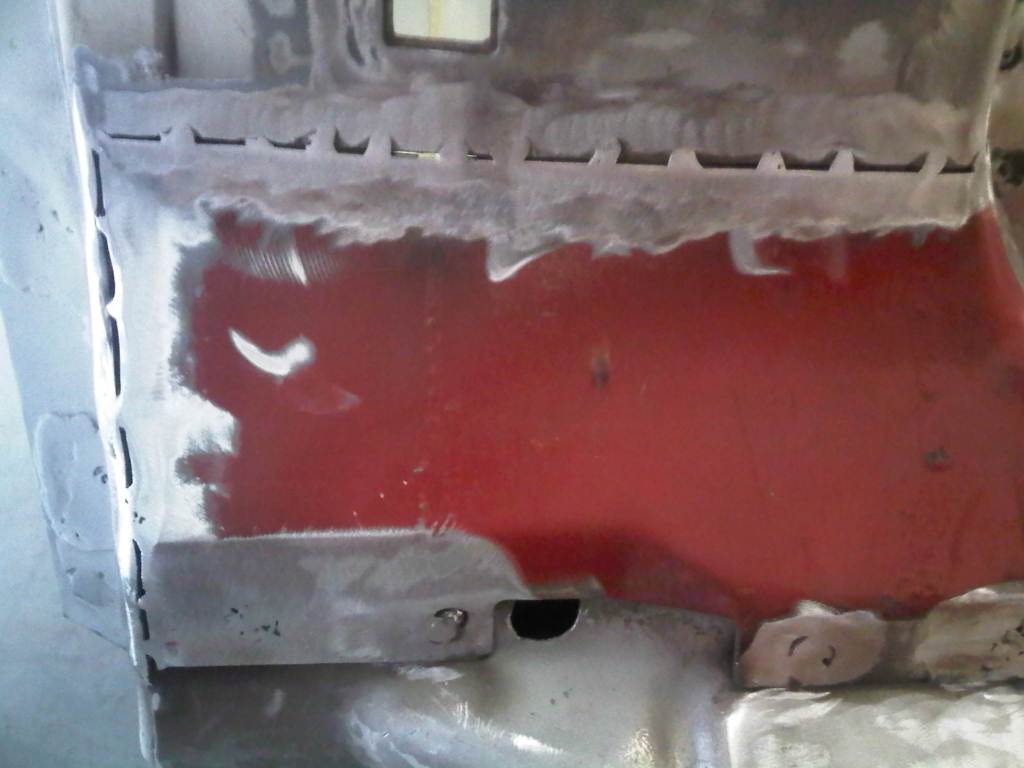 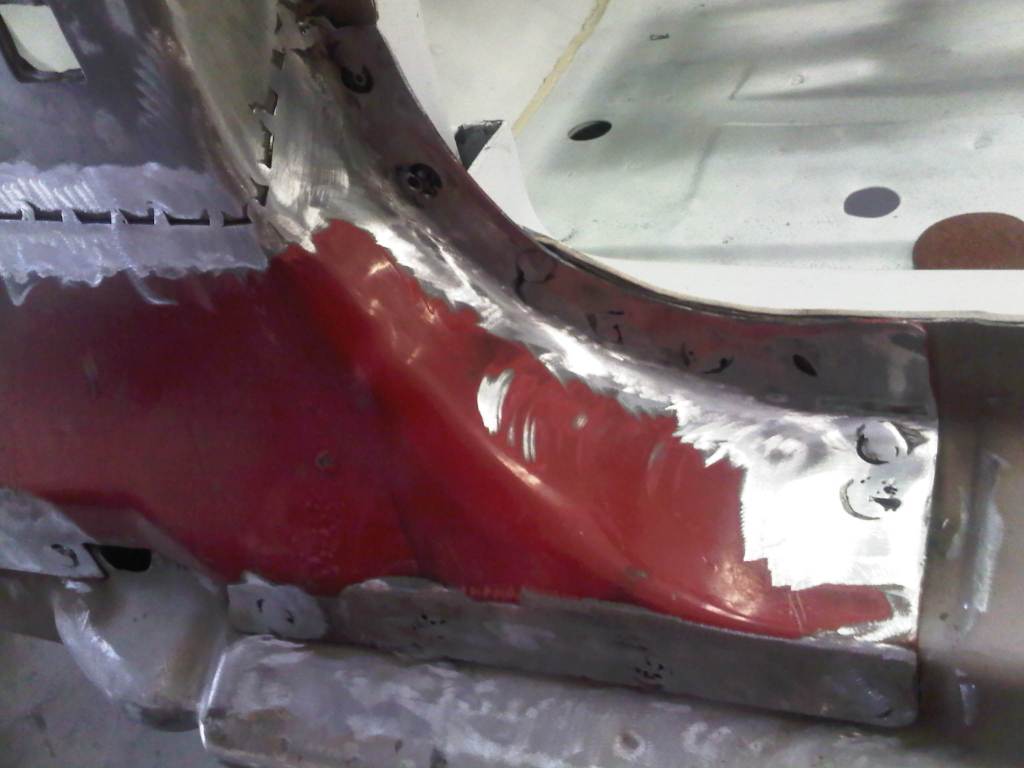 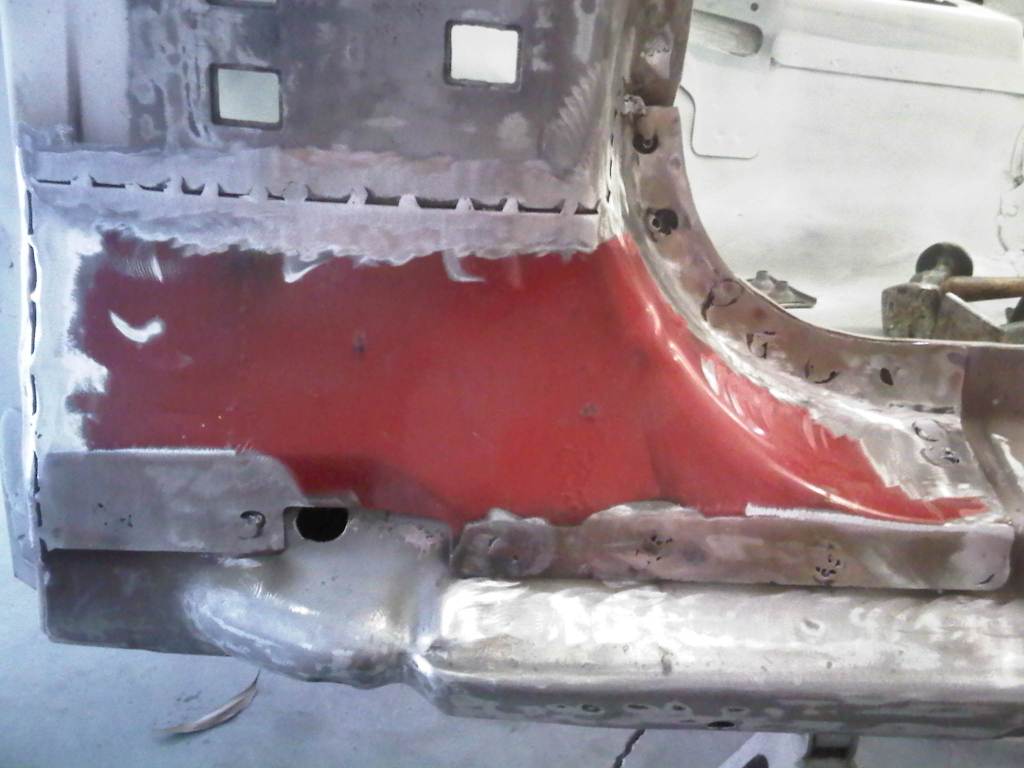 After multiple times of grinding, trimming and fitting, I was happy with the gaps and fitments of the new panel and coated all the parts with weld-thru primer. Next I began to tack-weld it into place. | ||
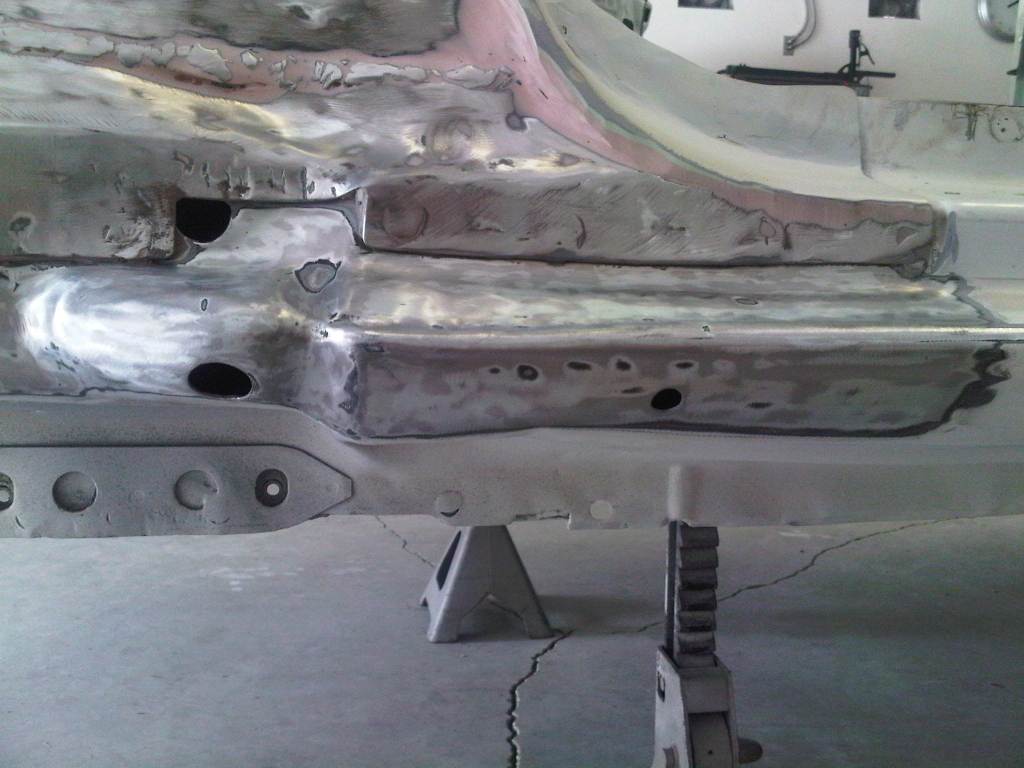
     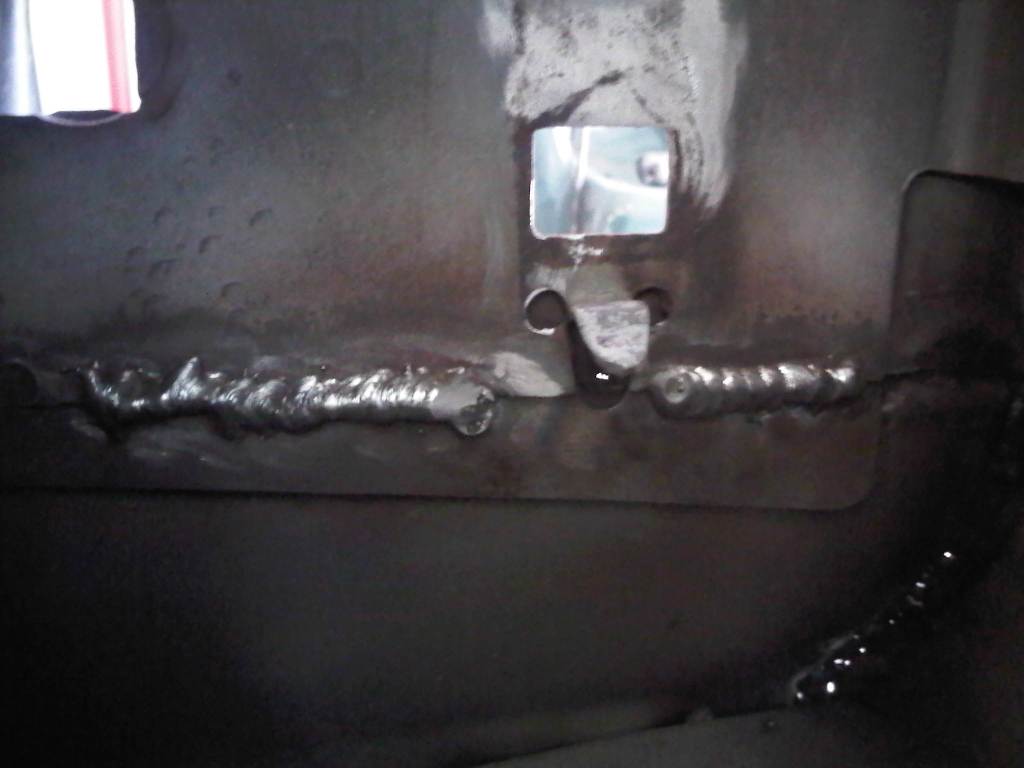 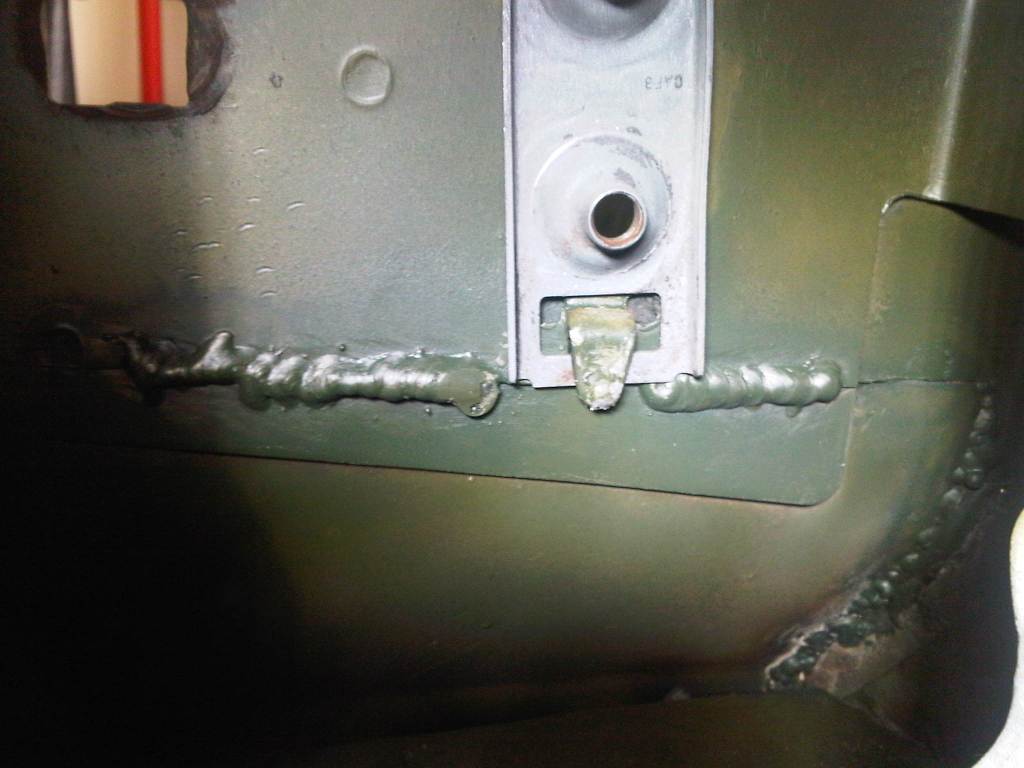 After the welding was done on the outside, I went to the inside of the car and ran a bead on the hinge reinforcement area to ensure good weld penetration. Not the prettiest weld, as it was hard to keep the MIG tip at a good angle in the confined area. 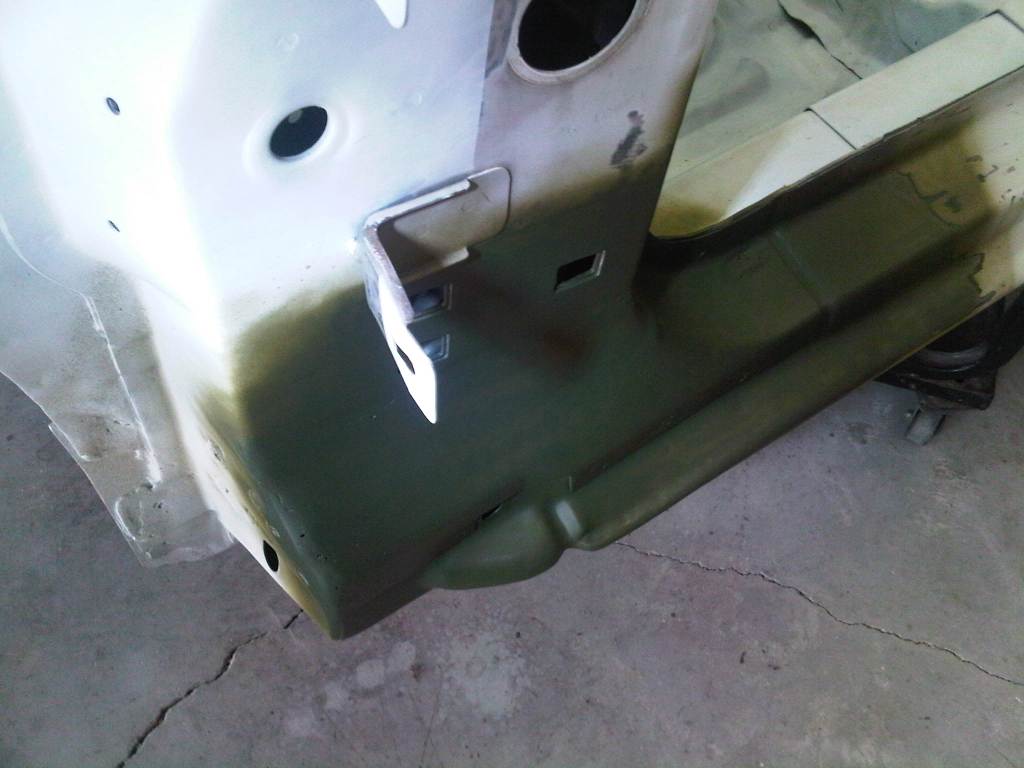  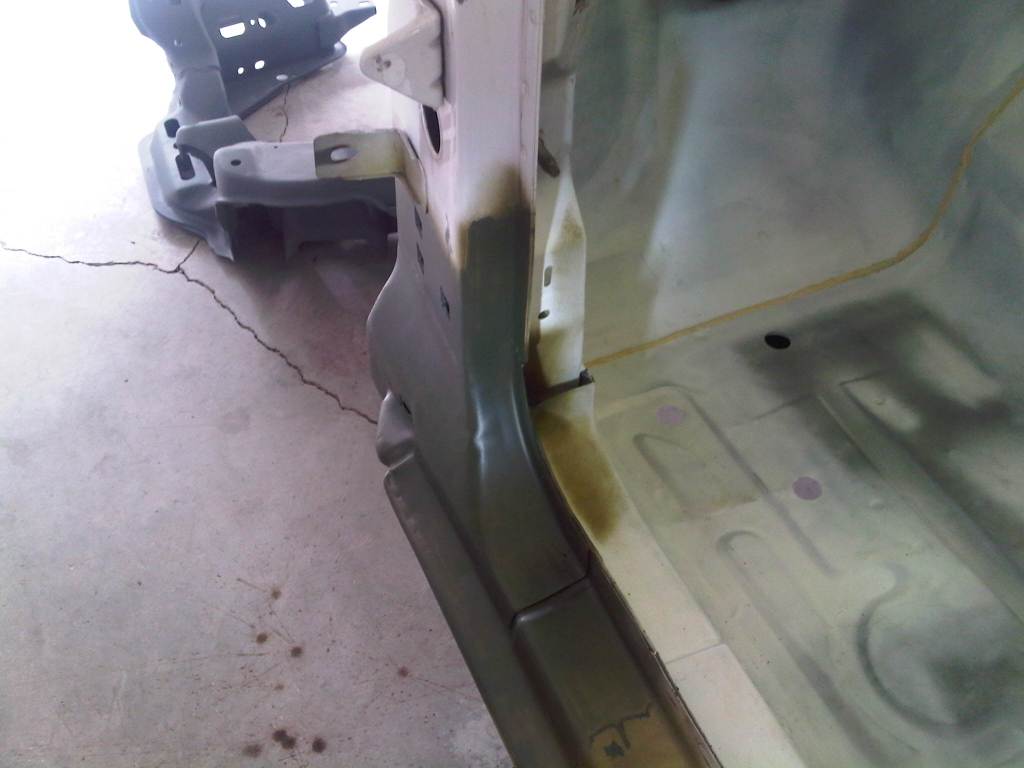 A coat of acid-etch primer and it's ready for filler. Not much will be needed this time. 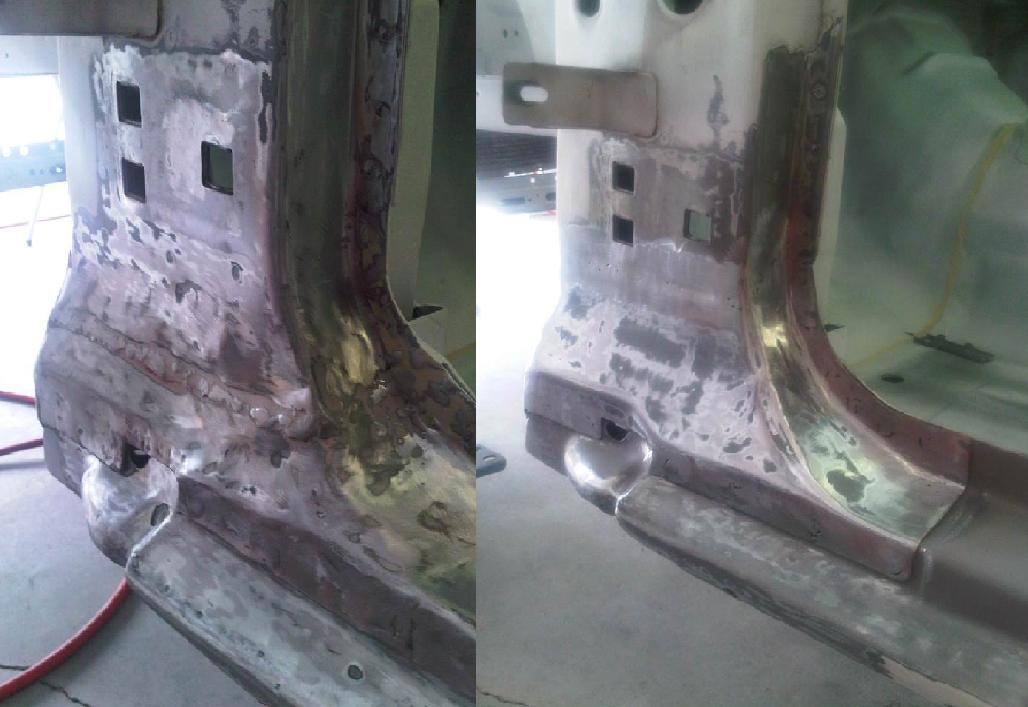 Here is a 'before and after' comparison picture. | ||
All images are property of Titanium Motorsports and may not be used without permission.Last Modified: April 23rd, 2011. | ||